

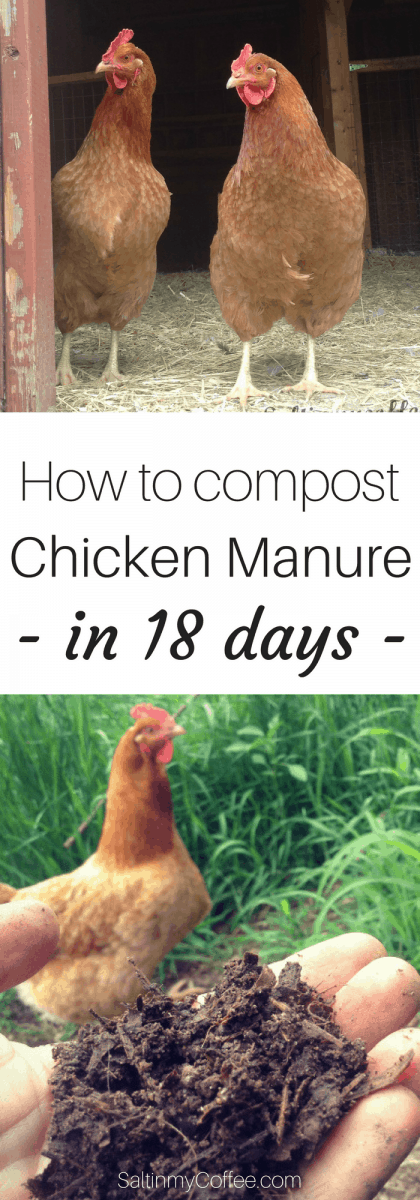
Learn how to compost chicken manure into safe, garden-ready compost, in as little as 18 days. It's a bit of work, but a great way to transform your spring coop clean-out into black gold for the gardens!
Have you heard about the Berkeley method of hot composting? Developed at the University of California, Berkeley, it's a fast method of safely composting organic materials in just 18 days.
I first did a deep-dive into the subject of hot composting because I had a lot of mature weeds that I wanted to compost. It was important to me that the weed seeds not germinate in my garden, after applying the finished compost.
Because hot composting maintains a temperature within the compost heap of 130-150 degrees, not only are most weed seeds destroyed, but most pathogens from any diseased plant material are destroyed as well.
This make it an idea composting method for small homesteads, where you don't want anything to go to waste, but don't want to risk incorporating weeds or disease into your garden.
My first hot composting efforts that fall (including all those troublesome weeds), were a wonderful success. Spring couldn't arrive soon enough, so I could start on the next pile.
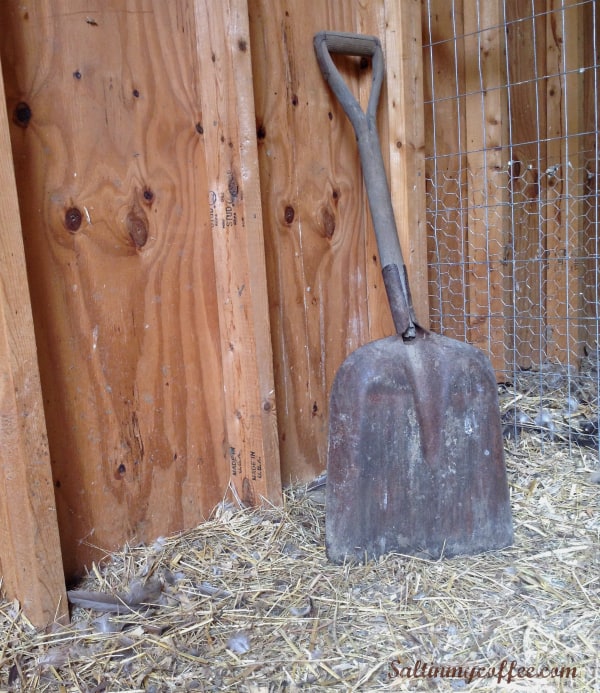
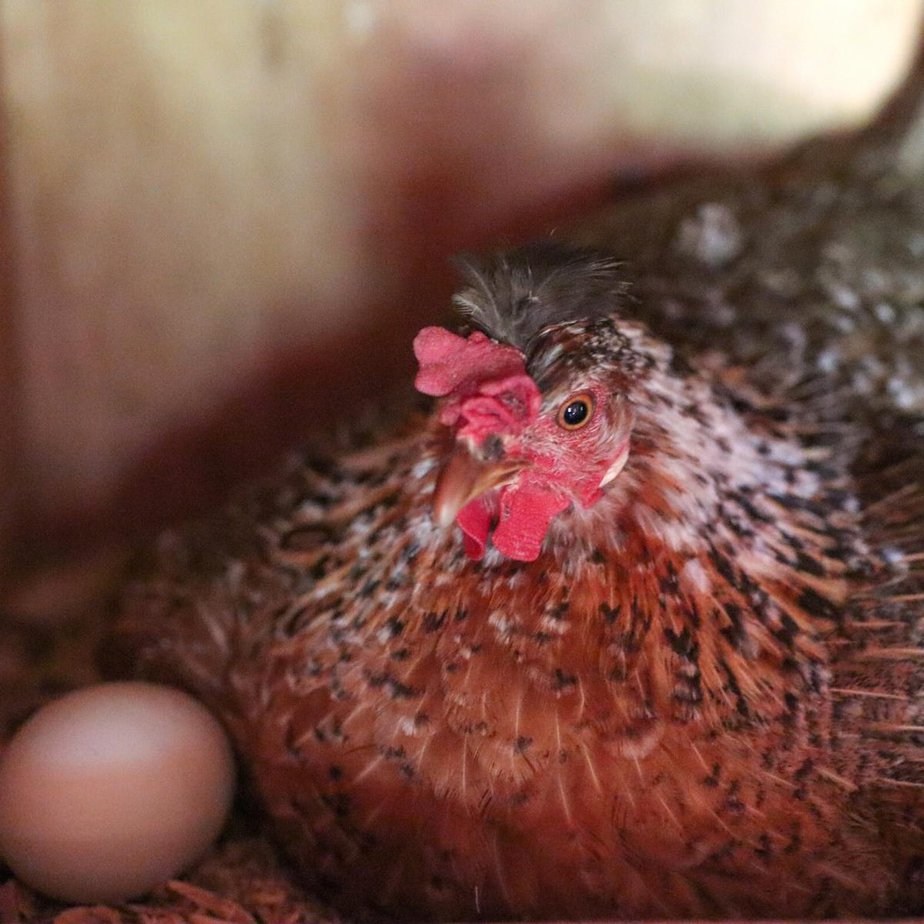
It was a stormy day in January, as I was gathering eggs and pining for Spring, that I looked down at the deep layer of bedding on the chicken house floor. I suddenly saw it in a whole different light...
30 parts carbon, 1 part nitrogen.
That happens to be the perfect balance for a good hot compost pile. And from what I could see, the deep layers of pine shavings, straw, and chicken manure, mingled with a few feathers, looked to be just about the same balance.
Could I really just clean out the deep litter from my chicken house, come spring, and turn it into gorgeous, garden-ready compost in just 18 days?
It was an experiment waiting to happen, and when I'm itching to try an experiment, I'm not the most patient person. Spring felt so. far. away.
While waiting for sunshine and flowers, I brushed up on everything I knew about the Berkeley method of hot composting. For the definitive work on the method, I recommend reading this paper published by Dr. Robert Raabe, the professor behind the study. The basics of the method are this:
1. The materials to be composted must be small
½ to 1 ½ inches in diameter is the idea size. If you're used to putting large items in the compost, this method requires a little more preparation.
2. The Carbon to Nitrogen ratio must be correct.
30 parts Carbon to 1 part Nitrogen is the goal. (If you're correctly doing the deep litter method, you've been adding shavings all winter, so the contents of your chicken house floor should contain a LOT of "brown" material-the shavings or straw-and should not be a big caked pile of manure.)
3. Moisture content of the pile must remain around 50%.
So not soggy, soppy wet, but definitely not dry either.
4. To create the necessary heat, a minimum mass is required.
Dr. Raabe's paper specifies a pile of at least 36x36x36, and he states that if the pile is under 32", this method will not work. I thought this quote was interesting:
"High temperatures favor the microorganisms which are the most rapid decomposers; these microorganisms function at about 160 degrees (F) and a good pile will maintain itself at about that temperature."
Dr. Robert Raabe
5. The pile needs to be turned to prevent overheating, and allow for aeration.
While many of the resources I've seen about Berkeley-method composting suggest waiting four days after building the pile, then turning it every other day, the author actually suggests turning daily for the most rapid completion of the composting process.
6. Don't keep adding to it!
While we might be used to adding to our compost piles daily, it's important not to add to add to this one, since the added materials will be starting the decomposition process from scratch. You want the whole pile to end up as a nice finished product all at one time.
7. Nothing extra is needed.
Dr. Raabe makes a point of specifying that as long as the nutrient balance is correct, your pile will begin the decomposition process nicely on its own. No activator materials should be needed.
8. If done correctly, your pile will reach high temperatures within 48 hours.
If you can reach into the pile two days after building it, and it's not uncomfortably not, then something is off. It's either too wet, too dry, or the pile doesn't contain enough nitrogen ("green" materials).
If it's too wet, you can rake it out to dry, then pull the pile back together. If it's too dry, add some water. And if you've realized you erred on the side of too many brown materials, then adding some grass clippings or manure can balance things out and kick the process into gear.
9. The pile shouldn't smell bad.
It should be earthy. If you smell ammonia, that's a sign that the pile is too high in nitrogen. It's recommended to add some sawdust to help balance out the C:N ratio. If a pile is too high in nitrogen, it can "burn out" too quickly, before all the materials are thoroughly composted.
By the time spring came, I'm not sure I'd ever been quite so eager to clean out my chicken house. It's a pretty sizable chicken barn really, so I had enough litter to make two piles.
Remember, the hot composting guidelines call for a pile at least 36" all the way around.
The first pile I put into a three-sided enclosure made with pallets. I heaped it right up to the top. The second pile I left in the open, just piled up nice and high.
I hosed them both down just enough to damped them through.
The enclosed pile I turned daily, like the original paper from Dr. Raabe suggests. The other, I turned every other day, as suggested by several other hot-composting sources I'd read. We got just enough rain that the piles of chicken manure compost never dried out completely, but were rarely downright soggy.
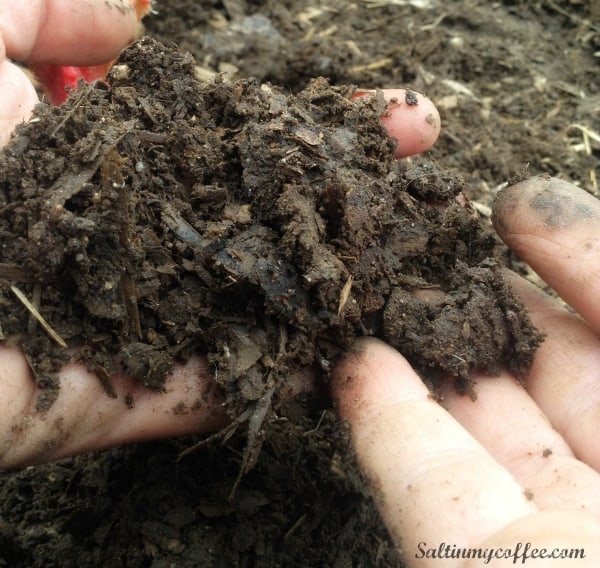
I found that the enclosed pile maintained a higher temperature, and stayed a bit more damp than the open pile. I also found that it decomposed a bit more quickly.
The pile in the enclosure was starting to welcome worms, and was looking crumbly, brown, and beautiful on day 17. The open pile reached this stage on day 21.
I really think that even though the open pile was turned less frequently, the real difference is that the pallet enclosure helped maintain the heat of that pile better, aiding the faster decomposition.
We had a cool and damp spring, so at the time of this experiment, days were averaging 60-65 degrees, while evenings were in the higher 40s.
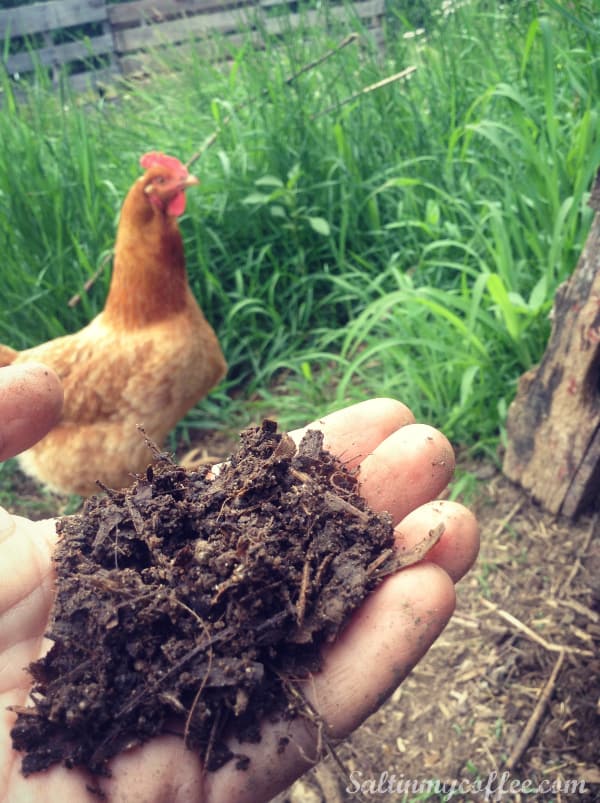
I was very pleased with the results of both piles of chicken manure compost. Both were well-composted, sweet and earthy smelling, and had lots of worms moving in, as I loaded up the compost to pile onto the garden beds.
Don't have enough chicken manure to make all the compost you need? My friend Elliane at Radical FIRE has some good ideas on how to score free compost. It's worth checking out.
Knowing I can add high-quality compost to my garden beds within 3 weeks of clearing out my chicken coop, has been really helpful on my 2-acre homestead. I hope you find these hot composting tips helpful as well!

Anna Chesley is a freelance writer living a homestead lifestyle, with a special love for family travel, old books, vintage skills, and seaside living. In addition to founding Salt In My Coffee, she runs the website, New England Family Life, as well as The 1800's Housewife, a website devoted to re-creating authentic 1800's recipes.

KimM says
I am new to all of this. I want to learn it all!
I have a question to bring with. Did the three sided pallet "pile" have any type of cover/shelter over the top?
We, typically, have a lot of rain in the late winter/early spring. So, I am wondering if I should begin in an area with a loose cover or that can be covered in times of downpours.
Or, should I built a compost bin with lid?
Thank you!
Willow says
I have a question, I live in an area with a high fire danger. Is hot composting safe under drought, high fire conditions?
suresh says
18 days are great.... how to get rid of worms? thanks
Carrie says
Did you chop the deep litter smaller before hot composting? If so, how did you do that?
Shirley says
Thank you for the chicken compost update. Going to do it today.
Kelsey Gentry says
Hello, I'm wondering if it is okay to add chicken bedding that has chicken feed mixed in with it. Will the dried grains in the chicken feed break down, or will they sprouts when the compost is used in beds?
Marcello S. Pecchenino says
if your compost is hot and done correctly NO SEEDS will survive it!
Terry says
My pumpkins LOVED the deep litter from the hen house.
Anna says
So happy to hear it! It's really wonderful stuff, isn't it?
Laura Nielsen says
Oh wow! What a great idea. I compost my chicken bedding but have never thought to compost it so quickly! Thank you so much for sharing such specific details about your experiment between the two compost piles you tried. I will definitely be trying this method soon. I have pinned it for reference. Thank you again for sharing just a great method!
Anna says
Laura, I'm just so glad you found it helpful!! It's been a major game-changer here for sure!
Zanetta says
I picked up a few bags of chicken manure last Sept from my local chicken farm. It was loaded with what seemed to be mealy worms. They definitely were NOT earth worms. I read that these worms like to eat plants as well as fruit in a garden. I know chicken like to eat these worms, but that doesn't help, we cannot have chickens on our property. I was preparing new beds for this years garden and was going to add chicken manure and have it over winter, then adding topsoil and compost. I did not add to beds as I am fearful of all this work I am doing and worried about introducing these worms. I have asked other forums and still I get conflicting answers about the mealy worms. Do you have experience with them. Thank you.
Anna says
Hi Zanetta! Without a picture, I'd have a hard time absolutely identifying your awful creepy-crawlies, and so I feel I can't say for sure if they pose a threat to your garden. My hunch is that they would. It might be more work that you're looking for, depending on the amount of manure - but you should certainly be able to add it to a hot compost pile following the method in this post (make sure it correctly gets up to temperature, and keep keep turning it), and that should take care of them. It's possible that even just covering the bags of manure with a dark tarp, for several warm days in the sun, might get it hot enough to kill them off for you. Just an idea!
Jerry says
Interesting subject
Anna says
It really is, isn't it Jerry? The science behind composting really is pretty fascinating!
Glynis says
Thank you - great article!
Anna says
Glynis, thank you so much for the kind words! I'm so glad you found it helpful!
Emma @ Misfit Gardening says
Great way to put all that coop bedding to good use! I've been putting mine into tumbling composters to use it in the gardens.
Janice Gowan says
Hi Anna,
Really like the information on the 18 day composting. I am interested in the pallet bin you created as we have a few pallets. Could you possibly post a picture of it? I was wondering if it was totally enclosed or had an open top or vents in the sides or was it set up off the ground for aeration from the bottom? Thanks - From Canada
Anna says
Janice, I'm so sorry to just be seeing your comment now - I don't know why it got spammed out on me! I will definitely try to take you a photo of our bin...it's really just four pallets wired together, sitting directly on the ground, with an open top. If we are in for really rainy weather and I'm in the middle of a hot compost cycle, I'll cover it with a tarp to prevent the pile from getting drenched. When I'm actively working a hot-compost cycle, I also actually remove the front pallet so that it's three-sided. It makes turning the compost so much easier! I hope this helps!!