

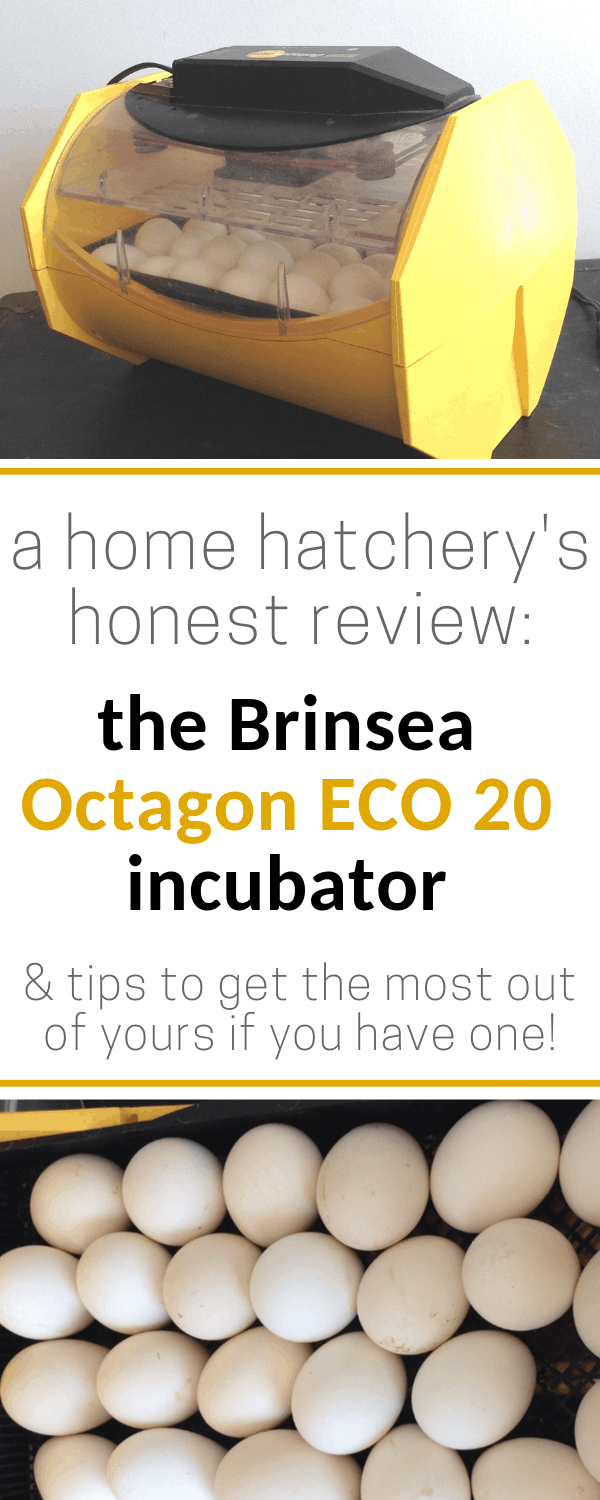
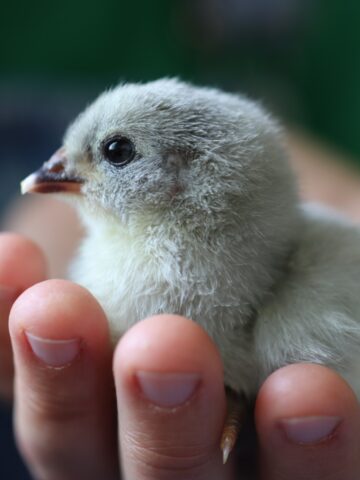
Wondering if the Brinsea Octagon ECO 20 incubator would be a good fit for your hatching needs? I've hatched hundreds of chicks and ducklings in mine, and here's what I've learned...
Hatching season is in full swing right now, even here in chilly Maine. In my house, that means we have all three incubators running in the kitchen. I also have two brooders with chicks and adorable little quail babies in the front room, and as I write this, they're all making those precious little evening sounds that poultry babies make when they're getting ready for sleep.
I like to think of it as vespers.
[convertkit form=1960784]
Hatching season also means that on most days, my inbox is packed with hatching questions - some from friends, or folks that I've sold hatching eggs to. Others from teachers who want to hatch a few eggs with their classrooms. Still others from friends of friends of friends who just know me as a crazy hatching lady who's happy to help folks get started.
Many of those questions are about incubators. Which is the best tabletop incubator? Which is the cheapest incubator that's actually reliable? Can you please troubleshoot what's wrong with my incubator? What do you think of (insert name of incubator model here).
Since I tend to write really long, detailed answers in response to questions about the specific incubators that I use, and find myself typing similar responses many times in a season, I thought this year it might be wise to share my honest opinions about my incubators here on the blog.
Today, I'm reviewing the incubator I set up first every spring, and put away last at the end of each summer.
The Brinsea Octagon ECO 20 Incubator
First, let me tell you what I love about it.
PROS: My favorite features of the Brinsea Octagon ECO 20
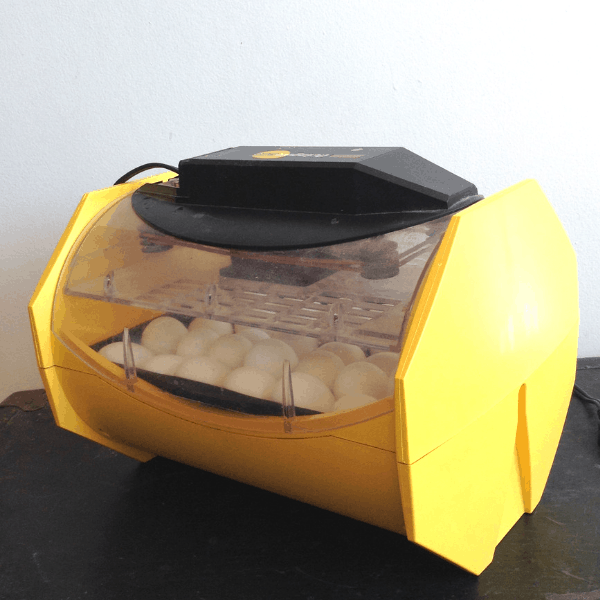
Space-efficient design
I've never worked with another incubator that can fit so many eggs in such a slim space. One of the reasons this incubator is the one I unpack first and put away last, is that it occupies such a minimal space on my counter. I don't need to rearrange my kitchen or find a new home for my houseplants. This little yellow beauty can fit just about anywhere.
It's so easy to clean
Especially if you're used to working with styrofoam incubators, cleaning the sleek and smooth interior of the Octagon after a hatch feels like a cinch. It doesn't hold onto smells like styrofoam can. And even after hatching hundreds of chicks, ducklings, and quail chicks, the yellow plastic body of my 4 year old Octagon still looks new.
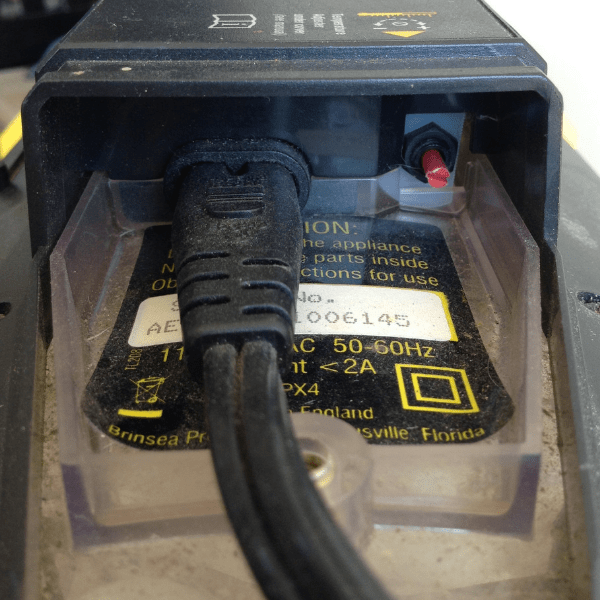
Hidden temperature adjustment console
If you've ever accidentally bumped a temperature control knob on your incubator and not noticed, or had a cat batting at a finely-tuned wafer thermostat adjustment peg in the night - you'll appreciate this feature as much as I do.
The temperature control knob is tucked away inside the end of the top heating console. To adjust it, you need to remove a plastic end cap, and use a tool to adjust the knob clockwise or counterclockwise, depending if you're bumping the temperature up or down. It's not difficult, and I don't find the extra effort frustrating. I love this feature because there's no way the thermostat is going to get re-set, unless I'm doing it intentionally.
Infinitely adjustable to accommodate all egg sizes
Within a single season, I'll hatch everything from large duck eggs, down to tiny little quail eggs in my Brinsea Octagon. Because the rails that keep the eggs in place are adjustable (and they include plenty!), it's to fit as many as possible of whatever size egg you're working with.
Precise and accurate built-in thermometer
I have found the thermometer that comes with the Brinsea Octagon ECO to be extremely accurate and reliable. If I ever doubt the accuracy of another of my thermometers, this is the one I test it against. It's rock solid.
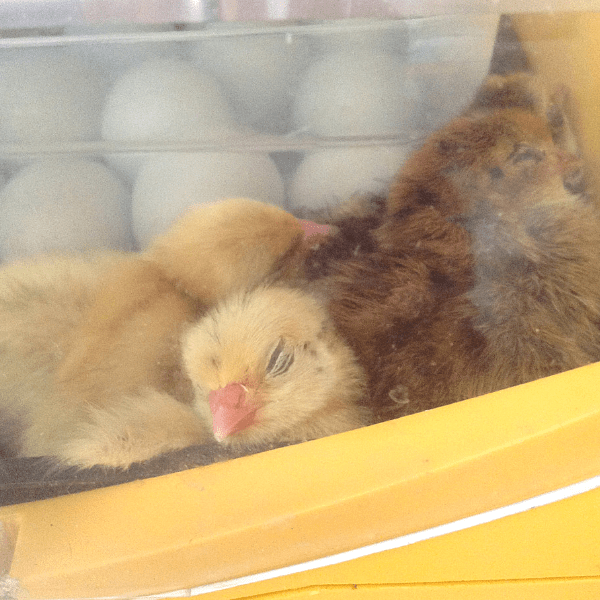
Clear plastic hood for easy viewing
One of the joys of this incubator is that it's SO easy to watch the eggs hatching! Because the top is made of clear plastic, you can easily see in from both sides.
CONS: What I don't love about the Brinsea Octagon ECO 20
Does not hold temperature steadily in a cold room
In my experience, this incubator holds temperature with great reliability if the ambient room temperature is at least 60 degrees.
Living in a little Maine farmhouse that's heated with wood, our home temperature regularly dips into the 50s at night, and if we get a bitterly cold snap, sometimes a bit lower. The Octagon does not handle cold temperatures well. If it's running next to my big old styrofoam incubator, and night temperatures have gotten cold, the temperature in my styrofoam incubator will still be a perfect 99.5, while the Octagon can be as low 97.
To combat this, I'll wrap a blanket around the octagon, leaving the black heating console and vent hole open. Doing this makes it possible to run the Octagon in the early hatching season when nights still get very cold, without too much dip in temperature.
Extremely difficult to maintain humidity in dry climate
The Octagon is made with two wells for holding water, in order to maintain correct humidity. The literature suggests that you should fill one or both, depending which amount of water provides adequate humidity.
If the ambient humidity in the room housing the incubator is at least 30%, I don't have a problem maintaining adequate humidity by filling both channels. However, our wood-heated house can be dry - frequently around 20-26% humidity. In these conditions, I find it barely possible to maintain the correct humidity inside the incubator.
To get around this, I've found that if, when I turn the eggs, I rotate the incubator from one "side tilt" position to the other, but never leave it resting flat up and down, it increases the surface area of the water in the channels enough to bump up the humidity a little bit. Not a huge amount, but enough to make the difference I'm looking for.
Again - this is really only an issue in a very dry house (ours in only really dry for a month or so at the beginning of hatching season). But it's worth being aware of.
Lid design makes it easy to drop
This is a really little pet peeve, but it does bother me. The sides of the black plastic handle portion of the lid are perfectly vertical, and perfectly smooth. I've found that if my hands are either very dry or a little sweaty, it is actually really easy for the lid to slip right out of my hand if I'm holding it with one hand - which a person is likely to do, when removing a chick, or adding a damp sponge to boost humidity on hatch day.
Electric cord easily gets caught in lid
Again, it's a little thing, but the first season I worked with this incubator, I always seemed to get the cord stuck in the edge of the lid when closing it. Once you get used to it, it's easy to remember to hold the cord out of the way, but it somehow feels like a design flaw, even though I'm not sure how they could have done it differently.
Hacks for getting the most out of your Brinsea Octagon Eco 20
Maximizing your egg count
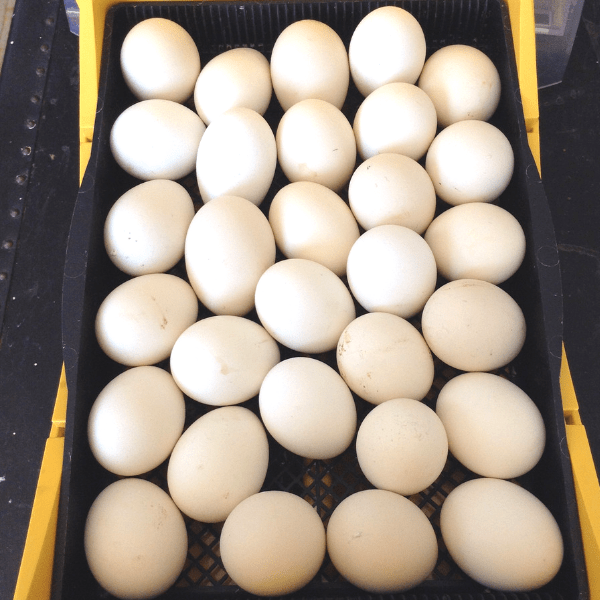
To incubate as many eggs as possible, I generally don't use the rails at all. I carefully keep tucking eggs directly into the tray, until I can't fit any more. If one or two eggs need to be removed after the first candling, a toilet paper tube cut in half works well as a spacer so the remaining eggs don't shift. By filling the tray without spacer bars, I can generally fit 30-32 Icelandic chicken eggs in there. Icelandic eggs are a bit on the small side, as chicken eggs go, but it definitely makes a difference.
Keeping adequate humidity in dry conditions
As noted above, this incubator can have a hard time keeping humidity high enough if your room is dry. Until lockdown, I find that if I simply leave out the middle "flat" position when turning the incubator, and rotate it only from one "side tilt" position to the other, it increases the surface area of the water in the channels enough to bump up the humidity a little bit. Not a huge amount, but enough to make the difference.
When hatching, I generally find it necessary to tuck a few pieces of damp sponge into the incubator to raise the humidity to adequate levels. Again - this is only when our house is particularly dry. When ambient humidity is consistently well above 30%, I don't find the humidity issue to be a problem.
If your cord drives you crazy
If you're finding that the power cord keeps getting caught under the edge of the clear lid, when closing the incubator, using a piece of tape to fasten the cord to the back side of the lid can keep it from happening.
Temperature adjustment
I don't find it necessary to frequently adjust the temperature on my Brinsea Octagon, but I do like to lower the temperature by half a degree during hatch day (especially when I'm hatching ducklings.) To make it easy, I keep a flat mini screwdriver from an eyeglass repair kit in my basket of incubation supplies. It fits the temperature adjustment knob perfectly and makes it so I'm never scrambling for something to use.
That sums up my experience with this excellent incubator. I know I've mentioned a few negative points, but it's worth noting that the most significant ones may not apply to most people. Our home can be cold and dry during part of the early hatching season, which makes the humidity and temperature stability issues something I need to account for. Most folks may not have similar conditions and these points may not be an issue at all.
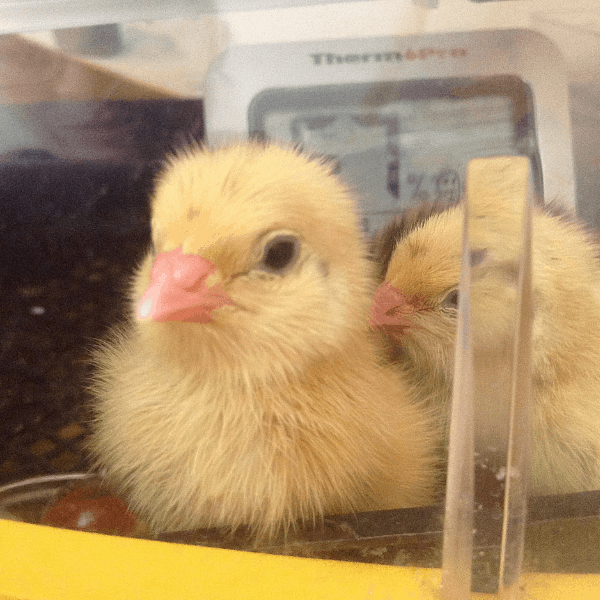
Over all, this is a slim, easy-to-use, excellent little incubator that blows most tabletop incubators out of the water. I get fantastic hatch rates with it, and clean up is a breeze. I've hatched hundreds of ducklings and chicks in mine, and really do love it.
My understanding is that Brinsea is recently phasing out the Octagon models in favor of their new Ovation series, so I suspect those may have some design improvements if you're looking for a brand new incubator. That said - I often see used Brinsea Octagon series incubators popping up on Craigslist and Facebook Marketplace. If you're wondering if they're worth snapping up, my recommendation would be to go for it!
Happy hatching!
Read Next: Hatching Supplies to Buy at the Dollar Store

Anna Chesley
Anna Chesley is a freelance writer living a homestead lifestyle, with a special love for family travel, old books, vintage skills, and seaside living. In addition to founding Salt In My Coffee, she runs the website, New England Family Life, as well as The 1800's Housewife, a website devoted to re-creating authentic 1800's recipes.

Shannon says
I know you use other incubators as well. We had a lot of trouble keeping the humidity correct hatching out duck eggs in a Brinsea, do you have any other suggestions or a better incubator for dry climates?
Anna Chesley says
Yes, this definitely can be an issue in some of the Brinsea models. For a huge amount of control over the humidity level, I find it's really hard to beat a Hovabator. Those bottom trays have enough different water wells that you can pretty quickly figure out how many, and which ones, you need to fill to achieve the precise target humidity level. Best of luck to you!
Amy says
Hi,
We are looking to purchase an incubator soon. How does the 'tilt' work on this one? Does it rotate the eggs as needed or do you need to do it manually? Thanks much,
Amy G
Anna says
Hi Amy! This one is the "ECO" or "economy" version, which requires manual tilting. To have it do the tilting for you, you'll either need the significantly more expensive "Advanced" version that comes with a turning cradle, or would need to purchase the turning cradle separately to go with this (this is the link to the cradle:https://amzn.to/2Gpw5gl).
Since writing this, Brinsea has now come out with a new line - the Ovation, which has a 28-egg auto-turning incubator that's about the same price I originally paid for this manual turn model (this is the Ovation one I'm talking about https://amzn.to/2O2fP9s). I have to say, if I were buying a new incubator in 2020, that's probably the direction I'd go. That said - if I ever see a good buy on a used Octagon, I'd snap it up in a heartbeat. It's a great little workhorse! Hope this helps a bit! And congrats on getting your first incubator!!