

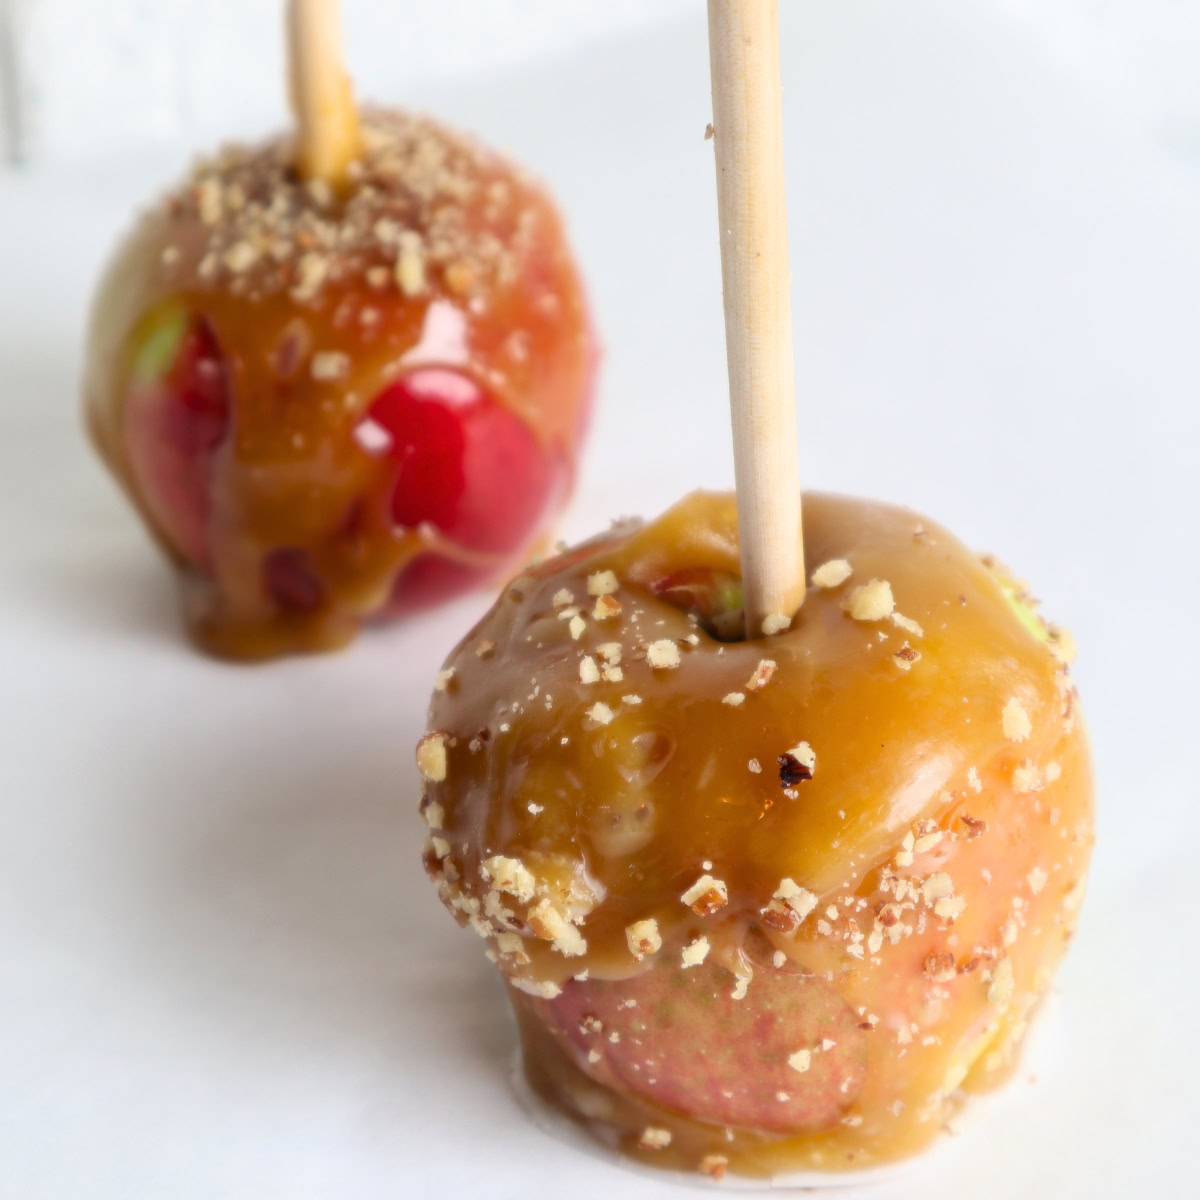
These paleo maple caramel apples have a depth of flavor that will absolutely wow you! Plus, they're paleo, gluten-free and dairy-free!
We went to our local county fair a few weeks ago, and it was such a perfect day. There were oxen pulls, exhibition buildings full of gorgeous quilts and crafts, and home-canned foods galore.
There was a blacksmith doing demonstrations, livestock animals of so many interesting breeds, and my favorite: the history barn, filled with 1800's memorabilia, and staffed with volunteers in historic garb. I just love those ladies. When I retire, I want to be one of them.

There were also candied apples. And I wanted one. Soooo much, I wanted one. Those were what I grew up eating as "fair food", and to me, that's what the fair tastes like. But these days, I know exactly how the ingredients in those brightly-colored candied apples will make me feel...absolutely terrible. The effects start right away, and last for a couple of days afterward.
It wasn't worth it. BUT - the sight of those beautiful apples offered a challenge. Could I make a caramel apple as good as the ones at the fair?
Could I make it...better?
What if we tried MAPLE Caramel Apples?

Y'all, I will never sigh wistfully as I walk past a candied apple booth again. These ARE better. So much better!
One real benefit to making your own caramel apples is that you can choose your own apple variety. The ones in these photos were Prima, and the bright sub-acid flavor profile worked wonderfully as a palette for the sweet caramel.
Other great choices would be Macintosh, Cortland, William's Pride, or Gravenstein.
If you don't have organic apples available, do be sure to really scrub your apples well before coating them in caramel. In the US, nearly all conventionally-raised apples are coated with a wax layer which may be shellac or petroleum based, and can make it harder for the caramel to adhere to the apple.

Bon Appétit!
📖 Recipe

Paleo Maple Caramel Apples
Equipment
- double boiler
- Cookie sheets
- parchment paper
- Popsicle Sticks
Ingredients
- ½ cup honey
- ⅓ cup maple syrup
- ½ cup coconut oil (or ¼c coconut oil & ¼c grass-fed butter)
- ¼ cup water
- 8 firm medium apples
- finely chopped nuts or coconut for garnish, optional
Instructions
- Line cookie sheet with parchment paper. Place apples on a firm surface, and carefully skewer with the popsicle sticks. Arrange apples on parchment lined sheet.
- Now, make the caramel. Add all honey, maple syrup, coconut oil, and water to the top of a double boiler. Bring to a simmer over medium-low heat.
- Continue to simmer, stirring frequently. As the mixture cooks, you'll notice that it first darkens in color, and begins to “pull away” from the sides of the pan. You will
likely see an increase in the volume of bubbling right before this point. Soon after, the caramel will start to lighten in color a bit, and that's when you're going to want to pay very close attention - it means you're really just about done. Cooking the caramel takes some time - usually at least 20 minutes. Caramel can be cooked more quickly in a saucepan directly on a burner, but it's a bit easier to burn it, so I suggest using the double boiler. - Heat the caramel till it reaches 245 degrees on a candy thermometer. You can also check for done-ness using the "cold water test": using a spoon, pour a drop of the mixture into a glass of cold water. Mixture should form a ball that stays together, but is still pliable. (We're going for just past the "soft ball" stage.) If mixture strings out in the water rather than forming a ball, cook for a minute or two longer and try again.
- Remove caramel from the heat, and let it rest for a few minutes. It's easiest to work with when it's begun to cool just slightly.
- Either dip the apples into the caramel, and return to the parchment-lined sheet to firm up, or spoon the caramel over the apples right on the cookie sheet. Both ways work just fine.
- If you'd like to garnish your apples with some finely-ground nuts or coconut, now is the time to do it.
- For best results, let apples cool undisturbed at room temperature for about 30 minutes.
- Store apples not eaten within a few hours in the refrigerator. They're best enjoyed right away, since the apples will begin to soften a bit, but can be refrigerated for a day or two without much loss of quality.
Notes
Nutrition

Anna Chesley
Anna Chesley is a freelance writer living a homestead lifestyle, with a special love for family travel, old books, vintage skills, and seaside living. In addition to founding Salt In My Coffee, she runs the website, New England Family Life, as well as The 1800's Housewife, a website devoted to re-creating authentic 1800's recipes.


Denise says
Has anyone tried this with ghee in place of the butter?
Anna Chesley says
Oh, I would LOVE to hear if someone has! This is a substitution I've not tried myself, but if anybody does, I hope you'll share how it goes!