

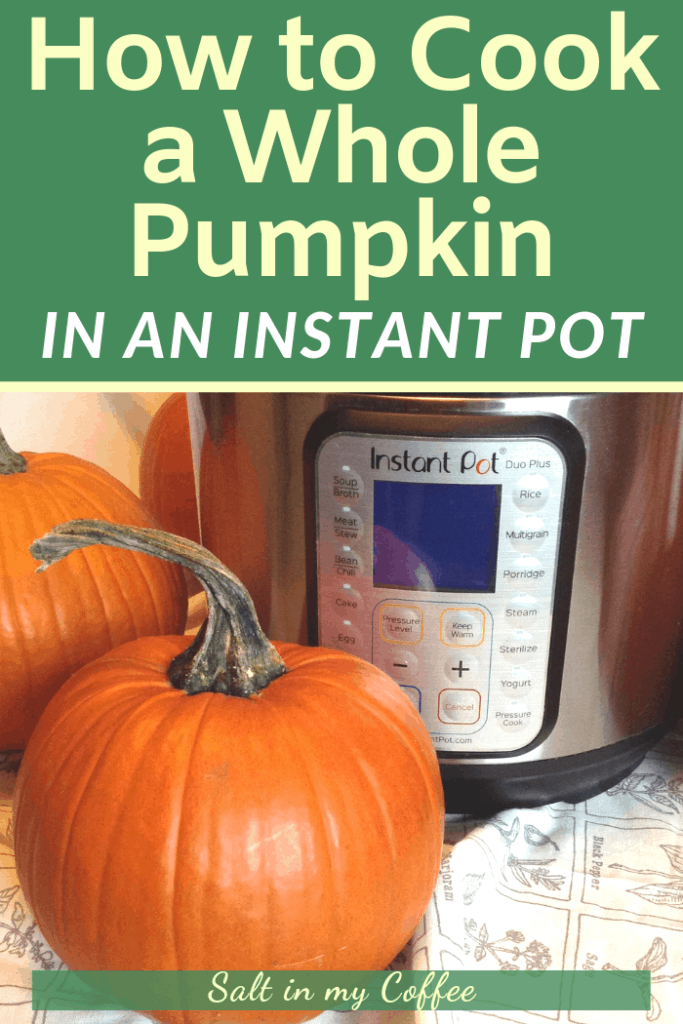
Want to cook a whole pumpkin in your Instant Pot, but not sure how long it takes? Follow this easy rule of thumb to get perfect Instant Pot pumpkin puree every time.
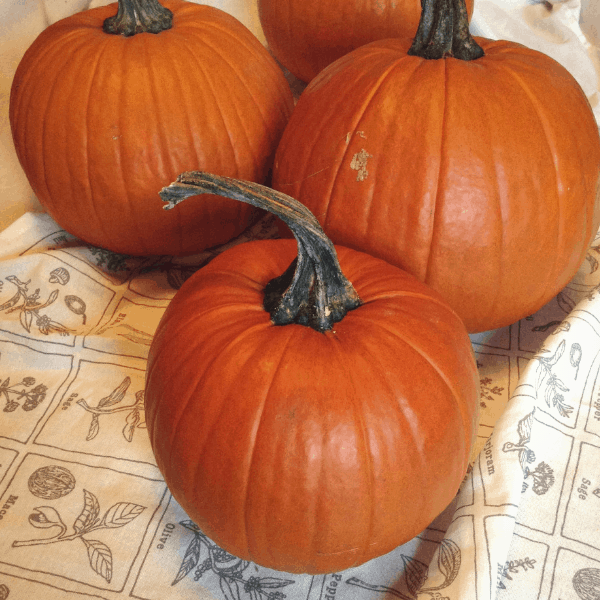
When I stopped by my favorite little farmstand store a few days after Halloween, I was delighted to spot a shopping cart piled high with pie pumpkins when I walked through the door. "SALE! 99 cents!"
Woohoo! Since I didn't grow my usual bumper crop of pie pumpkins this year, I felt like I'd won the jackpot. With my backseat crammed full of pumpkins, I drove home - excited to get the little cuties cooked up, pureed, and in the freezer for winter. We do love our pumpkin muffins around here!
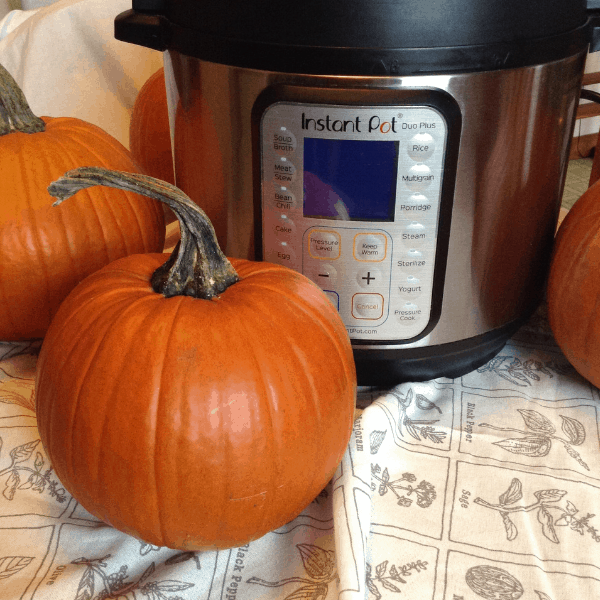
While I've always cooked my pumpkins in the oven, this year I have a new gizmo - my beloved Instant Pot. And I'd carefully chosen pumpkins that I was pretty sure would fit in there. Having cooked tons of winter squash in my Instant Pot, I knew how beautifully it handles this kind of cooking. I was eager to give it a go with my pumpkin stash.
Rather than rely on the timing I've used with winter squash, I did a quick google search for "cooking a pie pumpkin in an Instant Pot". I read several of the posts that popped up to get an idea for how long it should take. The general consensus seemed to be 13-15 minutes.
So I dived into my pumpkin cooking marathon, and being the obsessive kitchen note taker that I am, kept a notepad and pencil handy to record the weight, cooking time, and done-ness of each pumpkin.
By the time I was three pumpkins in, one thing was very clear. 13-15 minutes was not nearly enough time to adequately cook even a 2.2 pound pumpkin. And that's a pretty small pumpkin - mine ranged from 2 pounds up to 5lb, 4.3 ounces. With each pumpkin, there was a very clear line halfway through the thickness of the flesh - dark and cooked toward the outside, light and very much "al dente" on the inside.
It's no wonder that several of the tutorials I'd read called for carving out the cooked pumpkin and putting the flesh through a food processor to make a satisfactory puree. Some even suggested adding water to make pureeing it in the food processor easier - which is just not going to do anyone's baked goods any favors.
I don't want to judge anybody's version of "done" or definition of "puree" - but to me, a perfect pumpkin puree is from a well-cooked pumpkin that can very easily be scooped out with a spoon, and whipped into a smooth and gorgeous puree with nothing more heavy-duty than a dinner fork.
After cooking my way through a kitchen full of pumpkins and filling a notepad with weights, times, and cooking results, I found a rule of thumb that works solidly for me.
Take the weight of your pie pumpkin, and add 20. Pressure cook it that long, on high, then allow the Instant Pot to depressurize naturally. That's it. So if my pumpkin weighs 3 pounds, I'll cook it for 23 minutes on high pressure. Perfection every time.
Here's the full method I follow:
How to cook a whole pumpkin in an Instant Pot
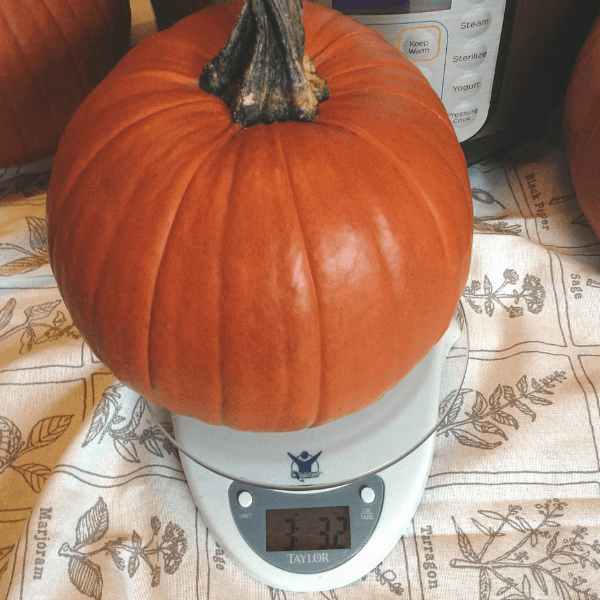
1. Weigh your pumpkin
You'll want to know this, so you know how long your cooking time should be. If you don't have a scale, you can guess - if it fits nicely into the Instant Pot sitting on the cooking rack - it's probably 2-3 pounds. If you have to remove the rack so it can sit directly on the bottom of the pot, it's probably 4-5 pounds.
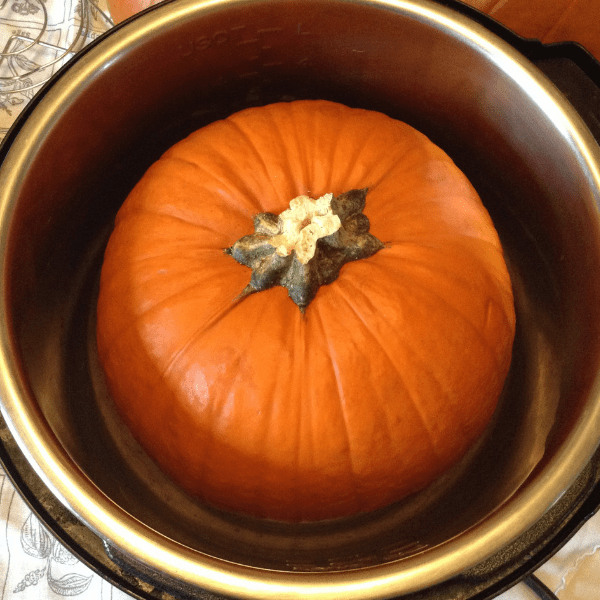
2. Add half a cup of water to the Instant Pot.
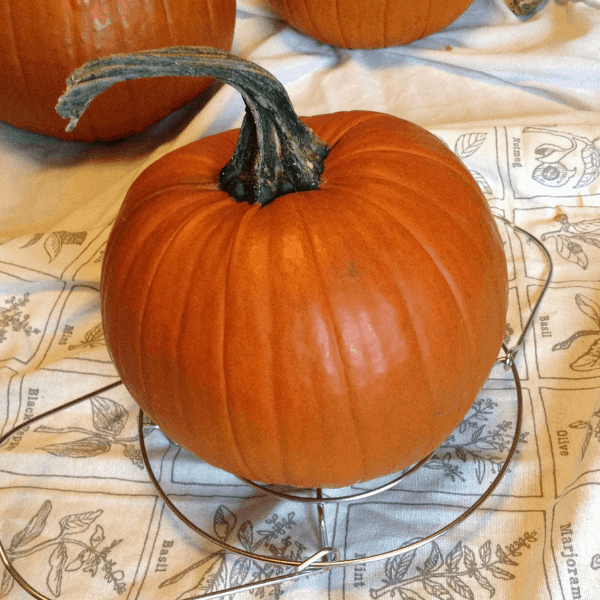
3. Place your pumpkin in the pot.
If you can, set it on the cooking rack - this makes it easier to remove the pumpkin when it's done. That's the only reason for the cooking rack, so if you need to leave it out in order for your pumpkin to fit, and still correctly close the lid - that's 100% fine. It's not going to negatively affect your results at all.
4. Close the lid of the Instant Pot, and set the vent to closed.
5. Select "Pressure Cook" (make sure it's on high), and set the time for the weight of your pumpkin, plus 20.
If you have to guess, go with 23 minutes for a pumpkin small enough to sit on the rack. Go with 25 minutes for one that barely fits, and has you breathing a sigh of relief that you didn't pick a bigger pumpkin.
6. When cooking time is done, allow pressure to release naturally before opening.
Once the pressure has fully released, I generally remove the lid of the Instant Pot, and allow the pumpkin to cool right in the pot, until it's cool enough to work with comfortably.
That's it! You should have a perfectly cooked pumpkin. You can remove it from the pot, cut it in half, and scoop the seeds out. Depending on the variety of pie pumpkin, you may find that the flesh has pretty much separated itself from the skin, so that you can just about lift off the skin. Other varieties hold more tightly to the skin, and you can easily scoop the flesh out with a large spoon.
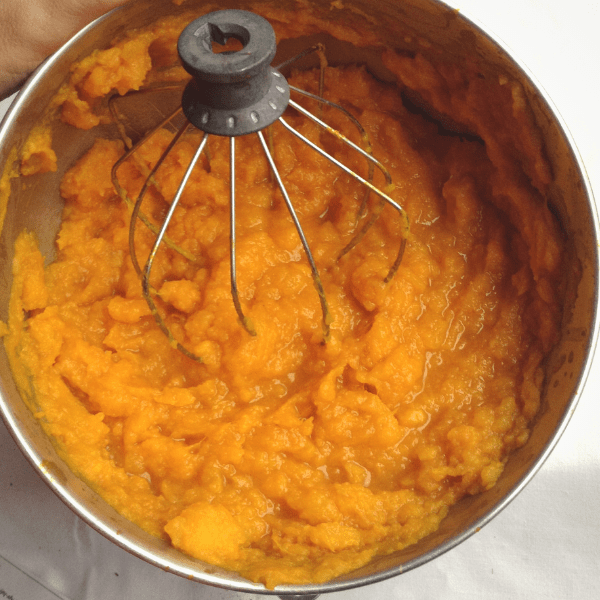
If you're using your pumpkin to make a smooth puree for baking with, you can either whip it with a fork, whisk, or hand mixer (if you're doing just one pumpkin). Or (especially if you're doing several at a time!) you may want to put it the bowl of your stand mixer and use either the wire whip or flat beater to whip it into a perfect puree.
I like to freeze pumpkin puree in pre-measured amounts - either in one cup portions, or in amounts required by recipes that I make very frequently.
Using an Instant Pot to cook whole pumpkins has been such an easy and efficient way to turn a lot of pie pumpkins into wonderful puree for a winter's worth of baked goods. It's going to be my method of choice from now on. I hope it works well for you too!
Happy baking!!
Read Next: How to Make Pumpkin Flour

Anna Chesley
Anna Chesley is a freelance writer living a homestead lifestyle, with a special love for family travel, old books, vintage skills, and seaside living. In addition to founding Salt In My Coffee, she runs the website, New England Family Life, as well as The 1800's Housewife, a website devoted to re-creating authentic 1800's recipes.


mia c. says
My pumpkin is just slightly bigger around than my Instant pot. Can I cut off the top and put in two huge pieces, and will it still cook correctly?
Jenna Frisby says
How long does this last in the fridge and freezer once cooked?
Rachael says
Do you poke holes in the pumpkin or anything? It won’t explode? Thanks! 🙂
Anna says
Hi Rachael! No need to poke holes - it won't explode, I promise! Thanks so much for clarifying. Of course, poking holes won't do any harm, but it's not necessary, and I never do. Hope this helps!
Gayle says
Cooking all the flesh and seeds like this, can I then save and dry the seeds for future plantings? Thank you
Amy says
I don't have a stand mixer but I do have a food processor that also has a dough paddle attachment. Can I puree the pumpkin in my food processor and which attachment would be best to use--the blades or the dough paddle?
Barbara Lugibihl says
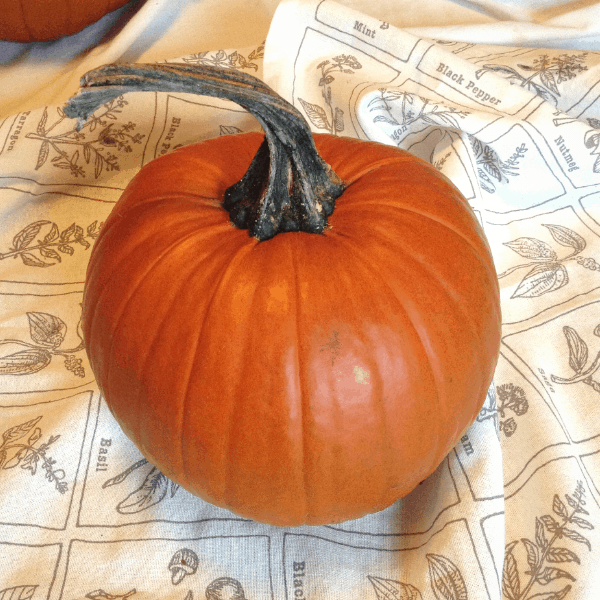
Do you leave the stems on as shown in the picture?
Anna says
Hi Barbara, as long as the cover of the instant pot can completely close, you can absolutely leave the stem on. I do it both ways, without noticing any taste or texture difference. Since it's easier to de-stem after cooking, I now only remove stems if they prevent the lid of the pot from correctly closing.