

If you follow me on social media, you may have gathered that I have a newfound respect for essential oils.
You guys, this essential oil thing was a train I did not want to get on. But it started with the miracle oil that brought sleep back into our lives, after many many days of sleepless teething purgatory. (FIVE teeth at once, y'all. Teething is mean.)
That was my gateway drug.
From there, I discovered oils that help me feel focused and alert when I'm blogging at 2am, ones that help me keep my cool with the messes and mayhem of toddler life, and a couple that help kickstart my enthusiasm for the new day, when the roosters wake us all up at 4:45 in the morning.
In case you can't tell, this mama is hooked.
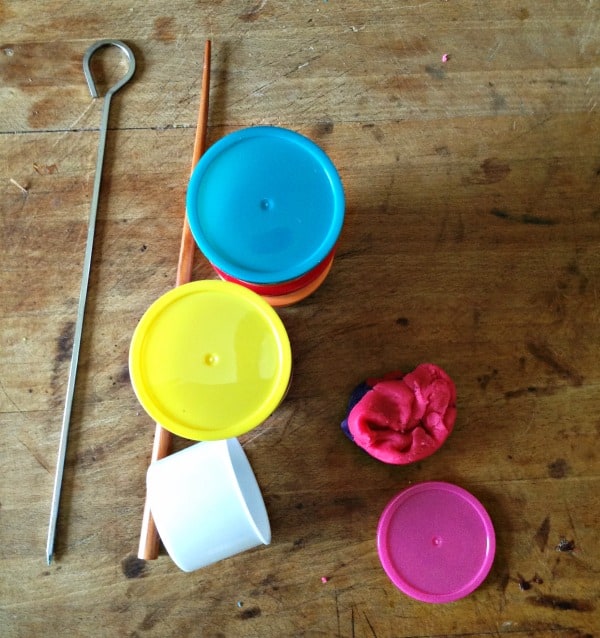
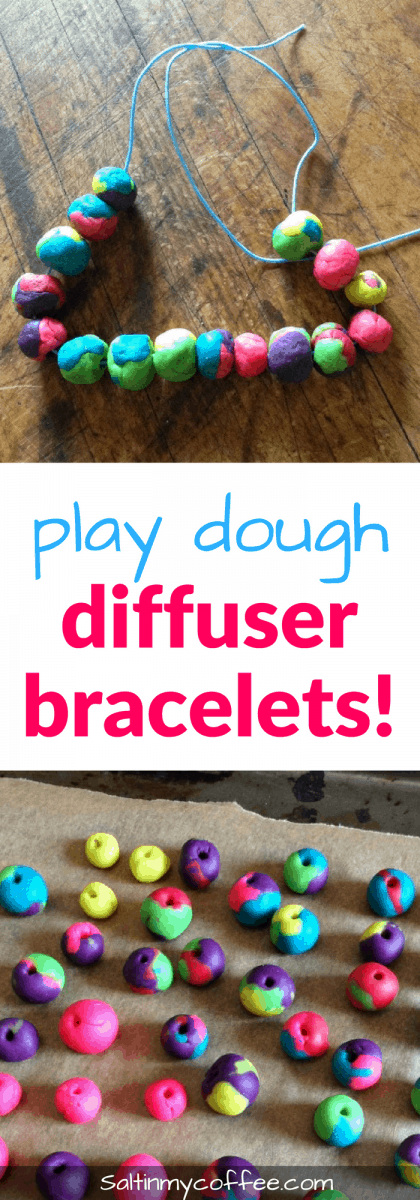
So while we were doing our peach-canning marathon last week, and found ourselves waiting for the big pressure canner to cool down between batches, I got out the play dough with a motive: to make beads for some super-fun diffuser bracelets!
Usually we just have fun making whatever comes to mind. But this time, we set out to make as many colorful beads as we could.
Just about any kind of play dough (name brand, generic, or homemade salt-dough) will work for making beads that will dry nice and hard, and be sturdy enough to hold up in a bracelet. The colors will of course turn out a bit differently though, depending on which you choose.
If you've never made play dough beads, it's the easiest thing.
We use about a teaspoon-sized lump of dough, made up a few different colors, and roll it together into a round little ball. With a skewer, or the point of a chopstick, make a hole through the bead, ensuring that it goes cleanly through both sides of the bead.
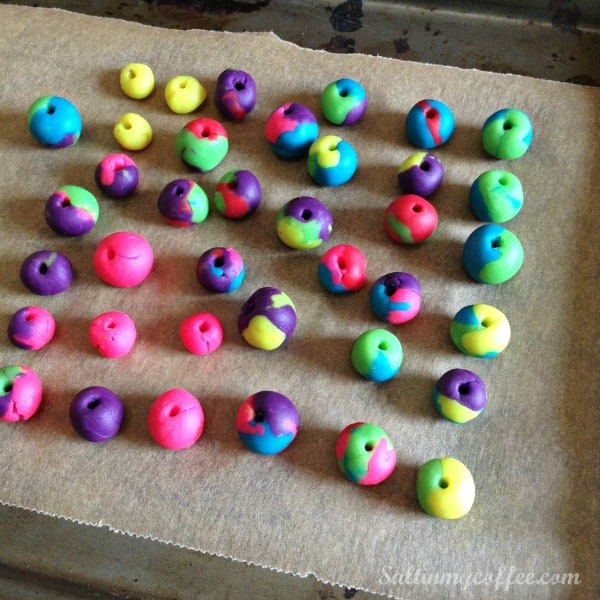
Set the beads on a parchment-lined sheet pan. Cook at the lowest temperature your oven allows (mine is 170 degrees) until beads are hard and dry. This will take a while! Ours took about 5 hours. It's worth it to use a very low oven temperature though, since this helps the beads to dry slowly and evenly, and reduces cracking.
Turn off the oven and allow to slowly cool to room temperature.
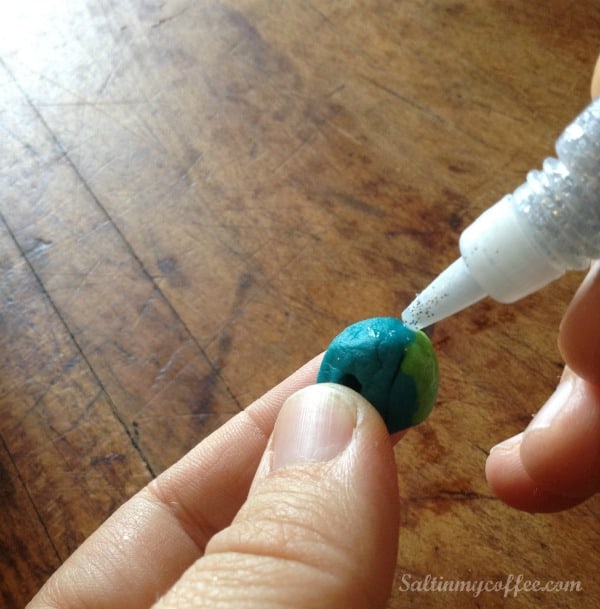
If you'd like to add a little glitter to the beads, now is the time! Little tubes of glitter glue work great for adding just a bit of glitter, without overdoing it, or making a big mess.
Don't get carried away though - you don't want to cover the whole bead in glitter glue, since you want much of the surface to remain porous, so it can absorb the essential oils you're going to put on it.
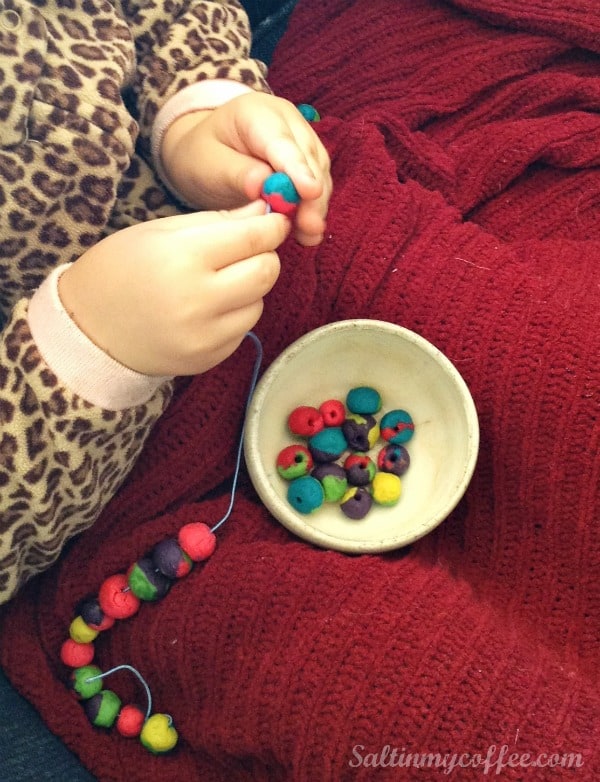
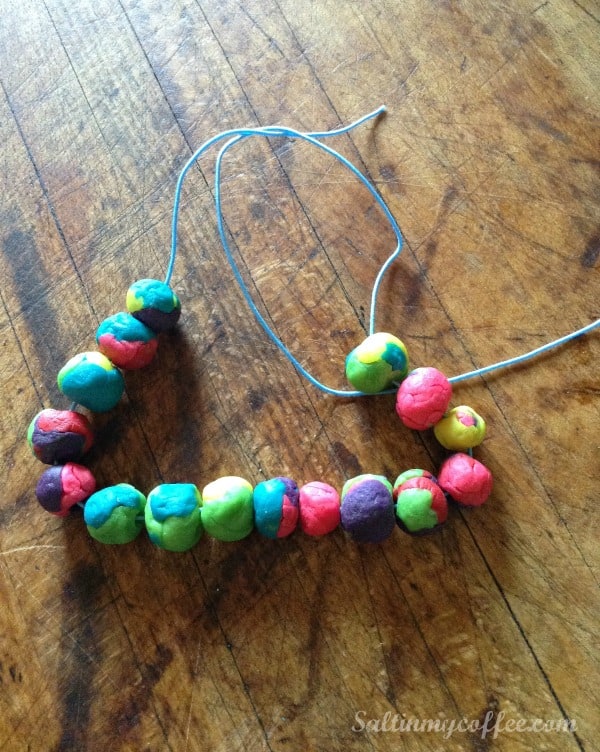
Once the beads are finished and dry, it's time to string them! Izzy was so excited to get started the next morning, she woke up early with one thing on her mind - stringing her new beads!
This is such a satisfying activity for little ones. I use narrow elastic beading cord, and cut a generous length - about 20", which is of course much longer than you really need for stringing a bracelet. It allows for a lot of room to really enjoy the activity of bead-stringing, though, and makes it easy for little fingers to work without losing the beads they've already strung.
Just loosely tie on that first bead, so they don't fall off, and let them have at it!
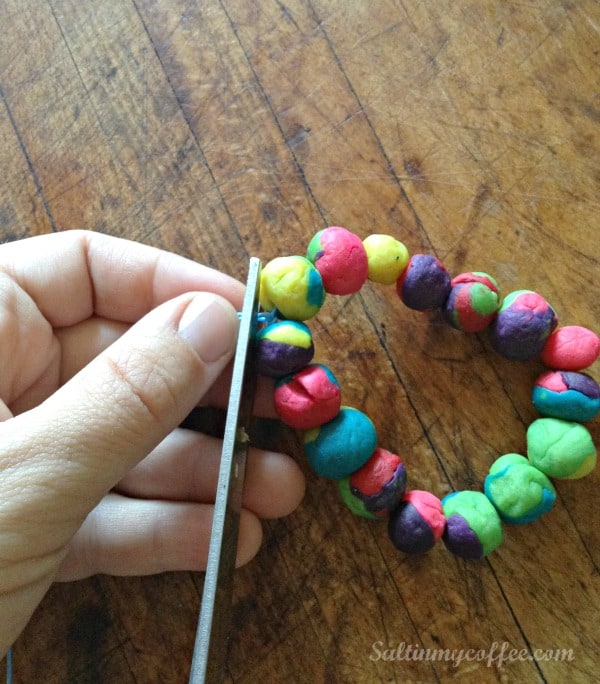
When the stringing fun is done, and you're ready to finish the bracelet, make sure you end up with the right amount of beads to just comfortably fit around the wearer's wrist.
Undo the loose knot you tied around that first bead, then tighten the cord so it's just a little bit stretched as you tie the ends of the bracelet together. Make this one a good tight knot. There will be quite a bit of extra cord that you'll trim off, close to the knot.
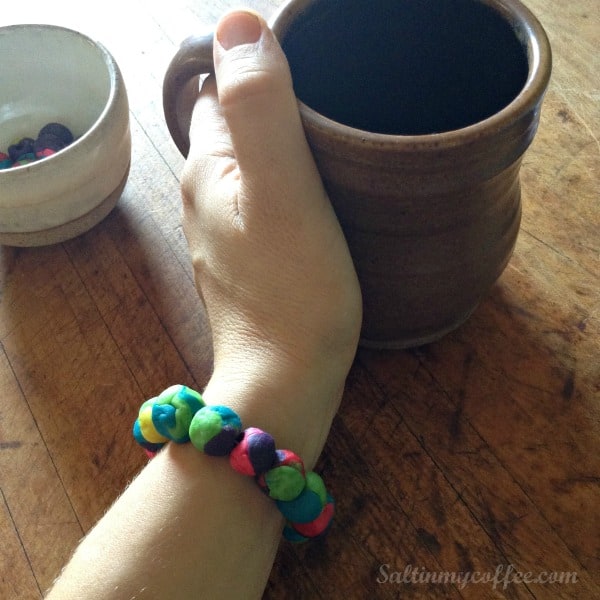
To enjoy it as a diffuser bracelet with your essential oils, just lay the bracelet flat, and add a single drop to 2 or three beads. It doesn't take much! I also find that applying oil from a roller bottle works well. Instead of dripping out a drop of oil, just roll it lightly along the surface of several beads.
Let the bracelet sit for a few minutes to really absorb the oil, and then go ahead and wear it.
These beads absorb the oils very well, and hold onto the scent for many hours - quite a bit longer than the diffuser bracelets made from paracord, in my experience anyway.
As with any un-glazed clay bead, you'll of course want to keep these from getting too wet. A little damp is absolutely fine, but definitely take it off before doing dishes or giving the kids a bath.
If you make one, I really hope you enjoy your new play dough diffuser bracelet as much as I've been enjoying mine. It's hard to beat a colorful strand of happiness on your wrist, when it was made by your sweet kids, and smells like heaven and makes you feel good to boot!
I'll never be a pusher about essential oils - but seriously, they've been making my life happier in so many ways. If you ever want to know more about getting started with oils, shoot me an email - I'll chat oils til the cows come home!
Read Next: Favorite Easy Lullabies From Movies

Anna Chesley
Anna Chesley is a freelance writer living a homestead lifestyle, with a special love for family travel, old books, vintage skills, and seaside living. In addition to founding Salt In My Coffee, she runs the website, New England Family Life, as well as The 1800's Housewife, a website devoted to re-creating authentic 1800's recipes.


Robertatalloni says
Such a neat project with many possibilities. I'm looking forward to using this to make tea tree oil beads for next summer's gardening…maybe even using them as headbands, ankle bands...