

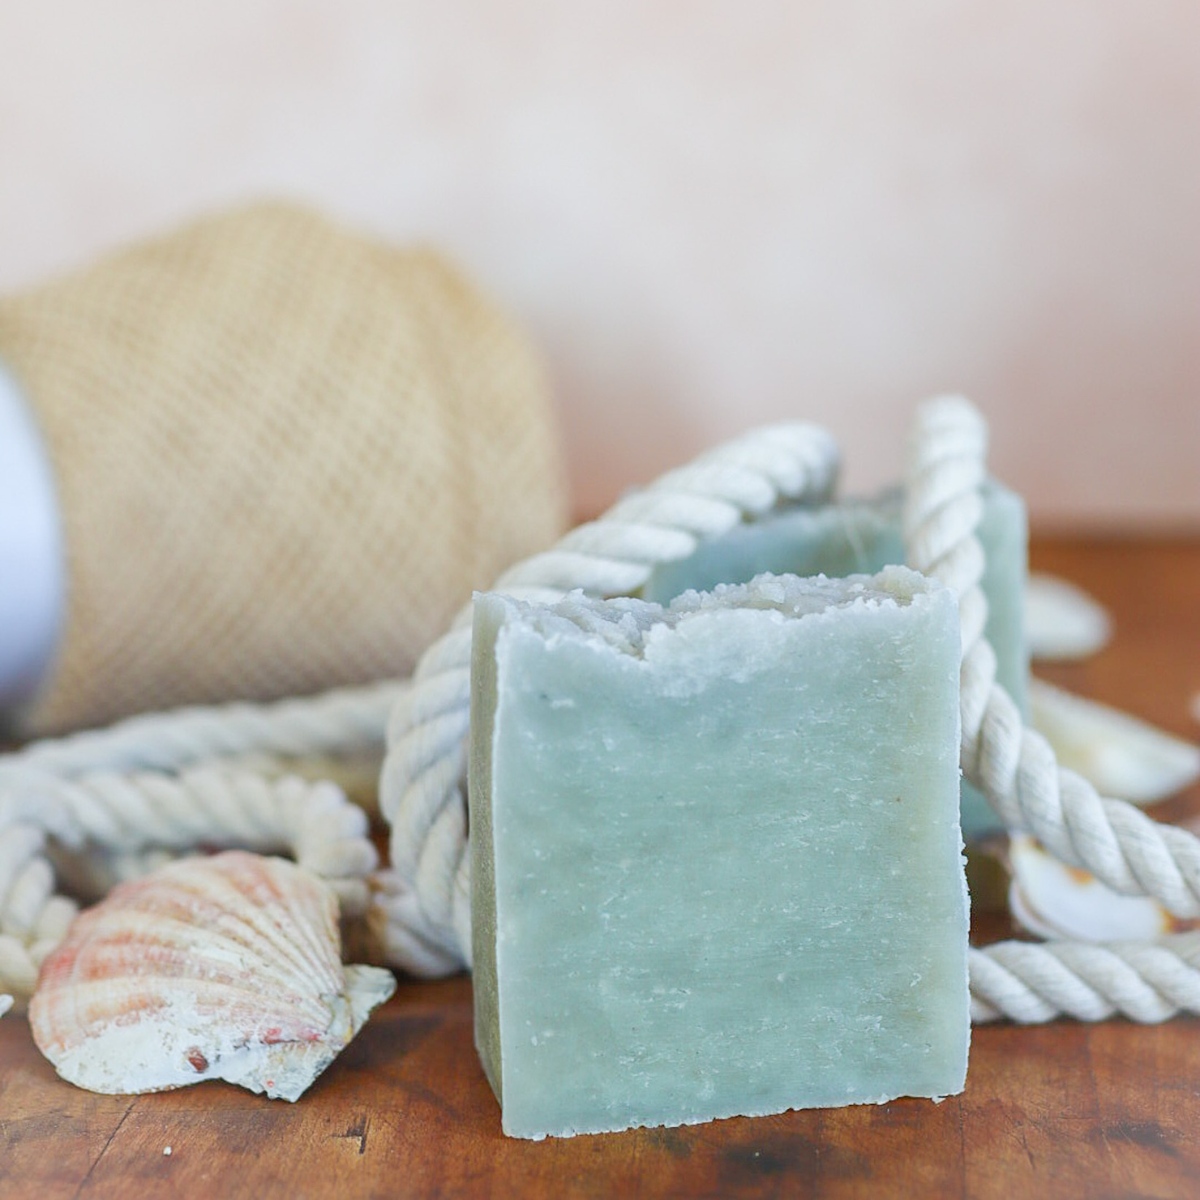
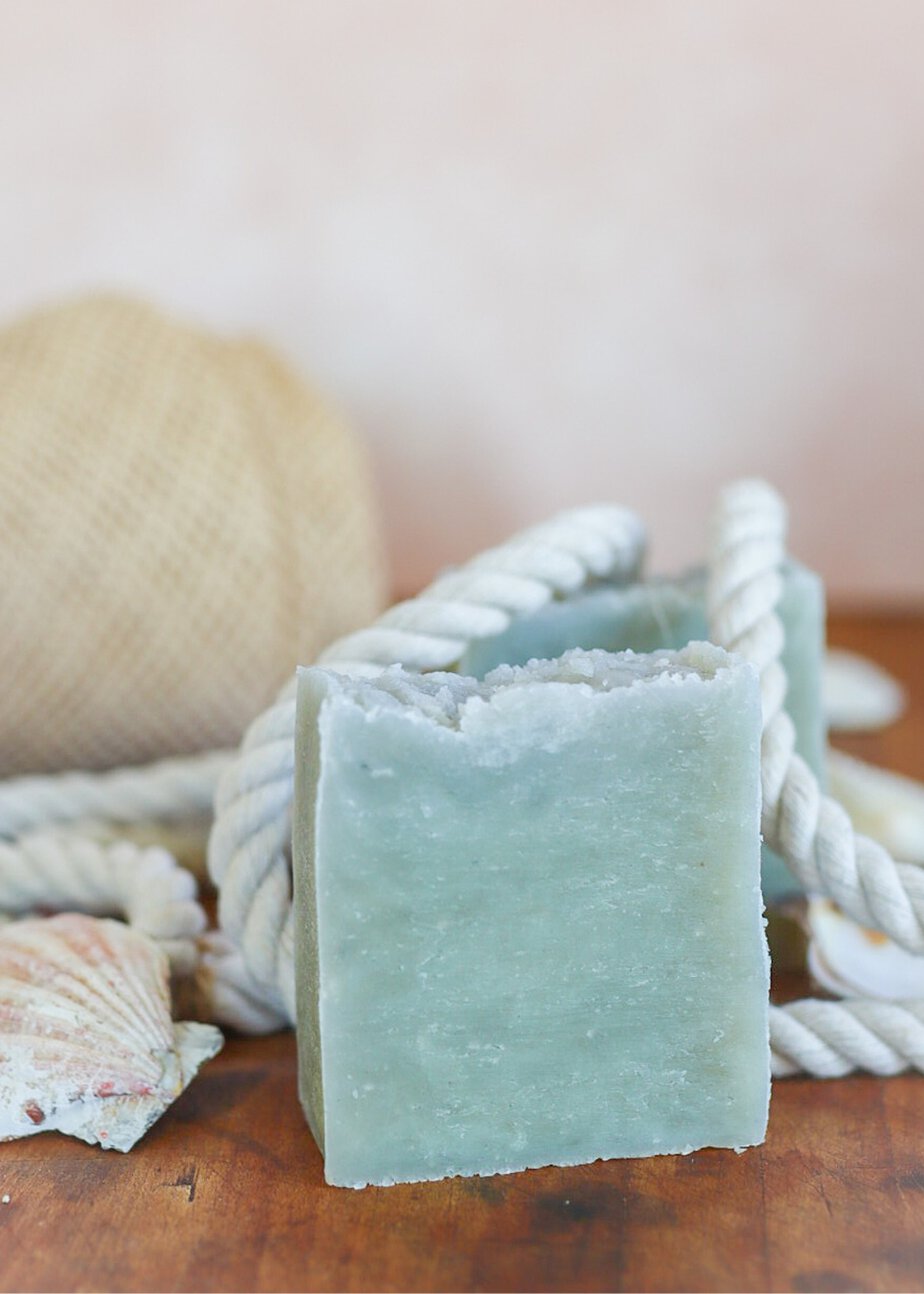

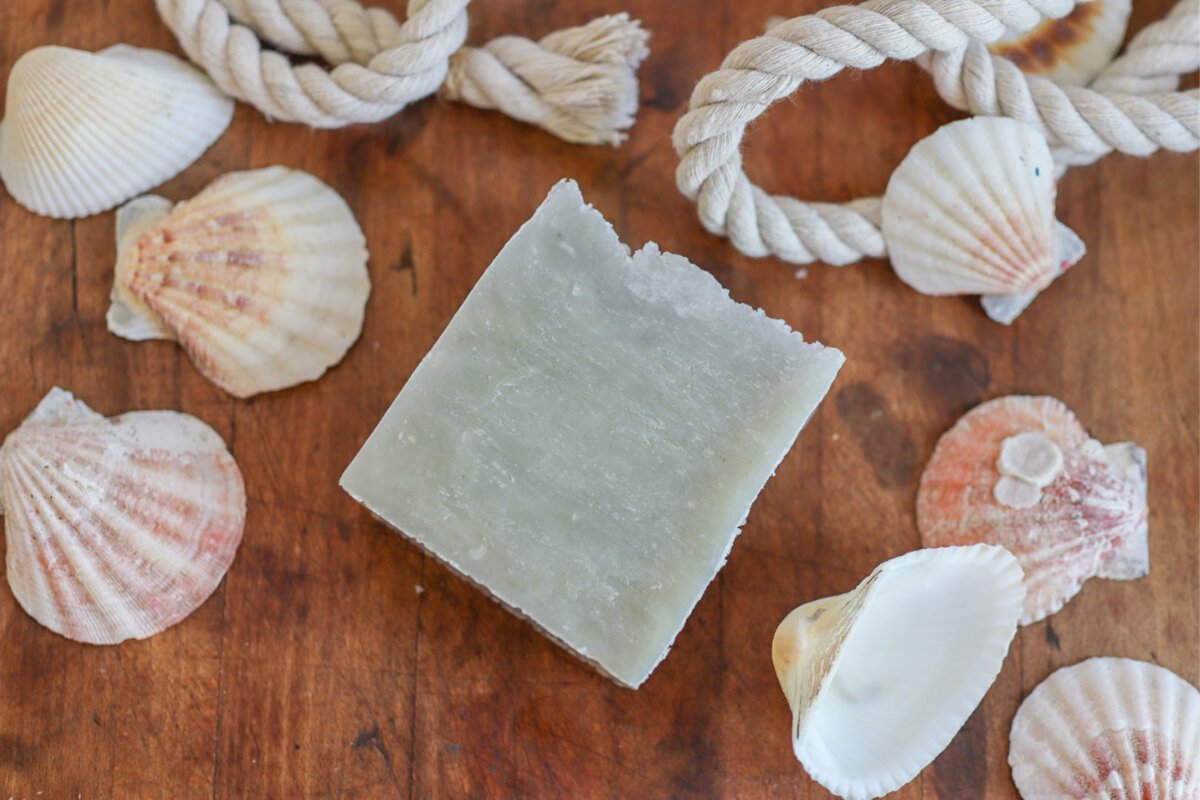
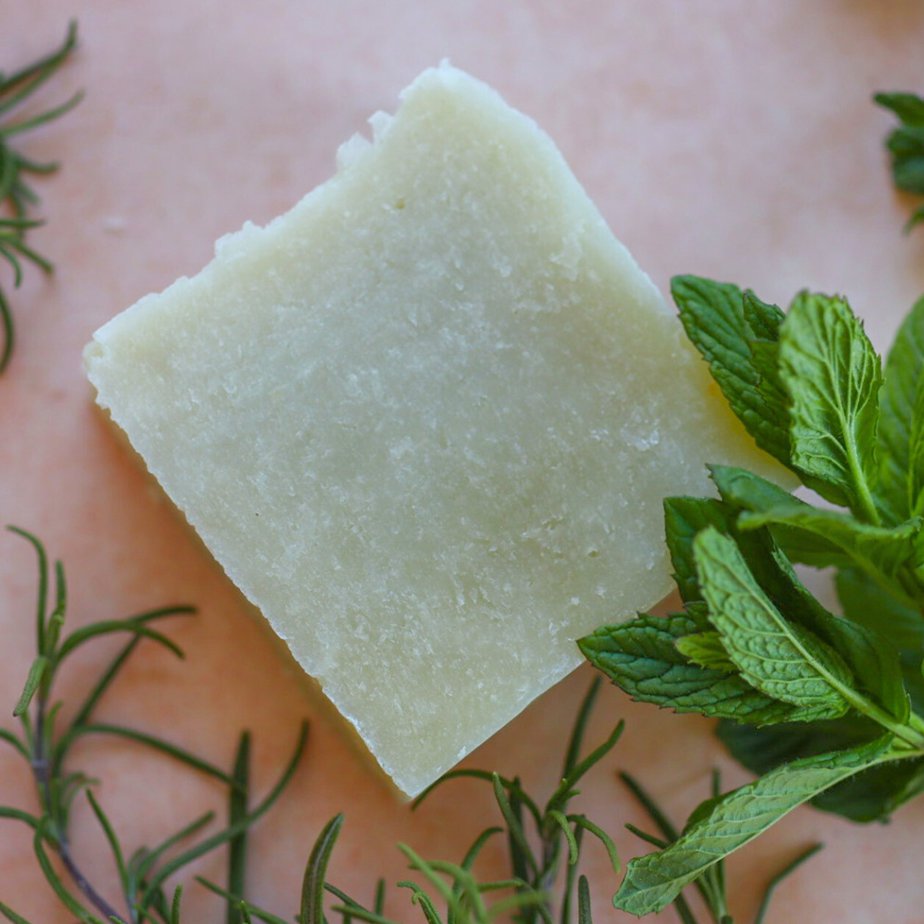
This easy homemade soap is extra soothing to the skin, because of the nettle-infused olive oil. With a good lather, and bright, cooling scent, it's one of my favorite summer soaps for freshening up after a day at the beach or in the garden!

I tend to go through crafting phases. One month, I'll be ALL IN on sewing. A few months later I'm wood-burning all the things. Anybody else relate?
Last month it was soap making. This is one of those hobbies I can't neglect for too long or we run out of soap, and after using homemade...going back to store bought is just not an option!

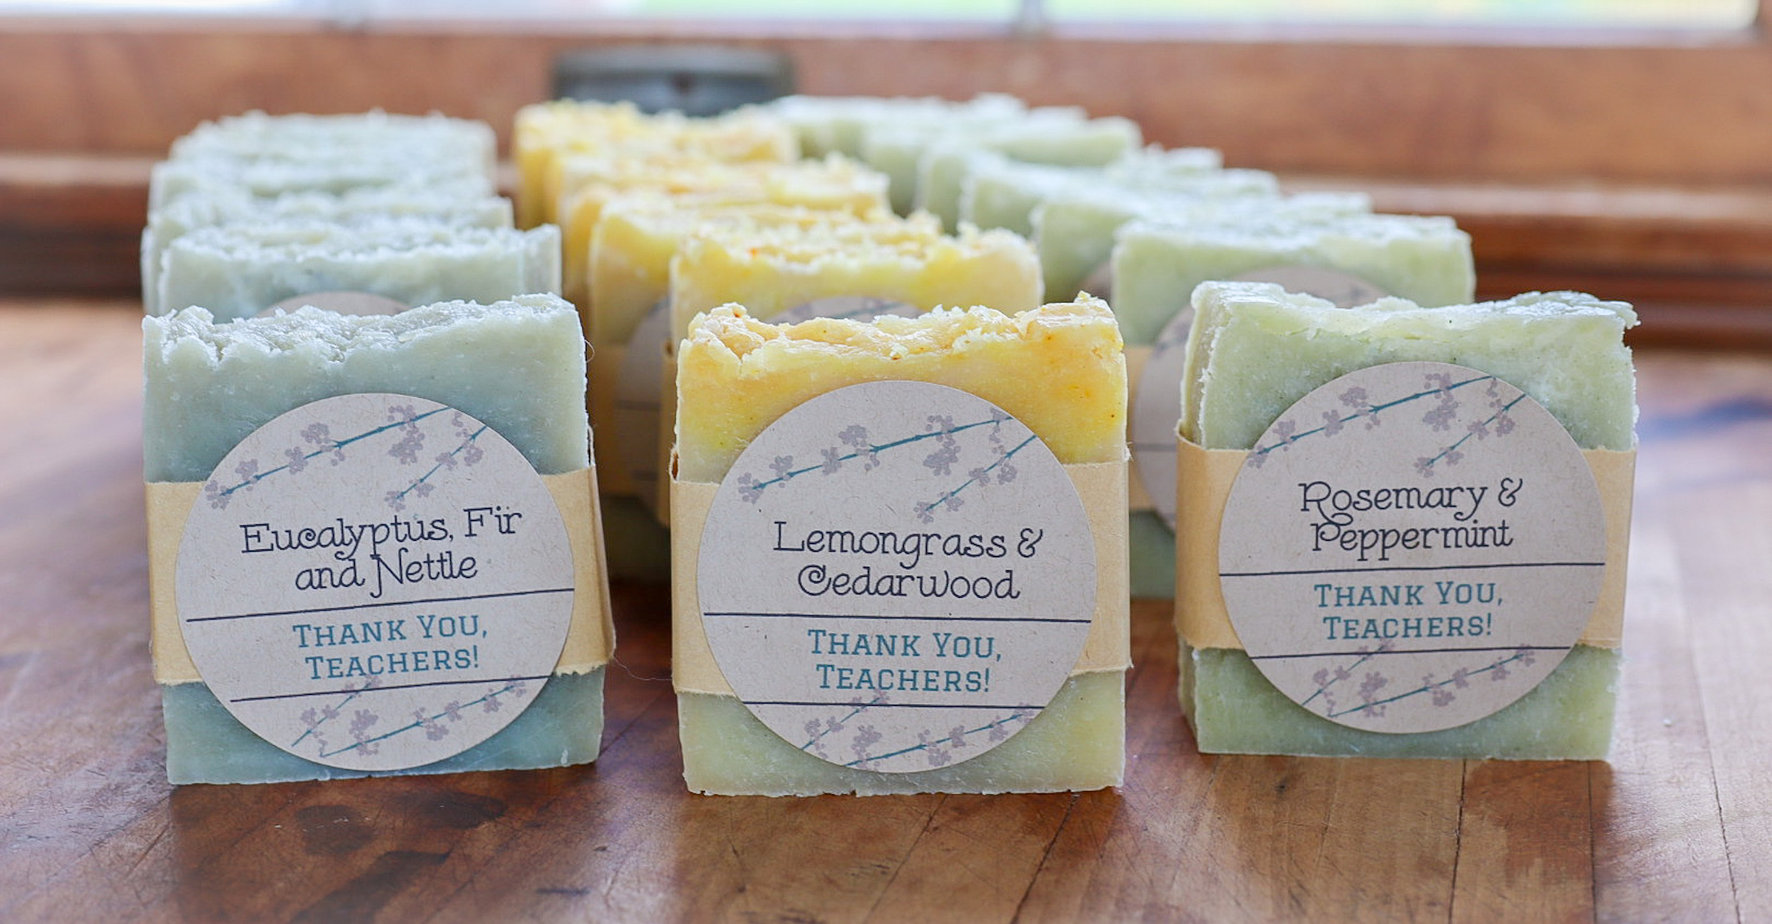
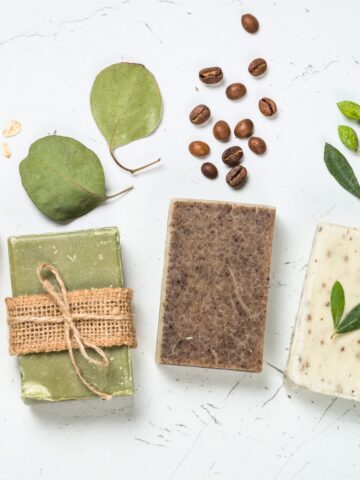
With my kitchen counter taken over as a soap-making station, I had fun experimenting with some new scent combinations. It was also a great chance to try some using some different herb-infused oils.
One of my favorites ended up being a wonderful nettle-infused olive oil, which I used in this recipe. What I love about the nettle is that it's actually really soothing to the skin, and science shows it can play a beneficial role in a regular skin care routine.
When I think of nettle, my first thought is "ouch!" Most of us have probably touched stinging nettle at some point, and it's not something anyone would be eager to do again on purpose.
So I truly enjoy the irony that nettle has so many beneficial properties, and that including it in soap can create an extra soothing, healing bar!
That makes this particular soap a great choice for freshening up after your skin has been in the salt and sun at the beach all day.
This is recipe is going on my regular rotation of soap that I always want on hand.
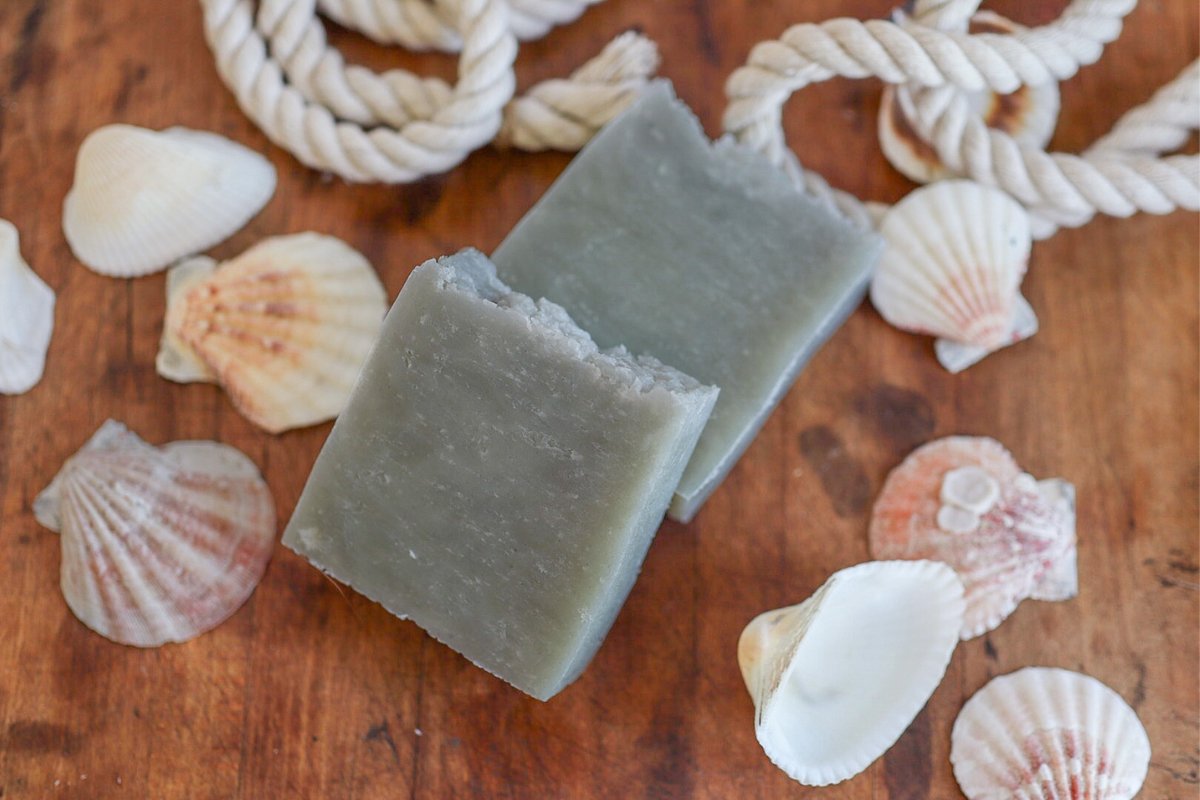
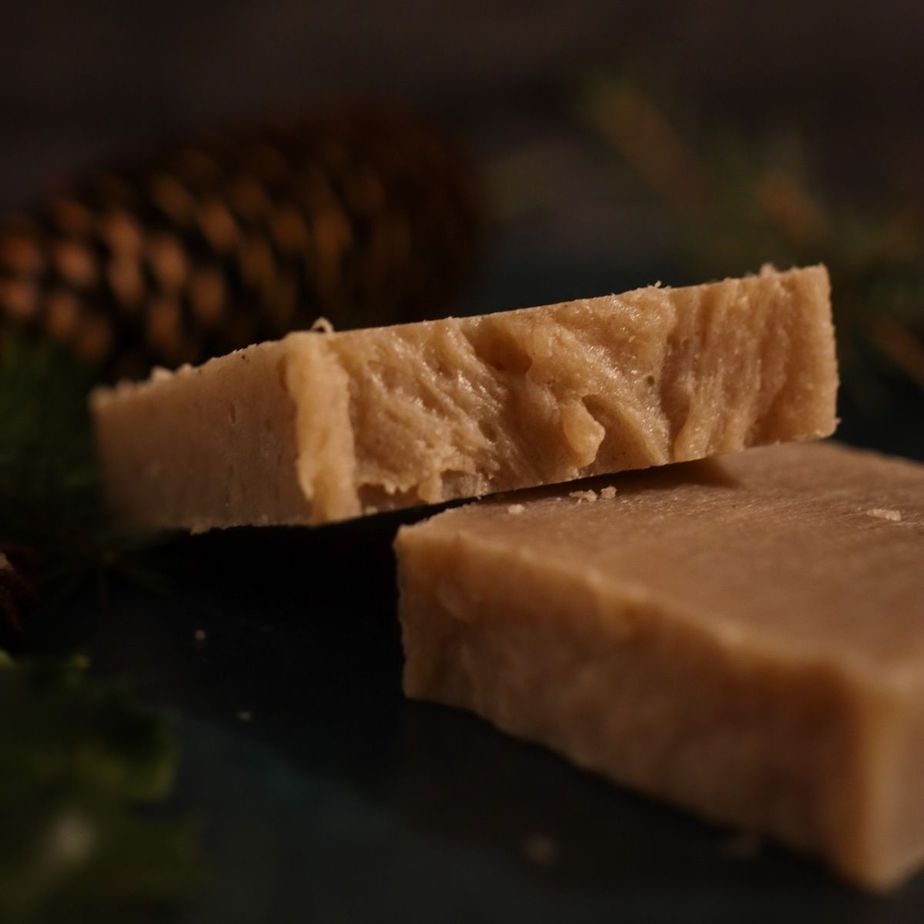
If you've ever made soap, you'll find this hot process recipe to be very easy. It's a good basic soap recipe that makes a nice firm bar, with good lathering and cleansing properties.
Never made soap before? That's ok!
Honestly, this recipe is so easy, you'd be fine just going for it. However, you really can't go wrong by jumping over to my friend Heidi's excellent tutorial on hot process soap making, just to get comfortable with the steps involved in soap making.
Once you've got an understanding of how to make soap, this is a beginner-level soap recipe that is very easy to make!

Some frequently asked questions
Can I substitute different oils for the ones in this recipe?
No. Different oils have different properties, and soap recipes need to be calculated exactly. The amount of lye in this recipe is exactly calculated based on the specific oils listed in the recipe, and substituting could result in an improperly saponified mixture, which could be caustic.
However, if you're talking about swapping out different essential oils, go for it. You can use this basic recipe with any type of essential oil you'd like.
How do I get the nettle oil for this recipe?
All you need is dried nettle, and olive oil. Just follow the easy directions in the recipe below, and you'll be all set. This of making the nettle oil as "step one" for making this soap!
Is this a strongly scented soap recipe?
I tend to make my homemade soaps on the well-scented side, and would call this one "moderate" in terms of scent level. That said, if you're used to working with fragrance oils rather than essential oils, the scent of this recipe may seem underwhelming. On the other hand, if you're very sensitive to scents, even natural ones, you may want to cut the essential oils in half for a very mildly scented bar.
Can I use this recipe to make cold process soap?
YES! Most soap recipes can be made using either process. Just don't forget to let it cure fully, for 4-6 weeks.
Do you have any other questions about making this hot process soap recipe? Ask away in the comments below!
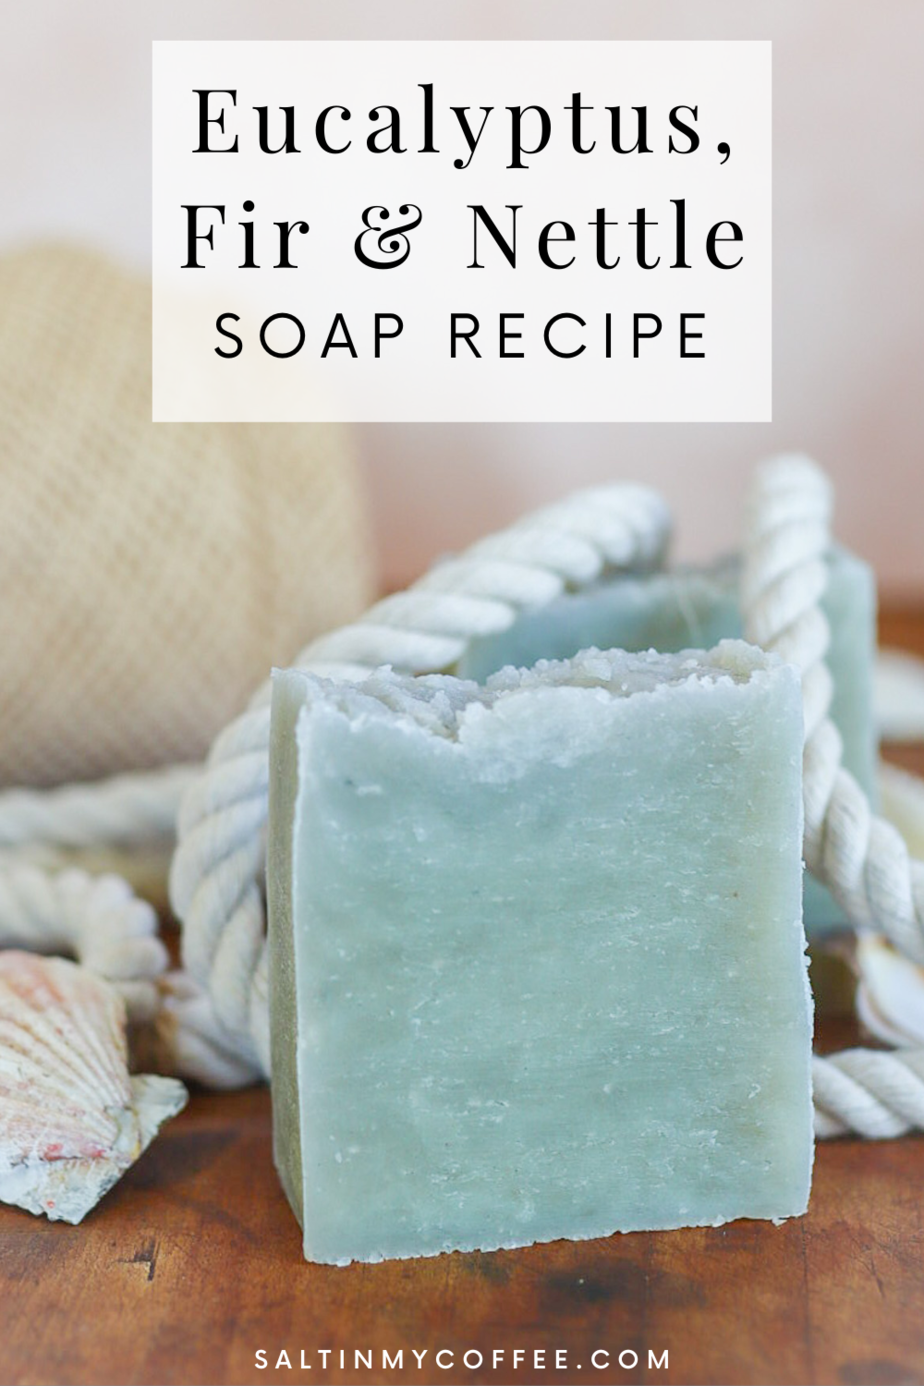
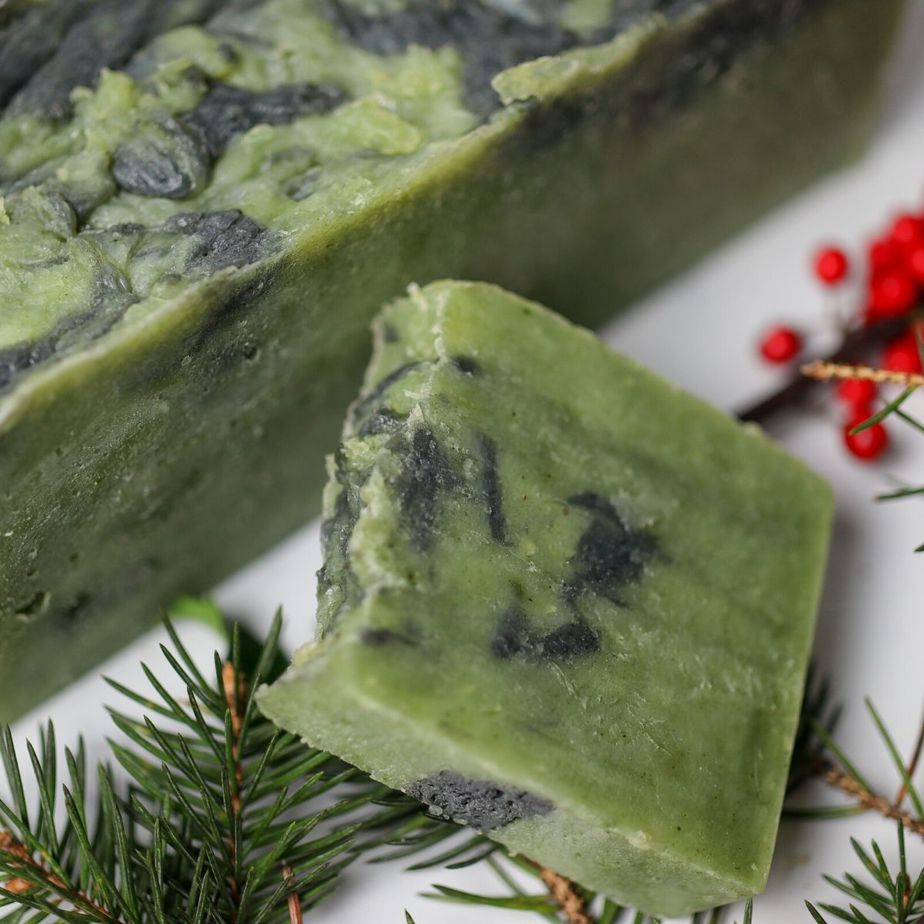
Eucalyptus, Fir, and Nettle Hot Process Soap Recipe
Equipment
- Crock Pot
- Soap mold
- kitchen scale
- Immersion blender
- safety glasses
- long latex gloves
- non-reactive stirring spoon
- non-reactive measuring containers
Ingredients
- 12 ounces coconut oil
- 12 ounces nettle infused olive oil (SEE NOTE BELOW)
- 4 ounces shea butter
- 4 ounces castor oil
- 12.16 ounces water
- 4.61 ounces lye (sodium hydroxide)
- 1 ounce Eucalyptus essential oil
- .75 ounce Fir essential oil
- 2 capsules activated charcoal (or about ½ tsp)
Instructions
Prepare your workspace
- As with all soapmaking sessions, prepare by clearing your workspace and ensure that you have abundant clear counter space. Don't allow pets or children to wander through your work area.
Making this hot process soap recipe
- Start by putting all of the oils/butter into the crockpot. Set it to LOW, and allow it to warm until all of the oils are melted. The shea butter will take longest to melt, and you can give it an occassional stir to help it along.
- Weigh your water into a heat-safe, non-reactive contatiner, with plently of additional room to mix in the lye.
- In another non-reactive container, weigh out the correct amount of lye.
- Slowly pour THE LYE INTO THE WATER (never the other way around), stirring slowly until all of the lye is fully disolved into the water. The lye mixture will immediately begin to warm up. (Unlike with cold process soap, you don't have to wait for the lye mixture to cool to a certain temperature. As long as all of the oils are fully melted, you can actually pour the lye into the oils as soon as it's mixed.)
- Carefully pour the lye mixture into the melted oils.
- As soon as the lye is poured into the melted oils, use an immersion blender to bring the lye and oil mixture to trace. When the mixture reaches trace, you'll know, because it will look like vanilla or butterscotch pudding. When you lift the immersion blender, it will leave a gentle peak in the mixture, and any drops will linger on the surface as little blobs. It REALLY looks like pudding.
- Put on the lid of the crock pot, and let the mixture cook. You'll see the mixture start to get translucent around the edges and start to "crawl" up the side of the crock pot. Definitely give it a stir if it threatens to flow over the edges, and it doesn't hurt to give it the occassional stir even if it doesn't.
- The soap needs to cook until until it's no longer caustic, which takes about 40-50 minutes. It will go through several phases - translucent around the edges, then lumpy and cloudy looking (I've hear this called the "mashed potato stage" and it's really what it looks like!) Then the soap will start to get translucent again. It's a good idea to give the whole thing a stir about once every 10 minutes, to keep it all cooking evenly.
- When the soap starts to get evenly translucent again, you can go ahead and test it. I use the "zap test", recommended by Heidi at Healing Harvest Homestead. Take a little bit of soap between your fingers, and rub it around. Does it feel waxy? If it's feeling waxy, go ahead and touch your tonge to it. If it "zaps" and tingles your tounge, it's not quite done yet, and needs to cook a little longer. If it just tastes like soap. You're ready.
- Once the soap is done, go ahead and turn off the crock pot and remove the lid. Let the soap cool for 5 minutes. You want a little of the heat to escape before adding the essential oils, so they don't burn off.
- Add the essential oils and contents of the charcoal capsules. Still well until the mixture is evenly blended.
- Now, lift the soap mold and firmly thump it on the counter several times to release any bubbles, and help the soap settle well into every corner of the mold. (I truly THUMP it really hard on my countertops - it's not very graceful, but does an effective job at getting good solid bars of soap!)
- Now, let the soap just sit and cool for at least 8 hours, before unmolding it. If you really need to rush it, you can put it in the fridge, and get away with unmolding after about 4 hours.
- While the soap is technically read to use right away, I like to let it sit and harden for about two days after it's unmolded, before slicing the soap loaf. Then, once it's sliced, I usually let the bars of soap sit for another day or two to harden up a little more, before I package them. That said - there's no rush to cut your loaf of soap, and it's actually a great way to store the soap if you're not using right away. You can just leave it as it is, and slice of bars of soap as you need them.
- To make your bar soap last well, be sure to use a well-draining soap dish that lets your bar dry in between washings. Sitting in a puddle of water drastically reduces the life of your soap. Enjoy!
Notes

Anna Chesley is a freelance writer living a homestead lifestyle, with a special love for family travel, old books, vintage skills, and seaside living. In addition to founding Salt In My Coffee, she runs the website, New England Family Life, as well as The 1800's Housewife, a website devoted to re-creating authentic 1800's recipes.
VINEVIDA says
Your soap-making skills are truly impressive. This recipe seems like a wonderful way to bring the soothing scents of nature into our daily routines. Looking forward to more amazing recipes
Anna Chesley says
Thanks so much for the kind words!