


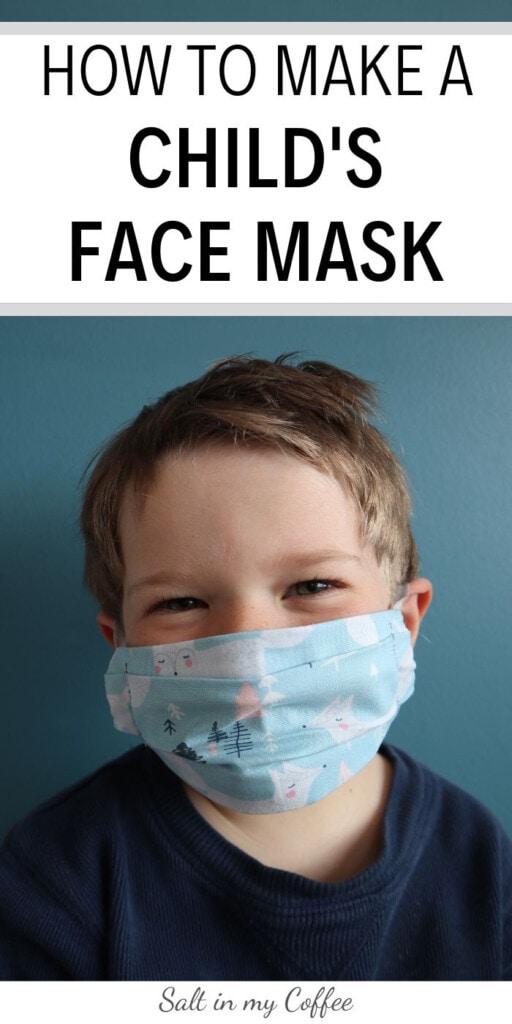
This child's face mask pattern fits most kids ages 2-6, and has a pocket for an optional filter. For larger children, I recommend making the full-sized mask pattern that this pattern was based on, shortening the ear loops for correct sizing.
Over the last few weeks, I've been busily making fabric masks for nurses that don't have adequate protective gear. Using the same pattern as the one the nurses requested, I've also made masks for our adult family members to wear when one of us goes grocery shopping.
But as the importance of everyone wearing masks when in public has continued to become more clear, I wanted to make sure every kid in the family has at least one well-fitting mask to wear, just in case we all need to go out for some reason.
The kids had tried on the adult-sized masks for fun, so I already knew the masks I've been making are too large to give a good fit on most little faces. Rather than start from scratch, I decided to adjust the sizing on the mask pattern that I've been making - it's one that was designed by the folks at "Gather Here and Make Something," and is the preferred mask pattern of the medical professionals that I've been sewing masks for.
ALL credit for coming up with this excellent mask pattern goes to those creative folks...this pattern is just a mini-sized version of that one, and for anyone who learns best by watching video, I recommend watching their instruction video on how to sew the adult version of this mask.
How to make a child-sized fabric face mask
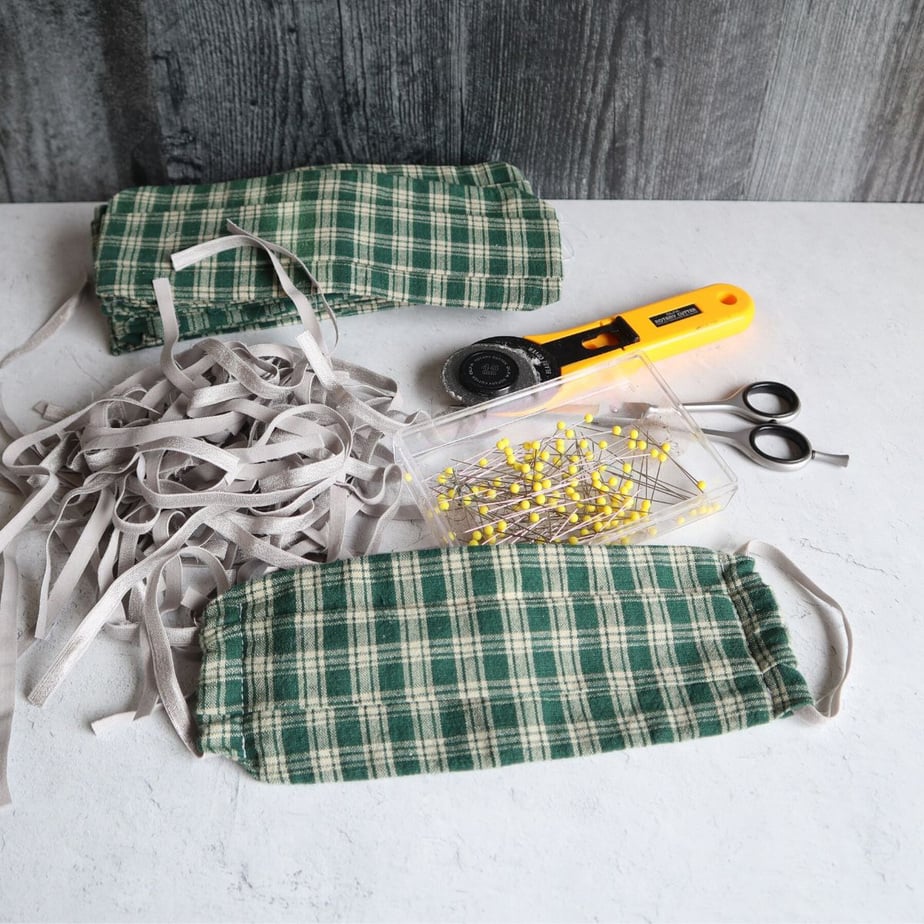
Materials
- Tightly-woven cotton fabric (you can get several child-sized masks from one fat quarter)
- 20 inches of ⅛" - ¼" fabric elastic
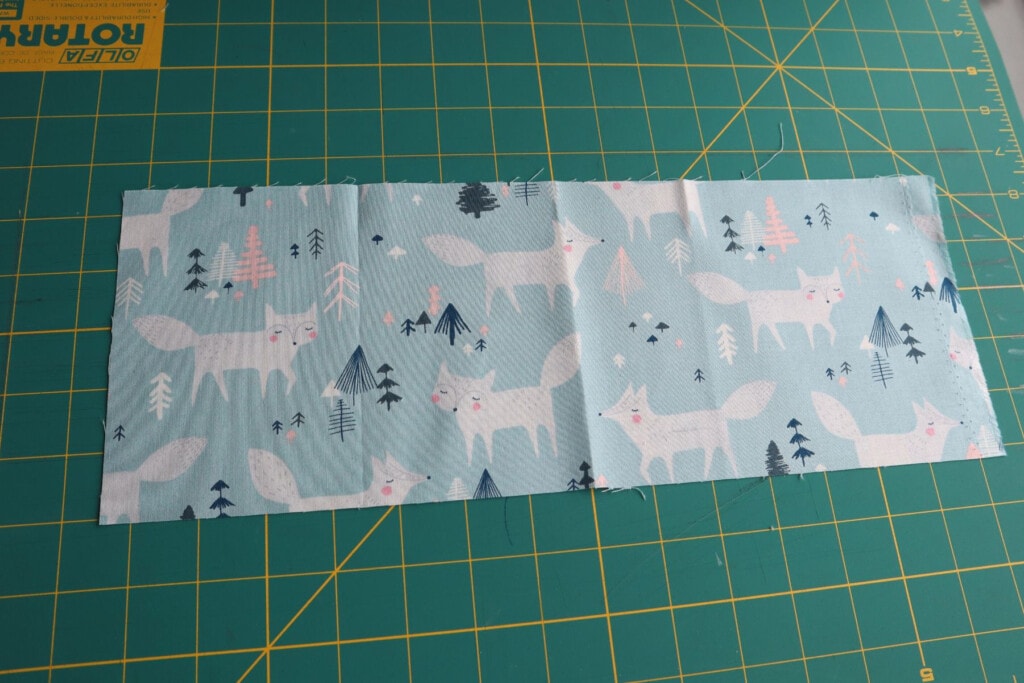
Step 1
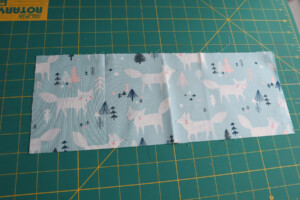
Cut a fabric rectangle 5 ⅕" high x 15" long.
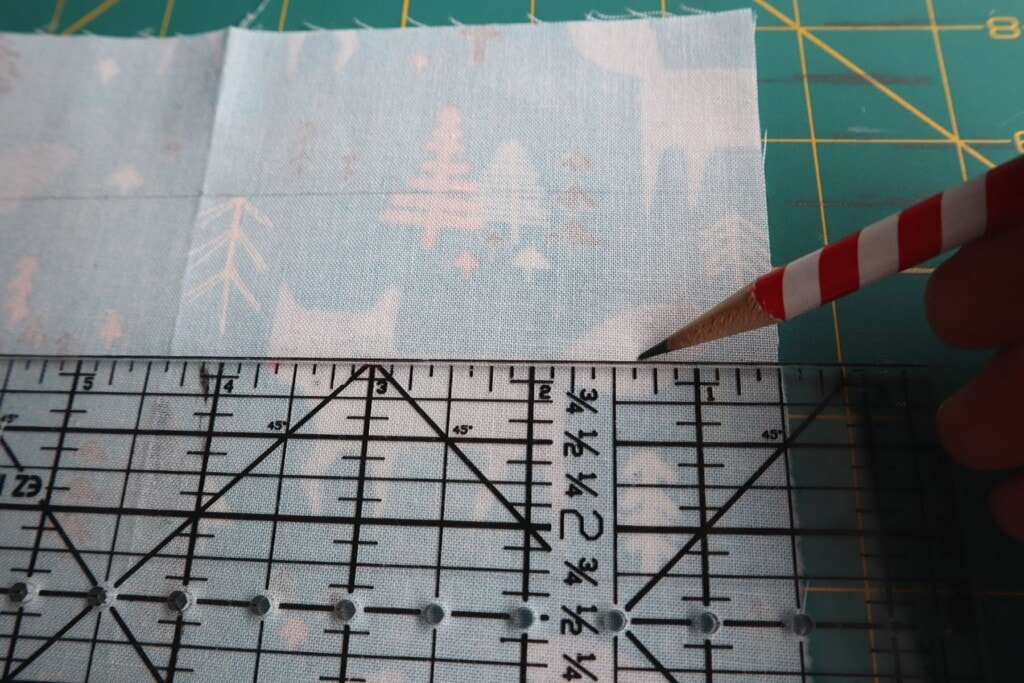
Step 2
On the wrong side of the fabric, draw three horizontal lines across the whole length of the fabric:
- One 1 ½" down from the top edge
- Another 1 ½" up from the bottom edge
- The third line goes straight down the middle - 2 ¾" in from both edges.
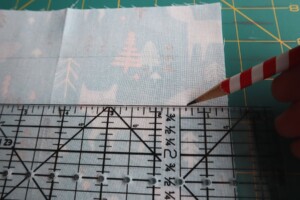
Step 3
With an iron, press right sides of the fabric together, along one of the outer lines, creating a strong, crisp crease right on the line that you marked.
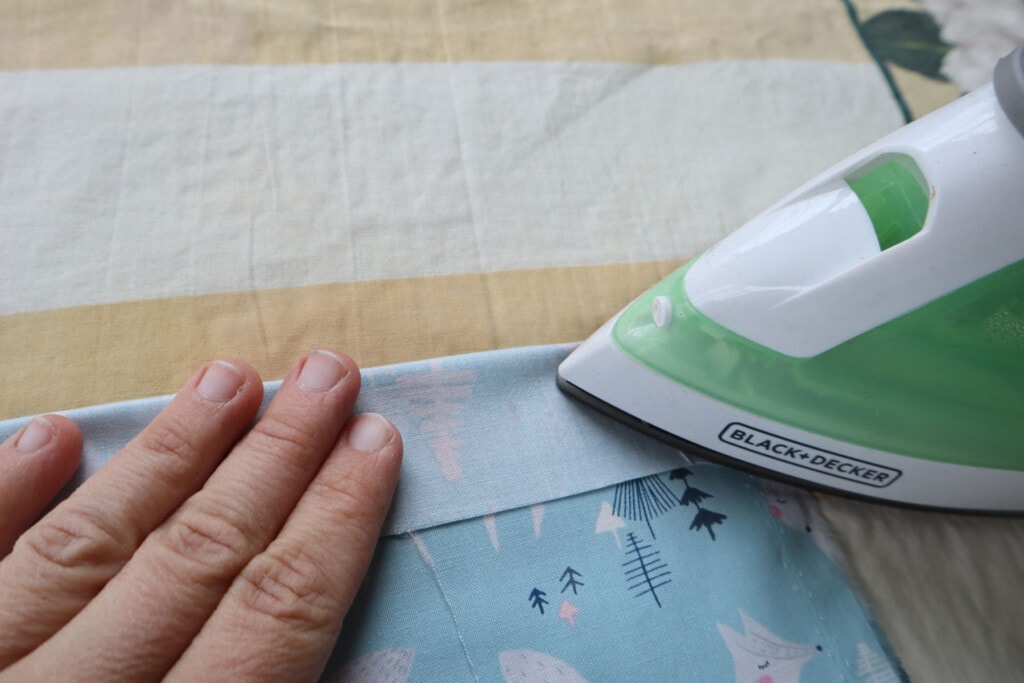
Step 4
Repeat with the other outer line. Now both of the lines marked 1 ½" from the long edges should be sharply creased.
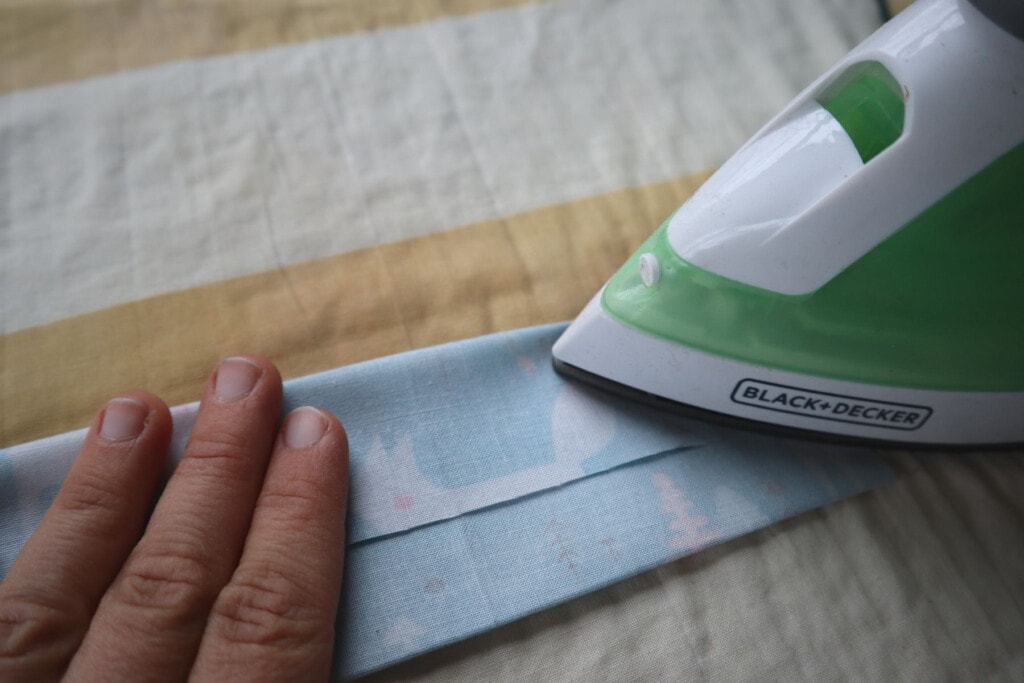
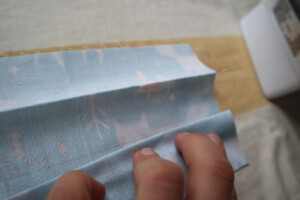
Step 5
Now, bring one of the creased outer lines in to meet the line you drew down the center. Press firmly.
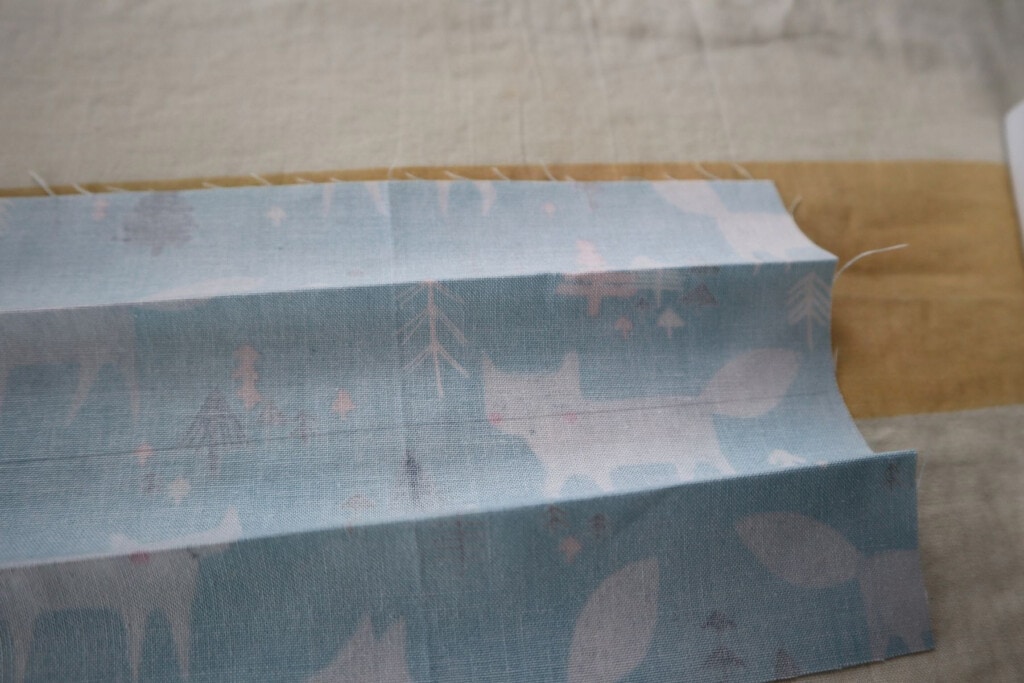

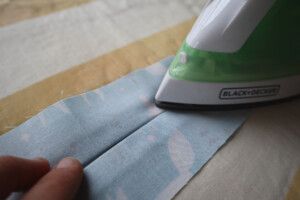
Step 6
Repeat with the other crease, bringing it in to the center so that both creases meet on the center line, forming a box pleat. Press well.

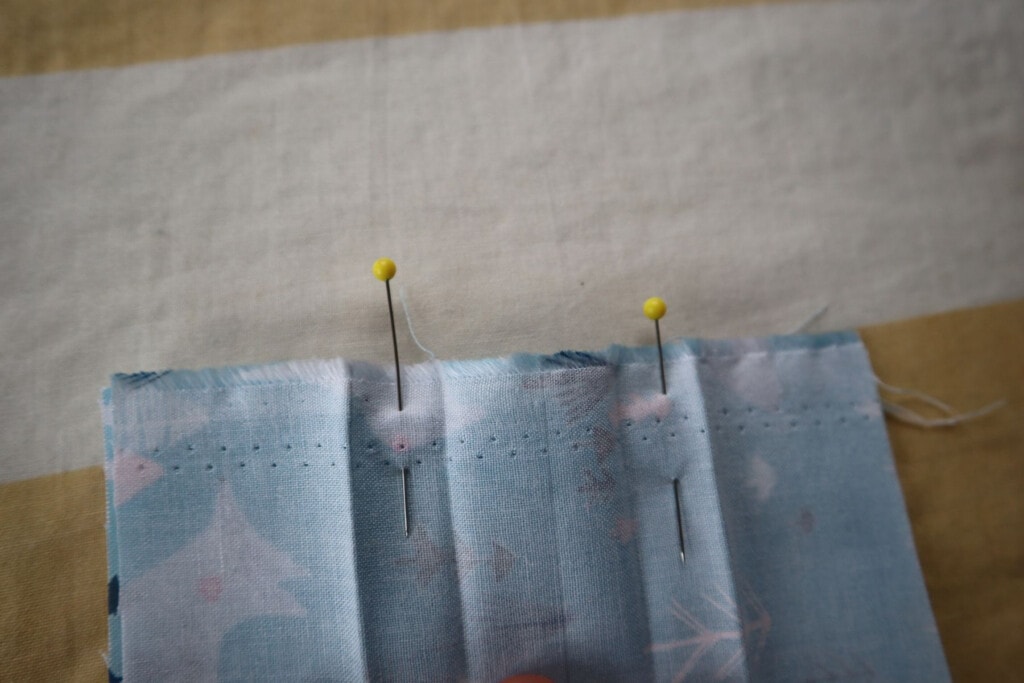
Step 7
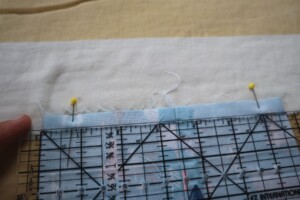
Now, unfold the fabric, and fold it in half bringing the short sides together, with right sides of fabric together. Pin short edges together, placing pins 2" in from top and bottom of the fabric. (This ends up being just about exactly halfway between the two creases that fall on each side of the center line, as you can see in the photo below. It's ok to skip the exact measuring and just place the pins halfway between the creases, as a time-saving step)
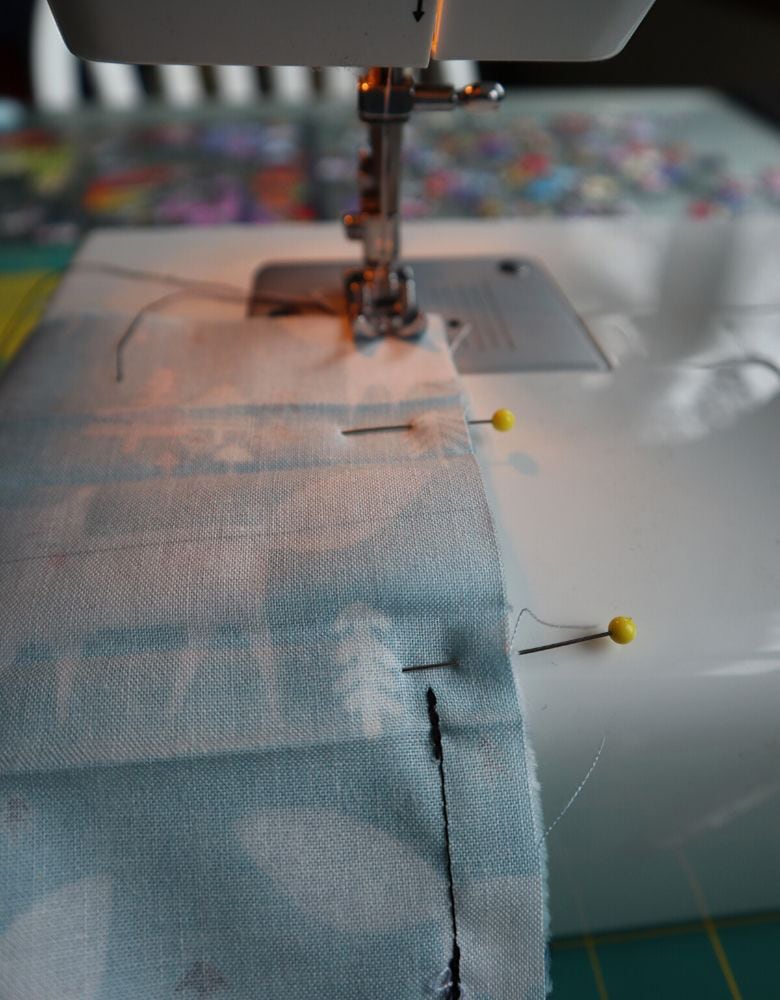
Step 8
Using a ½" seam allowance, stitch short ends of fabric together, first on one side of the pins, then on the other. Leave the space between the pins unstitched (this is going to create a pocket where an optional filter can be placed if desired.) Lock-stitch the beginnings and endings of both of these short seams.
Step 9
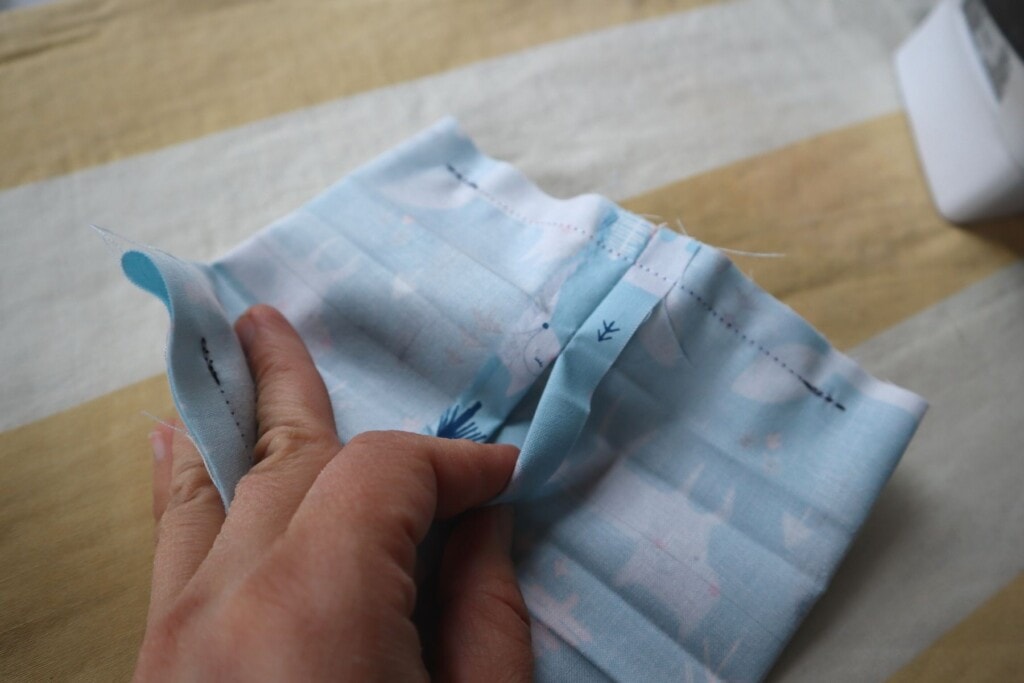
Lay out the mask, folded in half, so that the seam is on top, and exactly in the center of the mask. Press open the seam smoothly, taking care not to press the whole mask, just the seam. (You want to preserve those long crease lines that formed the box pleat. A tailor's ham comes in handy for this step if you have one, but if you don't, no sweat - just do your best. I don't have one either.)

Step 10
Now, still with the seam in the center, and with long side edges evenly together, place a pin ⅝" in from each folded end of the mask. Do this on both long edges.
Using a ½" seam allowance, sew both long edges, between the pins. Lock the beginnings and endings of your seams.

Step 11
Using the little open hole in the center seam, turn the mask right side out.
Step 12
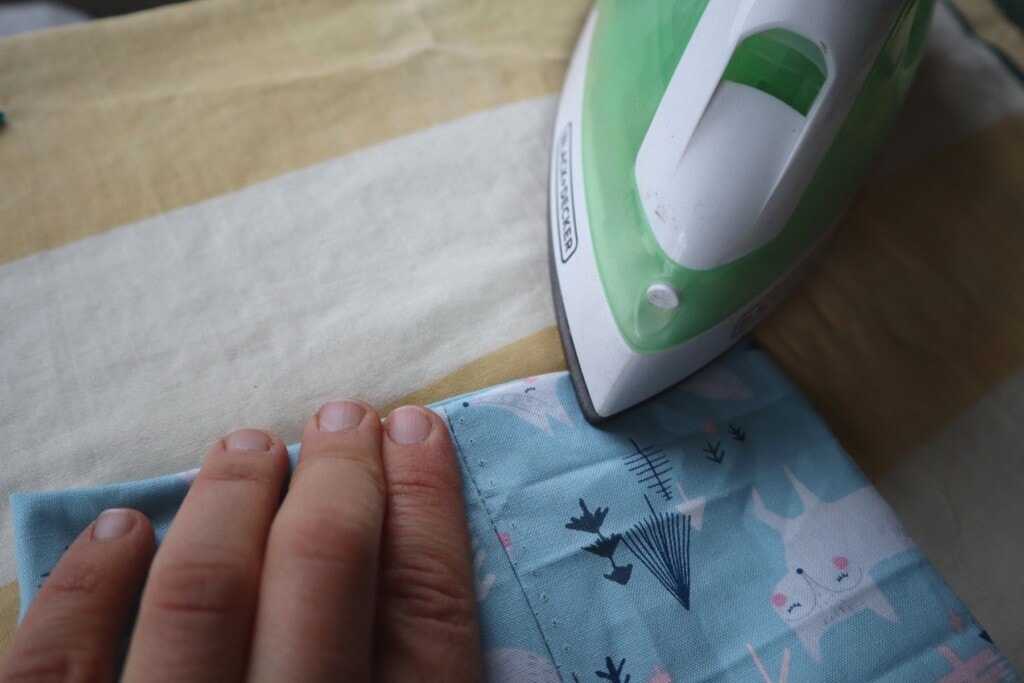
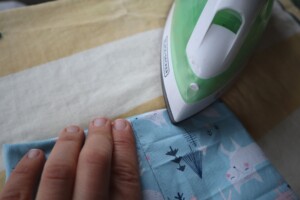
Press the long outer edges of the mask - this is a step not included in the original adult mask pattern, but I find this helpful in creating a smooth finished mask.
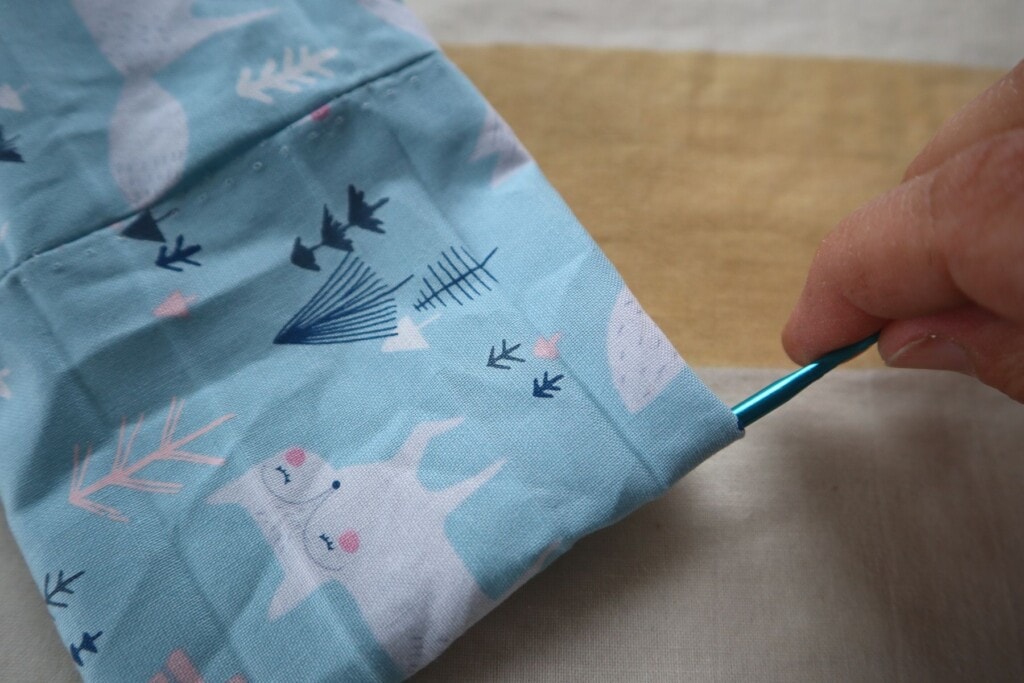
Also, use a crochet hook or even a pencil to smoothly tuck the unstitched little sections at the corners of the mask. Again, this is not a step included in the original tutorial, but I've found that doing this before stitching the final end seams is really a vital step to ensure the fabric doesn't pucker inside, leading to difficulty stringing the ear elastics through once the mask is finished.
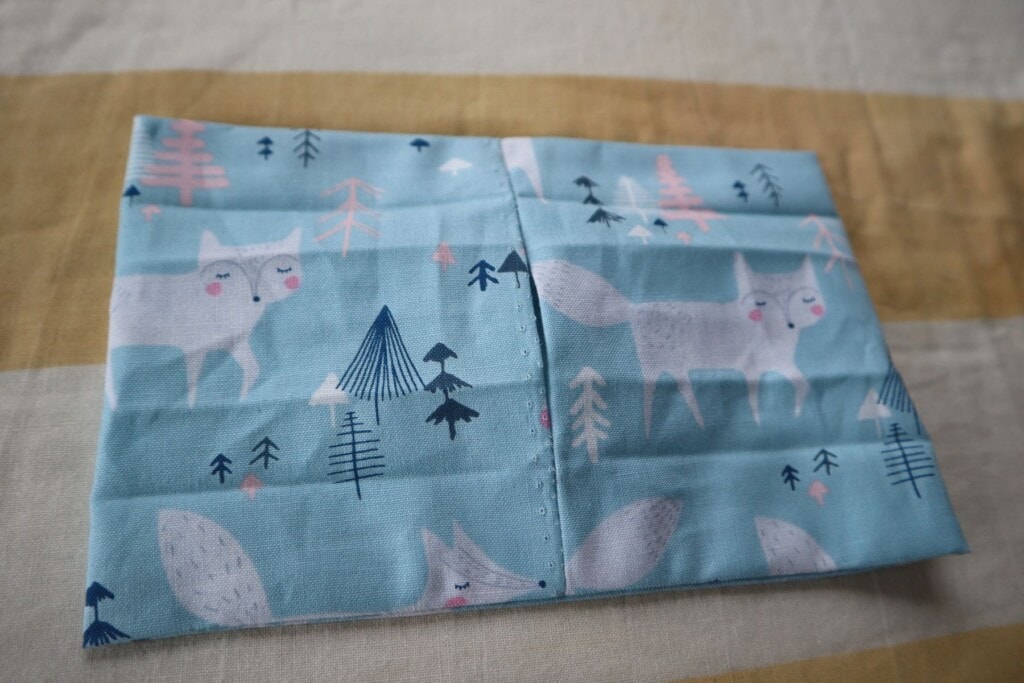
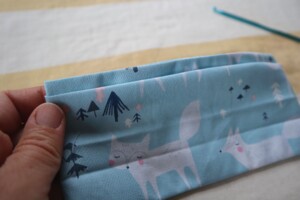
At this point, you'll have a little fabric envelope that looks like this.
Step 13
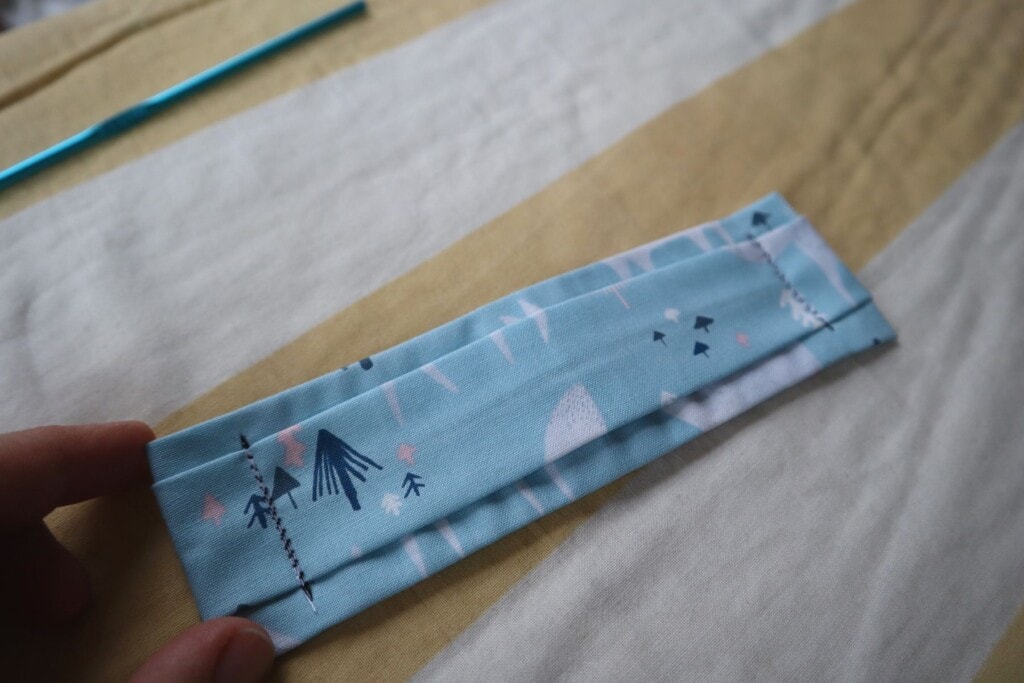
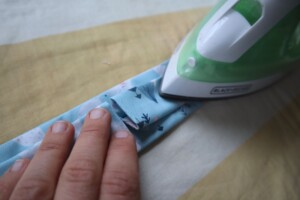
Now, using the creases that you can still see in the fabric, re-fold the mask along those creases, to put the box pleat back in place. I find it's easiest to work from the edges, and do first the top, then the bottom.

When you've got the creases folded back in place, it will look like this.
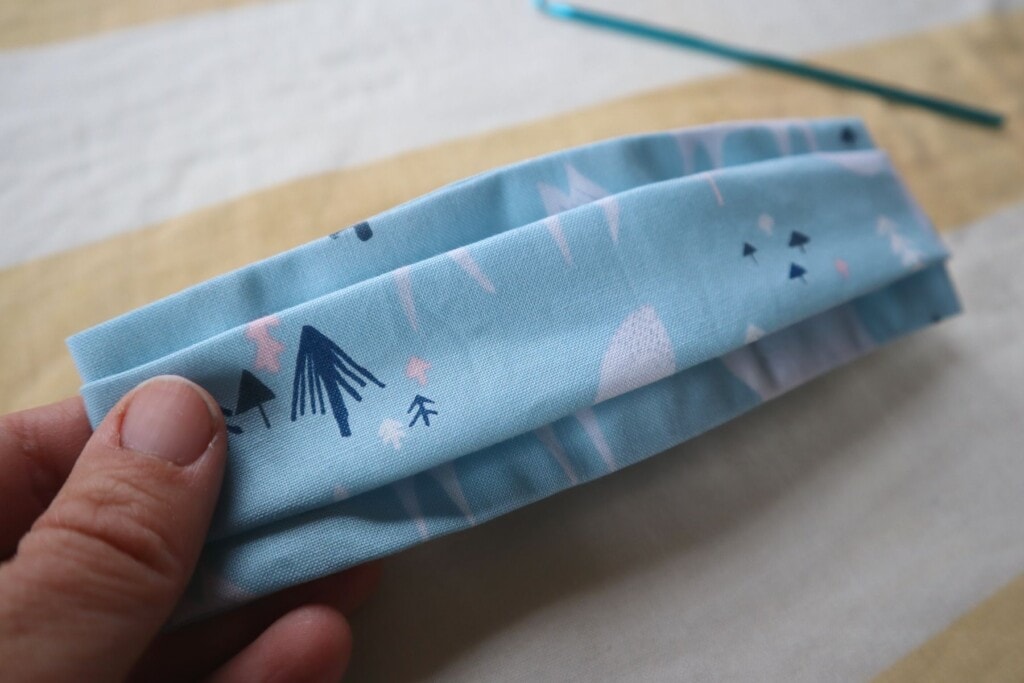
Press the whole mask well, both front and back, giving special attention to make the filter opening lie smooth in the back. You'll be surprised how tiny the mask feels when it's all folded up like this, but don't worry! That box pleat will really expand when the mask is worn.

Step 14
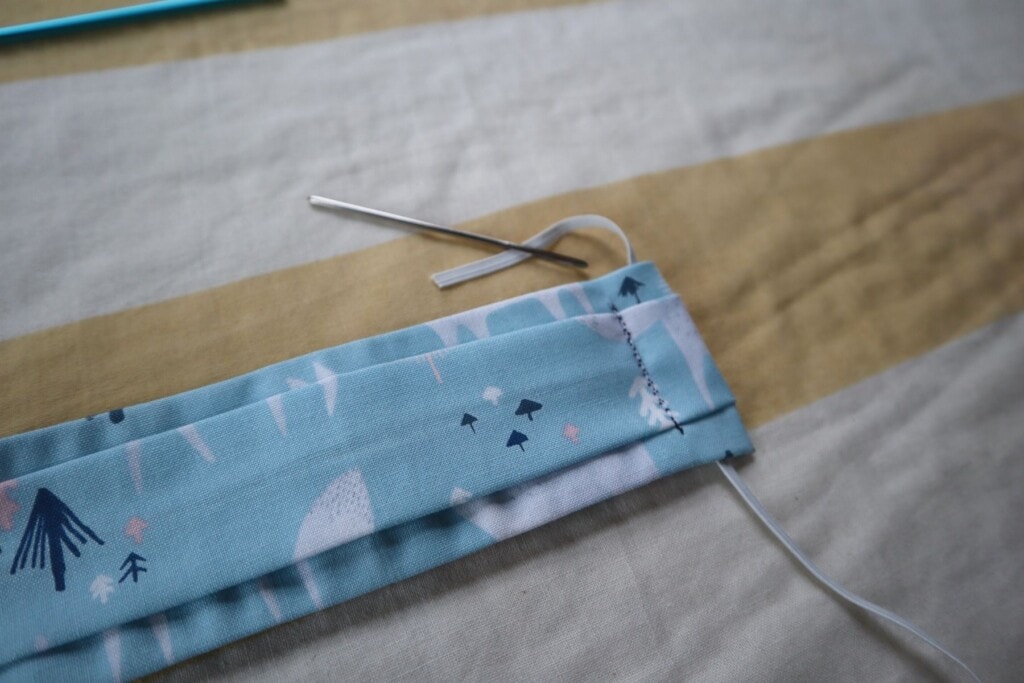
Stitch a short seam across all layers of the mask, ⅝" in from each end of the mask. Make sure you're leaving a ⅝" seam allowance, not ½" this time. That ⅝" channel is where you'll be stringing the ear elastics through.

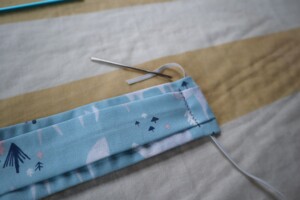
Step 15
Cut two 10" lengths of the elastic. Using a darning needle or crochet hook, pull one piece of elastic through the channel at each end of the mask.
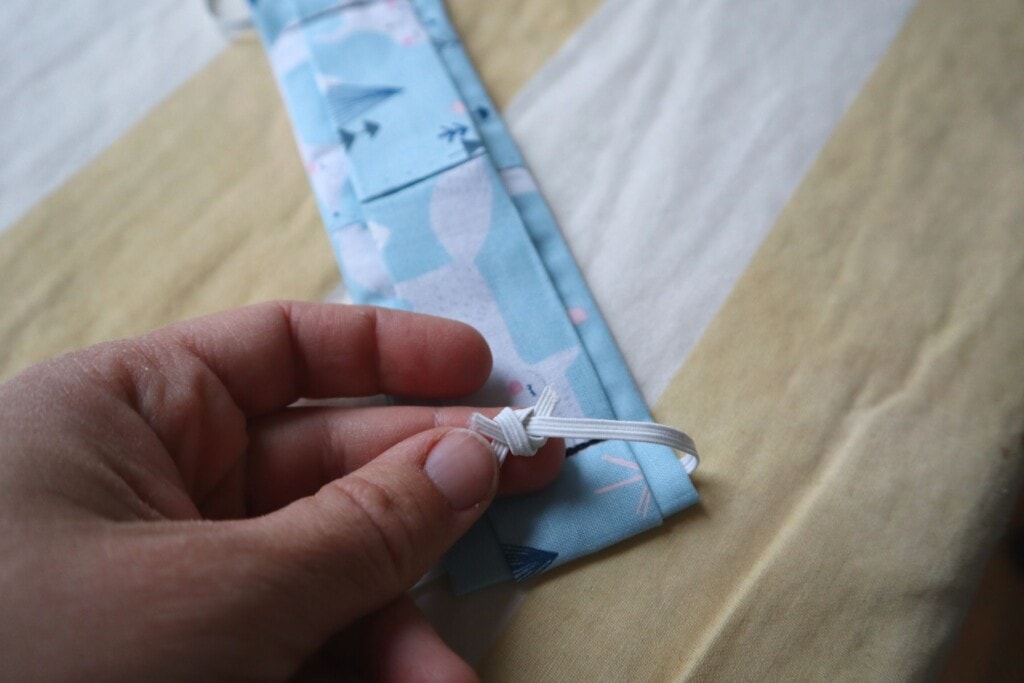
Tie the ends of the elastic together, and slide the elastic loop through the hole until the knot is hidden inside the fabric channel. I like to loosely tie the elastic until I know I've correctly sized the ear loops for the child who will be wearing the mask.
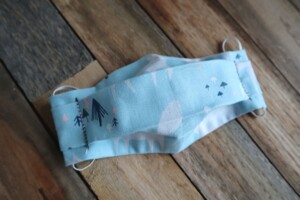
That's it! Your mask is done, and ready to wear!
Again - this little mask works really well for children up to about age 6. For older children, I recommend making the original adult version of the mask pattern that this was derived from - just shorten the ear loops a bit to achieve a good fit for each child's face.

Here's a printable version of the instructions, in case you'd like to print them out:

Child-Sized Face Mask Pattern
Equipment
- Sewing Machine
- Pencil
- Iron
- Darning needle or small crochet hook
Ingredients
- 5.5" x 15" piece cotton fabric
- 20 inches braided elastic, ⅛ or ¼" thick (either will work)
Instructions
- Cut a fabric rectangle 5 ⅕″ high x 15″ long.

- On the wrong side of the fabric, draw three horizontal lines across the whole length of the fabric: One 1 ½″ down from the top edgeAnother 1 ½″ up from the bottom edgeThe third line goes straight down the middle – 2 ¾″ in from both edges.
- With an iron, press right sides of the fabric together, along one of the outer lines, creating a strong, crisp crease right on the line that you marked.
- Repeat with the other outer line. Now both of the lines marked 1 ½″ from the long edges should be sharply creased.
- Now, bring one of the creased outer lines in to meet the line you drew down the center. Press firmly.
- Repeat with the other crease, bringing it in to the center so that both creases meet on the center line, forming a box pleat. Press well.
- Now, unfold the fabric, and fold it in half bringing the short sides together, with right sides of fabric together. Pin short edges together, placing pins 2″ in from top and bottom of the fabric. (This ends up being just about exactly halfway between the two creases that fall on each side of the center line, as you can see in the photo. It’s ok to skip the exact measuring and just place the pins halfway between the creases, as a time-saving step)
- Using a ½″ seam allowance, stitch short ends of fabric together, first on one side of the pins, then on the other. Leave the space between the pins unstitched (this is going to create a pocket where an optional filter can be placed if desired.) Lock-stitch the beginnings and endings of both of these short seams.

- Lay out the mask, folded in half, so that the seam is on top, and exactly in the center of the mask. Press open the seam smoothly, taking care not to press the whole mask, just the seam. (You want to preserve those long crease lines that formed the box pleat. A tailor’s ham comes in handy for this step if you have one, but if you don’t, no sweat – just do your best. I don’t have one either.)
- Now, still with the seam in the center, and with long side edges evenly together, place a pin ⅝″ in from each folded end of the mask. Do this on both long edges. Using a ½″ seam allowance, sew both long edges, between the pins. Lock the beginnings and endings of your seams.
- Using the little open hole in the center seam, turn the mask right side out.
- Press the long outer edges of the mask – this is a step not included in the original adult mask pattern, but I find this helpful in creating a smooth finished mask.
- Also, use a crochet hook or even a pencil to smoothly tuck the unstitched little sections at the corners of the mask. Again, this is not a step included in the original tutorial, but I’ve found that doing this before stitching the final end seams is really a vital step to ensure the fabric doesn’t pucker inside, leading to difficulty stringing the ear elastics through once the mask is finished.
- At this point, you’ll have a little fabric envelope that looks like this.
- Now, using the creases that you can still see in the fabric, re-fold the mask along those creases, to put the box pleat back in place. I find it’s easiest to work from the edges, and do first the top, then the bottom.
- When you’ve got the creases folded back in place, it will look like this.
- Press the whole mask well, both front and back, giving special attention to make the filter opening lie smooth in the back. You’ll be surprised how tiny the mask feels when it’s all folded up like this, but don’t worry! That box pleat will really expand when the mask is worn.
- Stitch a short seam across all layers of the mask, ⅝″ in from each end of the mask. Make sure you’re leaving a ⅝″ seam allowance, not ½″ this time. That ⅝″ channel is where you’ll be stringing the ear elastics through.
- Cut two 10″ lengths of the elastic. Using a darning needle or crochet hook, pull one piece of elastic through the channel at each end of the mask.
- Tie the ends of the elastic together, and slide the elastic loop through the hole until the knot is hidden inside the fabric channel. I like to loosely tie the elastic until I know I’ve correctly sized the ear loops for the child who will be wearing the mask.
- That’s it! Your mask is done, and ready to wear!


Read Next: Talking to Children About Supply Shortages

Anna Chesley
Anna Chesley is a freelance writer living a homestead lifestyle, with a special love for family travel, old books, vintage skills, and seaside living. In addition to founding Salt In My Coffee, she runs the website, New England Family Life, as well as The 1800's Housewife, a website devoted to re-creating authentic 1800's recipes.
Comments
No Comments