

 If you're coming to my house for Christmas, just look surprised when you pull one of these out of your stocking, ok?
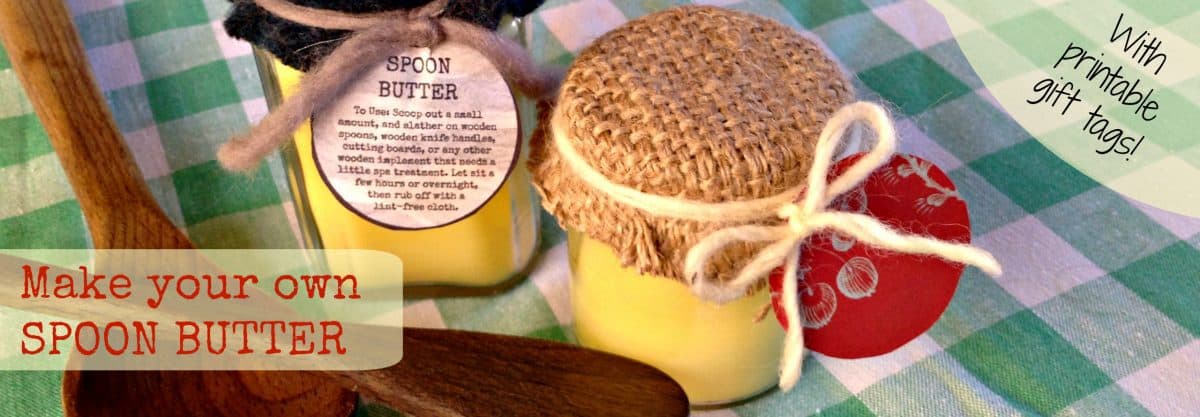
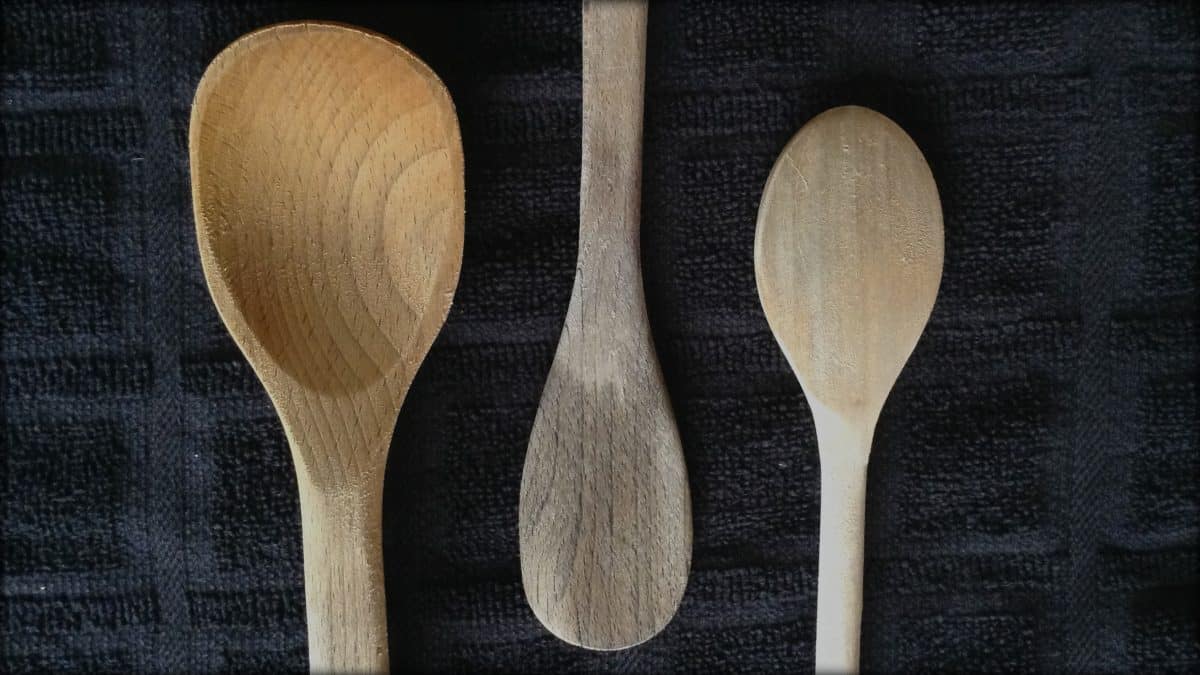
I've been wanting to whip up a batch of spoon butter for a while, since all my wooden spoons are looking pretty parched. A little Christmas crafting seemed like a good excuse to finally make it. Here's the nice thing about spoon butter as a stocking stuffer. Everybody can use this stuff - from the family chef to the family blacksmith or handyman. Any wooden utensil that has seen a lot of use (great-grandmas's knife handles, my husband's vintage hammer collection, my beloved chopsticks...) can really benefit from a good occasional spa treatment.
 There are only two ingredients in spoon butter. Beeswax, and an oil of some kind. Now, almost every recipe for spoon butter seems to call for mineral oil. But I'm not big on slathering petrolium product on utensils that touch my family's food. I opted instead for grape seed oil, since it was on sale, and on my list of good alternatives. Some other good options are coconut oil, walnut oil, or flaxseed oil.
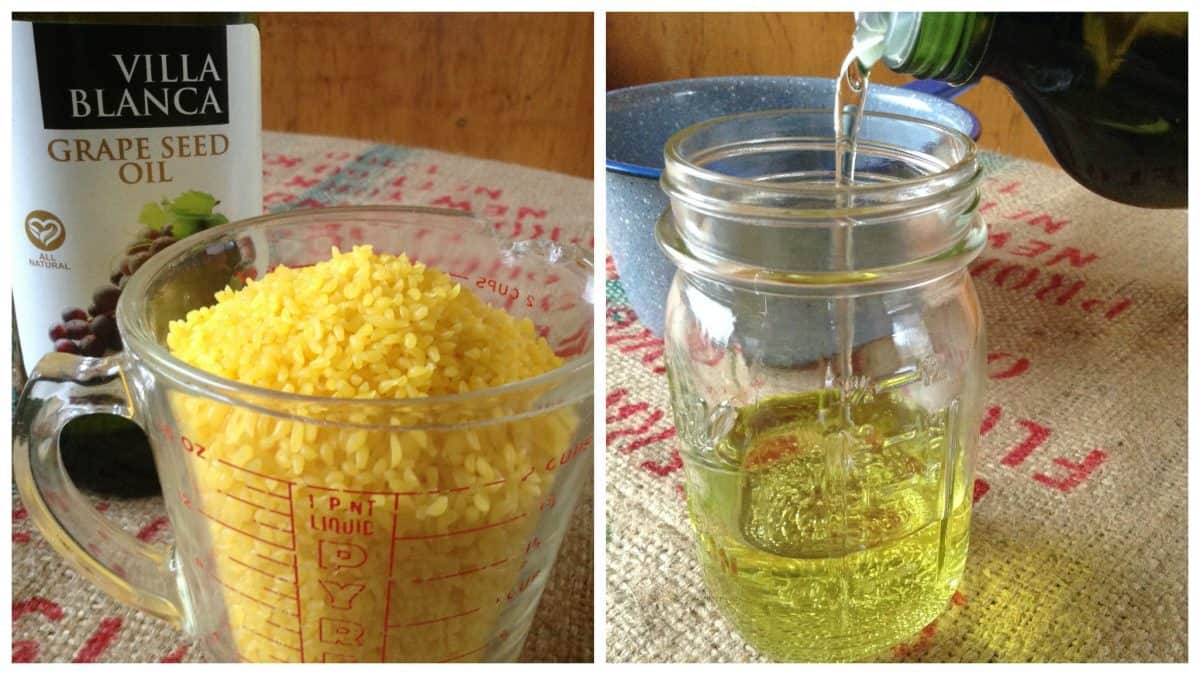 You want a 1:3 ratio of beeswax to oil. For this batch, I used:
- 1 cup Grapeseed Oil
- ⅓ cup of Beeswax Pastilles (These ones are organic, and affordable)
You can also use a chunk of beeswax instead of the pastilles, and measure the proportions by weight - but these little pellets just make it so easy. Aside from that, all you need is a glass jar that will sit comfortably in a saucepan, or a small double-boiler. I used one of my thirsty wooden spoons for stirring, since I figured it just gives the moisturization process a head start.
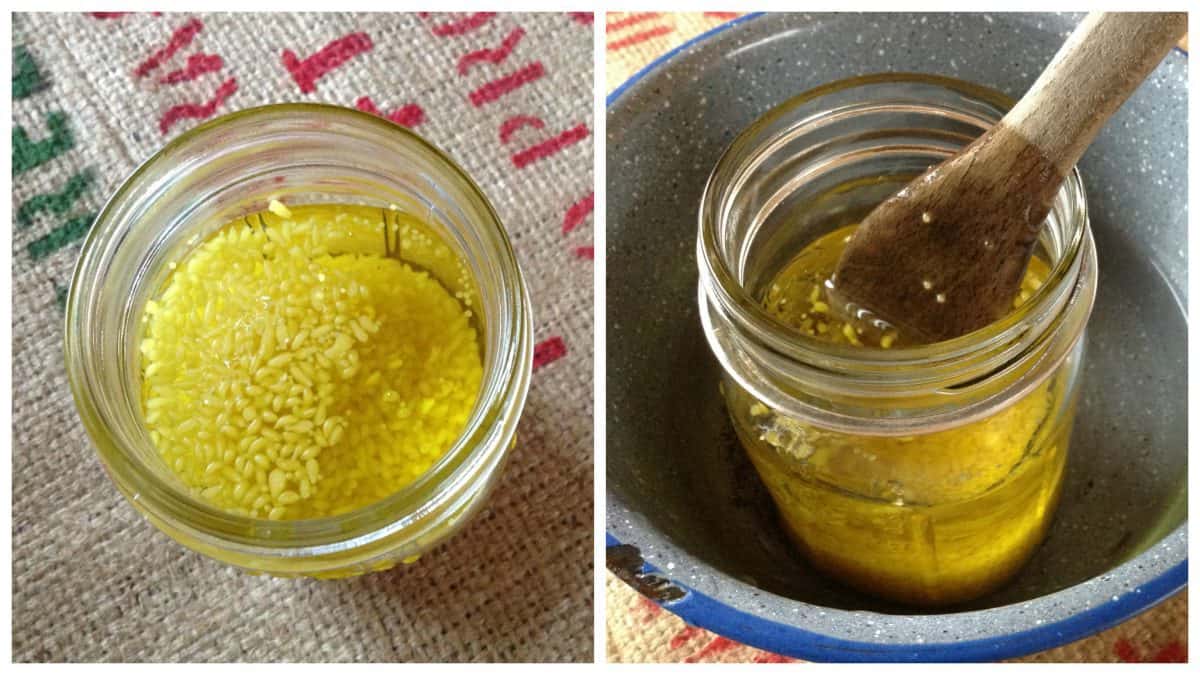 Pour your oil and beeswax into the jar, and set it in a pan half-filled with water, over low heat. You'll want to stir fairly continuously, but this is going to take a while. Go make a cup of coffee or some hot cocoa.
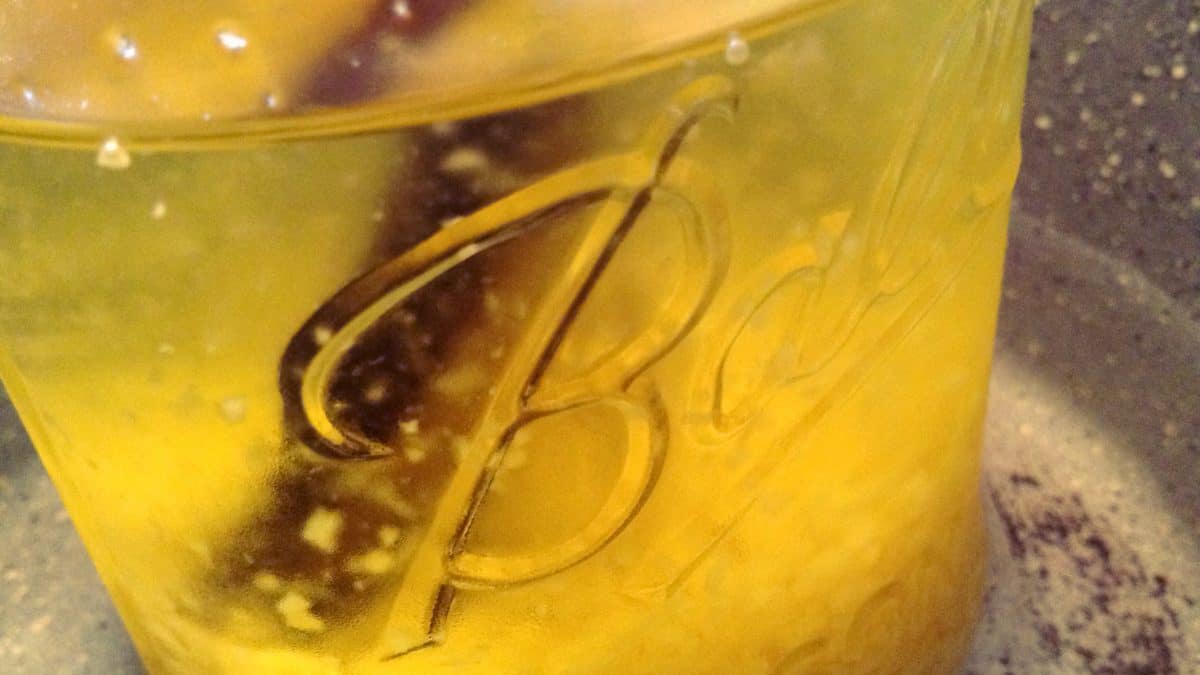 Eventually, those little beeswax pastilles will start to clump together, and you'll know you're not far off.
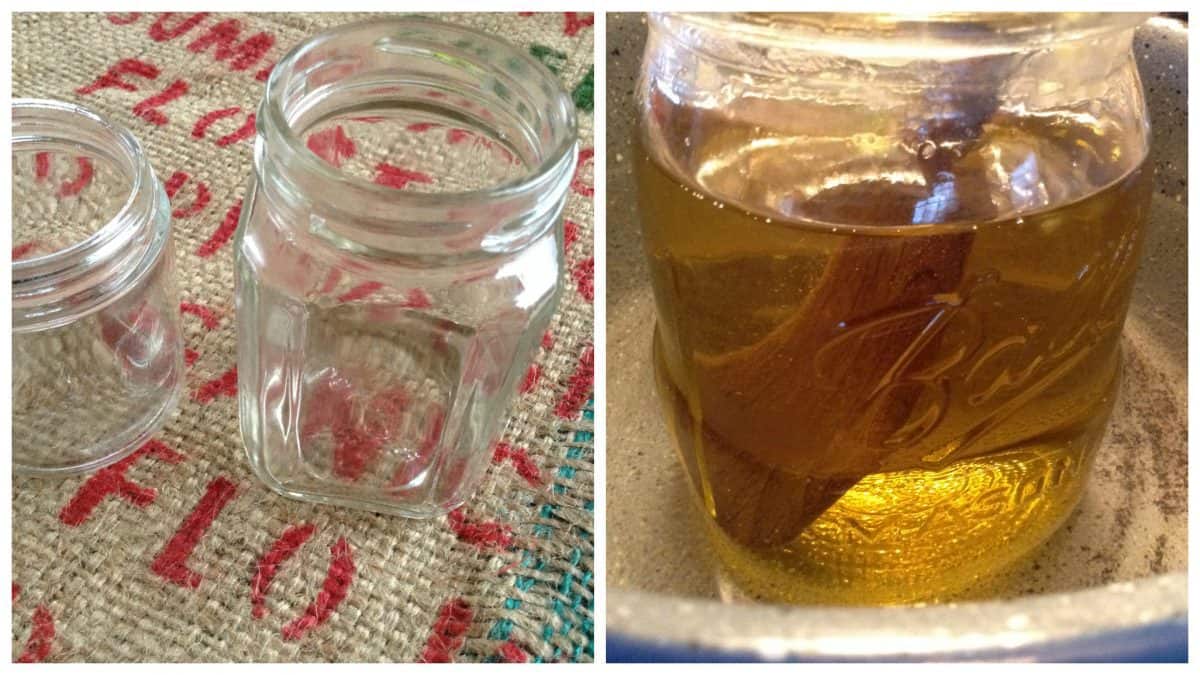
If you're making these as gifts, and not leaving the butter to firm up in the melting jar, you'll want to make sure that your cute little gift containers are clean, dry, and ready for pouring the liquid butter into.
Keep stirring the concoction until every tiniest bit of beeswax is melted, and you have what looks like perfectly clear oil.
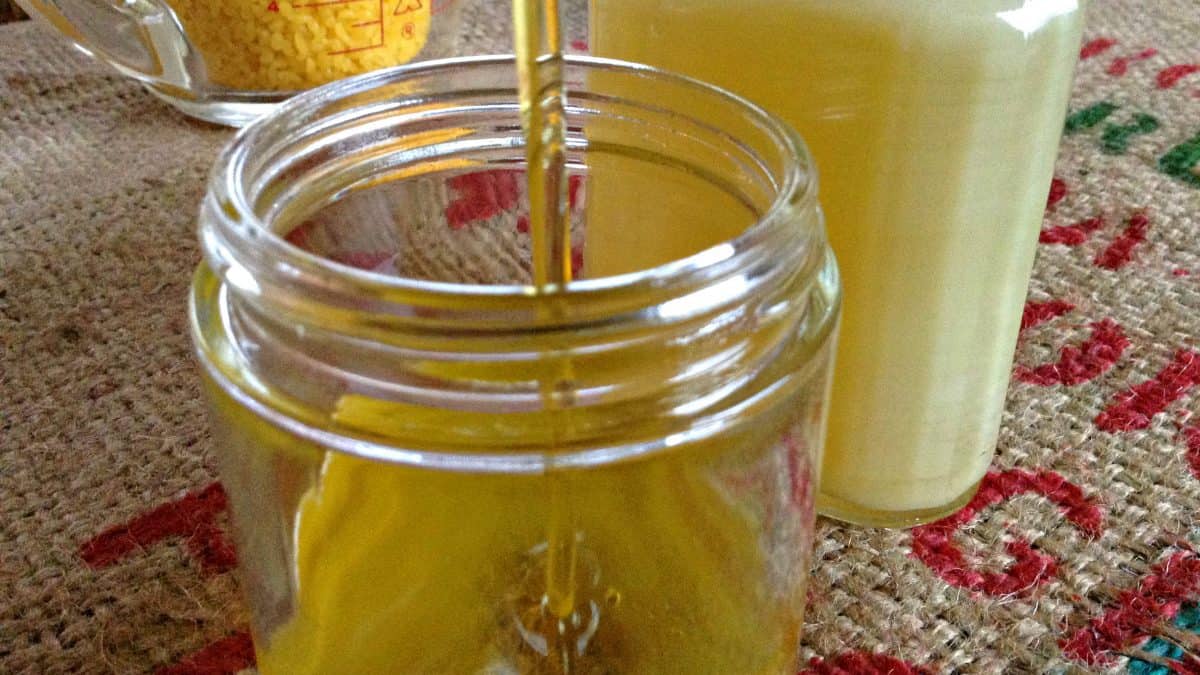
 The butter will shrink just a smidge, rather than expand, as it cools. So go ahead pour the melted butter into your jars, filling them as full you want them.
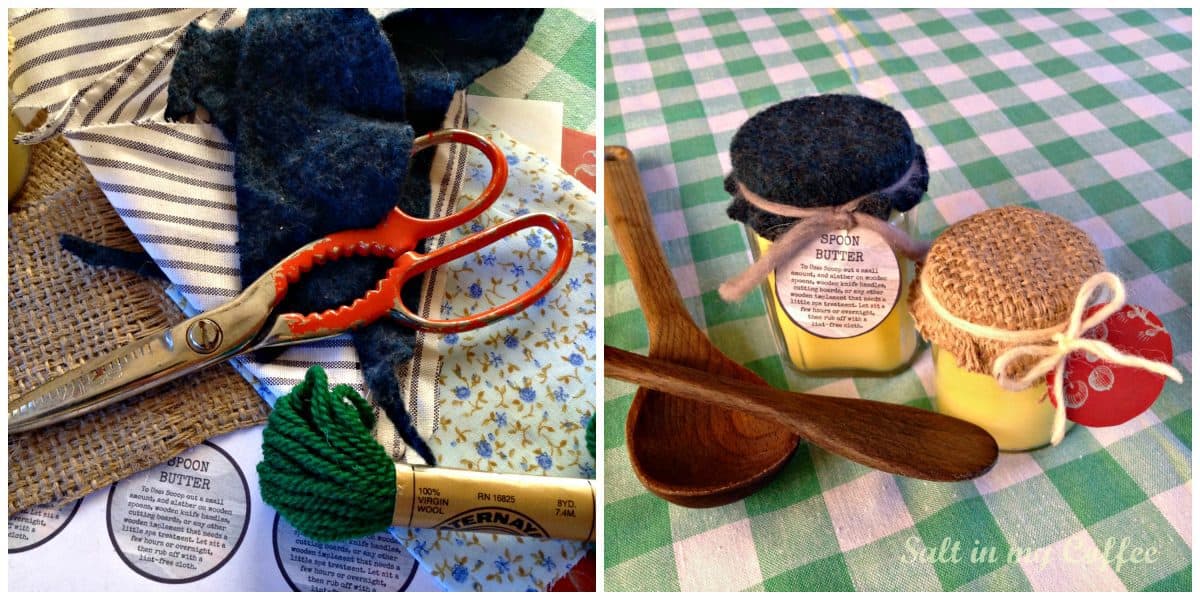
 While they cool, it's a good chance to make labels. Feel free to download these ones if you like. Printing on natural or festive-looking cardstock works well!
Once the butter fully cools and sets, you can put the lids on, and decorate those little cuties. Get out the scrap basket and have fun - this is the best part!
 To use the spoon butter, just take a little swipe (I like to use my fingers, but some people use a rag or a bit of paper towel) and slather it well over each spoon, massaging it into the wood. You want to let them sit for at least an hour, but I like to go ahead and let them hang out overnight.
After they've had time to really soak it in, grab a lint-free rag and wipe them down, giving them a nice gentle buffing. The difference in appearance will astound you - especially if your spoons were as dry as mine!
 I'd love to see your own before and after pictures, as well as your creative ideas for decorating these little spoon butter gifts. Feel free to post your photos in the comments section below!

Anna Chesley
Anna Chesley is a freelance writer living a homestead lifestyle, with a special love for family travel, old books, vintage skills, and seaside living. In addition to founding Salt In My Coffee, she runs the website, New England Family Life, as well as The 1800's Housewife, a website devoted to re-creating authentic 1800's recipes.

Philip says
One thing to consider if you are going to use vegetable oils instead of mineral oils: vegetable oils can go rancid.
Anna Chesley says
Good point to consider, thanks! I personally find it rather comforting working with natural products that don't last forever.
Deb says
Can I use olive oil?
Beth says
hello,
if you were using this for non-food items, could you add in some essential oils too? if so, do you know how what measurements would be sufficient?
thank you 🙂
Sonya says
Hello, I couldn't find the bees wax pellets but have a pound of solid bees wax, can I Grate it and get the same turnout (if that makes sense) if so how much grated?
Thanks!
Anna Chesley says
Hi Sonya! You absolutely can. Just weigh your grated wax and used the same weight as you would with pellets.
Raine says
Can you add lemon juice or food grade essential oil to counteract onion smells on cutting boards?
Alicia says
For the person who asked earlier on about a substitution for bees wax, I use and love candelilla wax. I’m also allergic to bees wax. However, it somehow still smells like bees wax, so it’s a win win for me! ❤️
Mel says
Would this work on an old dry picnic table? The wood hasn't been treated as far as I know.
Linda says
I bought 3 jars of beeswax for conditioning my entire house, it's 103 years old and pretty much everything inside is wood. Lol the jar says the only ingredient is nature beeswax and it says 100% natural. Would this work for beeswax in the spoon butter? Ive used it on my knife block and my bamboo spoon holder and they look better than when they were new. I just wasn't sure if I could use it in this recipe as well.
Serai says
All of the oils you mentioned will eventually spoil and go rancid. Use jojoba oil instead. It's a liquid form of wax, never spoils, and is very good for moisturizing things. I used to use it as a carrier oil for my perfumes for that reason. 🙂
Sara says
Is there an alternative to beeswax as I am allergic to beeswax?
Anna says
Hi Sara! I'm sorry I've never tried this with an alternative, but I would think that perhaps soy wax or carnauba wax might be good options to try! If you give it shot, I would LOVE to hear how it goes for you!
Erin says
Would I venture able to use a different oil like sunflower?
Anna says
Absolutely, Erin! That would be a perfectly fine choice, and should turn out well!
Kate says
does the wax get into food and is that okie? what's the purpose of thr wax? I usually just rub an oil I got for cutting boards and spoons (I can't remember what it is but maybe it's mineral?!?!) but it's pure oil. why wouldn't you just use Grapeseed by itself?
Cyona says
How long does this last? Does it expire the same date as the oil used or??? Will it grow bacteria?
Kathrine says
I've always used mineral oil as I worried about the other oils going rancid, how long does your spoon butter keep?
Laura says
Same here. Mineral oil FTW! Easy peasy
Anna says
Hi Laura! I try to avoid mineral oil since it's a petroleum product, which has been strongly associated with an increased risk of skin cancer. Totally get it though, that it sure is an easy option!
Anna says
Hi Katherine! I generally use up a batch of spoon butter within about 6 months, and have never had it go rancid. Hope this helps!
Jackie says
I thought I saw that this can also be used on wood cutting board too, but I’m just checking before I try it.
Anna says
Hi Jackie! YES - this is exactly what I use to treat all of my cutting boards, including vintage ones, and it's also my favorite thing to use on the old heirloom butcherblock table top that I have from my grandmother. It's great at keeping them all well-conditioned. Hope this helps!!
Lisa Allen says
How do you store this? Do you need refrigerate if in a warm climate
Beverly Steed says
I was wondering if you could use this same recipe on your old rolling pins that are still in use.
Last night I made up several batches of soft wax for chalk painting using mineral oil. I wondered if I replaced the oil with your recommended oil could this be used for chalk painting? And is there an expiration date for the oil? Thank you so much.
Emily says
Hello!
Beekeeper here. I just wanted to let you know that "organic" beeswax is actually not available from US bees. This is because bees travel up to 3 miles to harvest pollen and nectar and no beekeeper can control what people spray 3 miles away. Because of this, no US produced beeswax (or even honey!ĺ is approved to be labeled as organic by the USDA. You would need to look for beeswax imported from countries such as Brazil. However, during the rendering process, many chemicals that you need to worry about come out of the wax, but not all. You can look for "untreated" beeswax if you are concerned about bleaching agents used in the wax refining process, or purchase from a local beekeeper (even better!). What should definitely be looked at is where the wax is coming from, as China sends a lot of imitation beeswax to the US market.
Hope this helps you make purchasing decisions!
Beekeeper Emily
Marie Smith says
Would this work well for oak work tops/counters? I usually use Liberon finishing oil but applying coats is time consuming. I don’t use detergents on my worktops, only a white vinegar/bicarbonate of soda and washing up liquid solution. This stops them becoming sticky. I’m thinking the spoon butter might help keep the worktops healthy and glossy looking. Thank you.
Melody E. says
Would this work on Bamboo also? Can't wait to try it on our wooden spoons, boards and handles. Boiling the spoons first to get any old cooking oils out.
Anna says
Yes! It works wonderfully on bamboo. I treat all my wood and bamboo utensils with it. Great question!
Laura says
Could this be used as furniture polish?
Beverly Miller says
Where do I find bees was
Nicole says
Does this butter work on bamboo? We just bought a set of cutting boards and I want to make them last!
Catherine says
I added two teaspoons of emulsifying wax. This makes the wax softer and easier to scoop. I then heated the oven to its lowest temperature (mine is 170F) and let the wood utensils and cutting board stay in for ten minutes. Let them cool down, then let them sit overnight before buffing them with an old kitchen towel. They look GREAT!
Amy Quackenbush says
Is this what they are selling to use on furniture now?
Tamy says
My family also uses Spoon Butter for hand lotion, lip balm and even on scars that are red and itchy.
adelle says
if I want to measure by weight instead of volume, what would the measurements be?
Anna says
Hi Adelle! If you use 7.5 ounces of oil, and 2.5 ounces of beeswax, it should be perfect!
Joey Nyne says
There is no such thing as organic beeswax. Bees forage 4-5 mile radius from the hive. Beekeepers supplement bee food supply with sugar water 1:1 summer 2:1 winter made from sugar beets (GMO). Beekeepers utilize chemicals in their beehives for the health of the bees. For the price you are for your “organic beeswax “, I would bet you 20:1 that it comes form China.
Anna says
Joey, Thank you so much for letting me know! I just clicked through to the product I have linked in the supply list, and the supplier has actually changed the listing description since I first purchased it and wrote this post. At the time it was listed as "certified organic", but I'm going to bet you're right - it was probably never truly organic to begin with. You've set me on a search for a better alternative. Thanks so very much for pointing it out!!
Heather says
Find a local beekeeper that raises their bees "chemical free". We do exist! Of course you can't contro what your neighbors grow, but if you have lots of organic food on your property, they are less likely to fly to the outer limits in search of pollen. We have a small orchard and keep plants year round to keep the bees close to home.
Thisni Caza says
Good information! I was always a bit suspicious of honey labeled 'organic'... I always wondered how in the world bees could be controlled in a manner that could be labeled organic. Thanks!
Kristine says
Yes, I’m also a small beekeeper, and I don’t use any chemicals in or on my hive and bees. Bees can’t be guaranteed to not have foraged on something non-organic, so “organic honey” is rather misleading. Still, as others have posted, I provide many flowers and trees to keep my bees as close to organic as possible, and I collect and render my own beeswax. Buying from a local small beekeeper is your best guarantee of receiving honey and wax that have been exposed to minimal chemicals! 🍯
Melissa Brewerton says
Beekeeper here and i can assure you once the hive is well established no chemicals are necessary except for citronella to keep the ants from getting into the hive. Even then we have 3 large hives and have never used chemicals on them or in our yard.
Rosie says
You're completely incorrect. You absolutely can get organic honey. Especially when hives are moved to more remote natural areas. I live in a forested area with absolutely no farms around for much further than 4 miles. Honies like huckleberry and fireweed come from areas with no agricultural spraying typically. I'm not able to even source beet sugar if I wanted to and I know no beekeepers that use it to feed, and we also don't feed until after we harvest honey. Certainly not year round as you imply. They only take what they need if stores seem low and stop when they're done. It is not in the honey. There are also many organic methods for treating disease. You really shouldn't be spreading that kind of false information.
PJ says
I have to admit,I've never heard of"spoon butter". But I have now and I'm excited to try it. Thank you for sharing this idea.
Anna says
Oh my pleasure! I hope you do try it! It's such great stuff to have on hand!
Michelle says
I love this! Found it on Kathi's homemade gift post today, on Oak Hill Homestead. Thanks for sharing!
Anna says
Michelle, thank you so much for the kind words! I loved Kathi's post...so many wonderful ideas I can't wait to try!!
Alojamiento web says
Meanwhile, make the honey butter. Heat the honey in a small saucepan over a medium-high heat. Let it bubble until it turns to a deep gold, then remove and cool slightly. Using electric beaters or a wooden spoon, beat the butter in a large bowl until fluffy and pale, add a large pinch of sea salt, then fold in the warm honey. Scrape into a serving bowl and chill. Can be made a day ahead.
Karen Merhalski says
Anna, what a wonderful idea!! Your spoons look great!
Anna says
Thanks Karen! It's a pretty amazing transformation, isn't it?
Anu says
Thank you for this great recipe. I was wondering would this recipe work for wooden cutting boards as well? TIA
Anna says
Hi Anu! YES - this is exactly what I use to keep my wooden cutting boards nicely conditioned. It works wonderfully!
Terri says
Was hoping to find a food safe wood sealer that didn’t darken the wood. Any suggestions?