

You know me. I'm frugal. I also start lots of seedlings (we're talking hundreds of seedlings!) every spring.
So when I saw big bags of organic potting soil for 80% off at the end of the season last year, I'm pretty sure I did a happy dance right there in the gardening aisle. I snapped up every last bag, and felt like the cat that ate the canary as I stacked the bags in my basement for spring.
When February finally rolled around and I got out my seed-starting supplies, it was such a joyful feeling to know I had plenty of good organic potting soil to work with - no risk of running out! My blissful ignorance didn't last long. Soon after, as I was eagerly scanning my seed flats for signs of germination, and gloating over every little bit of green...I also saw other signs of life. And it made my skin crawl.
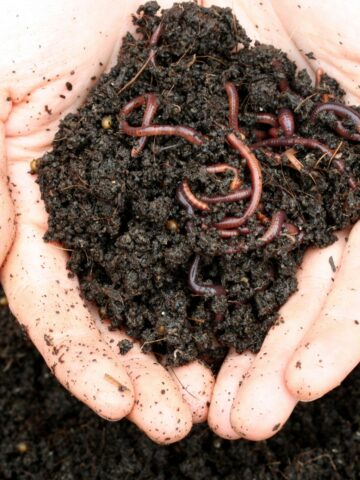
Hundreds, maybe thousands, of teeny tiny little winged bugs were all over the soil in my newly-planted flats and pots. Oh, I was horrified. Fungus gnats (also known as soil gnats) are wretchedly difficult to get rid of - especially when they're in with delicate seedlings, where the soil can't be allowed to dry out, like one could with a houseplant.
My lovely organic potting soil had been absolutely full of the nasty little things. And the damage they caused wreaked havoc with my entire seed-starting season. Because delicate seedling roots are extremely vulnerable to damage from the gnat larvae, I lost an enormous number of seedlings - especially slower growing ones, like onions and leeks. A full 80% of my shallot crop was lost to these dreadful little nasties. And it was only a matter of time before my houseplants inevitably became infested as well.
I did a little sleuthing around online, and it turns out many other folks had the same trouble with the brand of organic potting soil I'd purchased. Gardeners all over the country were fighting the same horrid battle with soil gnats, due to infested potting soil. And while the problem was notoriously bad with the particular brand I'd bought - I realized that it's actually not unusual for potting soil and seed starting mixes to have this problem.
I never was able to fully eradicate the fungus gnats from my seedling flats - though I did win the battle with my houseplants. (I'll tell you how in another post, and here are some good tips!)
Right now I'm going to tell you what I wish I'd known before the whole creepy-crawly nightmare began. This is how I could have prevented the whole thing from happening in the first place, and this is what I will ALWAYS do with any bag of potting soil I ever purchase, before I use it.
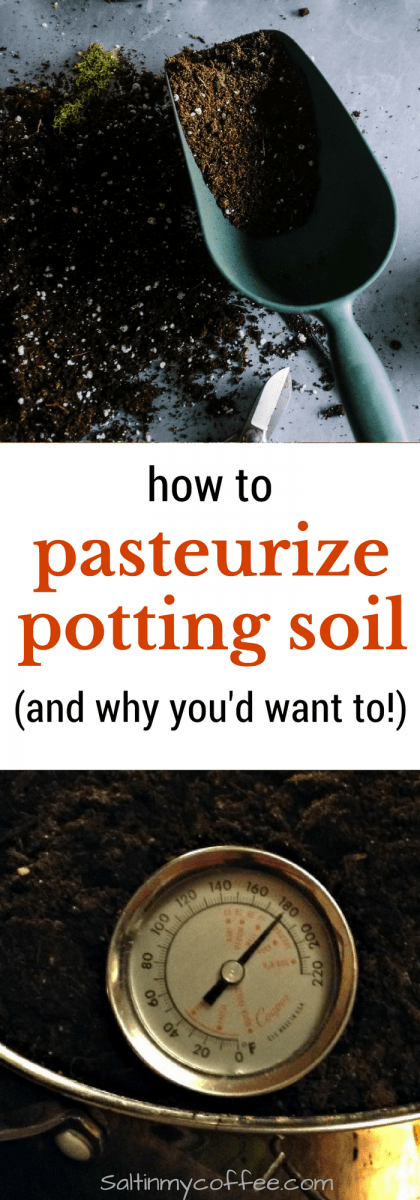
How to pasteurize potting soil
Pasteurization destroys most of the organisms likely to be found in either store-bought or home-mixed potting soil, such as insect eggs and larvae, weed seeds, and pathogens from diseased plants. This is accomplished by heating the soil until it reaches 180 degrees farenheit, for at least 30 minutes.
You can pasteurize soil right in your oven. The whole house might smell a little "earthy" for a while, but I think there are worse things, and it dissipates quickly. Here's how I do it.
First, turn on your oven to 300 degrees. While the goal is to heat the soil (all the way though) to 180 degrees, and hold that temperature for 30 minutes, I find that it takes a VERY long time for soil to reach an internal temperature of 180 degrees in a 180-degree oven. I've had the most efficient results by heating in a 300-degree oven until an internal temperature of 180 is reached, then lowering the oven temperature to 180 degrees for the next 30 minutes.
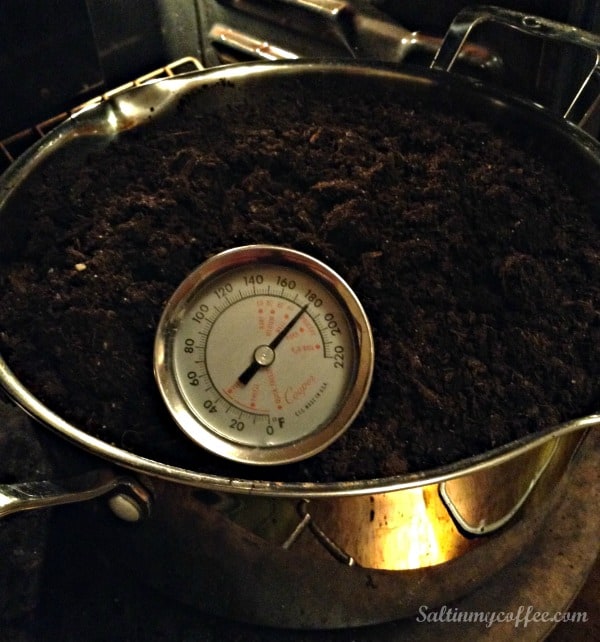
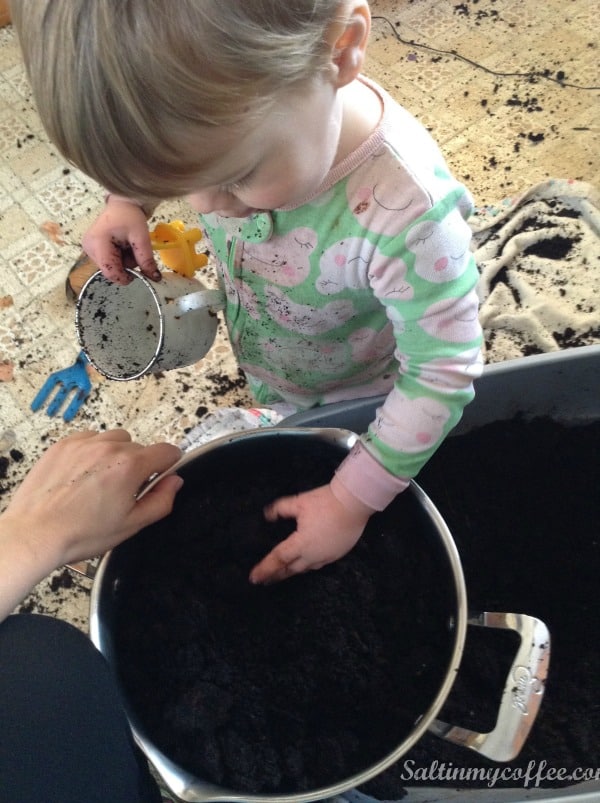
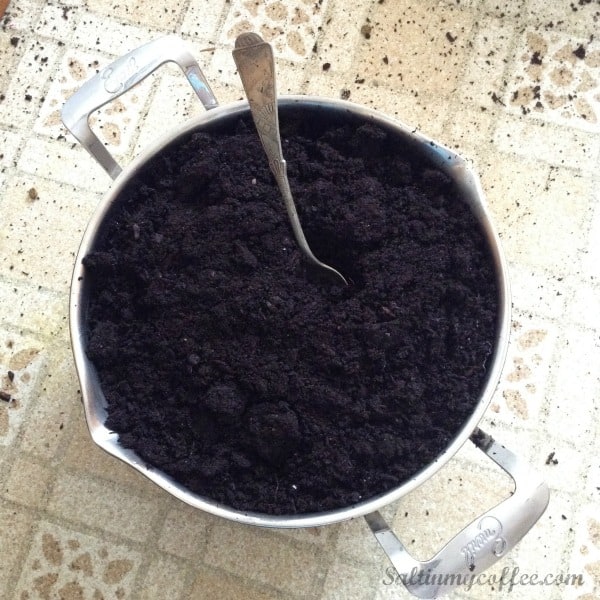
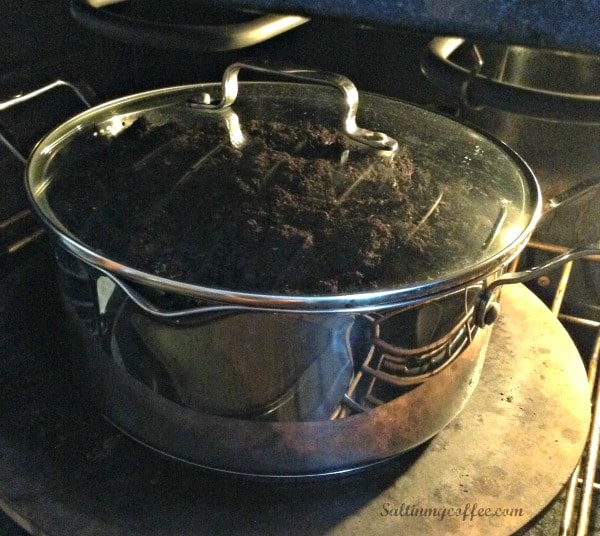
Fill a large pan with your potting soil, and cover it - either with cover that fits the pan, or with aluminum foil. Put the pan in oven, and periodically use a meat thermometer to check the temperature in the center of the soil, until you see that it reaches 180 degrees.
Lower the oven temperature to 180 degrees, and allow soil to continue baking for another 30 minutes. You can remove the soil immediately, but I usually just leave it in the oven to cool down.
It's now ready to use, worry-free!
Happy gardening!
Pin for later:

Anna Chesley
Anna Chesley is a freelance writer living a homestead lifestyle, with a special love for family travel, old books, vintage skills, and seaside living. In addition to founding Salt In My Coffee, she runs the website, New England Family Life, as well as The 1800's Housewife, a website devoted to re-creating authentic 1800's recipes.
Patricia says
I never knew about pasteurizing soil, but now it all makes sense!!! I have a question....if you find a great deal on dirt, would you do this process for the entire bag? And when, once it's purchased or at the time of planting? Thanks.
Bel says
Silly question, but is there a risk of burning the potting soil if you have it in too long or too hot?
Suzi H says
Do u think this pasturizing could be done in big aluminum pans on either the bbq grill or a shallow bonfire pit. With a grate on top?? To keep it outside? I have my plants in big 5. - 10 gallon buckets.
Peter Hanson says
I pasteurise soils by giving a four litre container ten minutes in a microwave oven.
Rebecca says
I have used a little soapy water on plants and seedlings. You can actually see the larvae squirm to the top and die.
Alesia says
My great grandma (96 yrs old) had a green house. My great grandpa had a saw mill and blacksmith shop. He built a furnace with a special place to have a large metal tray. When getting trees for the mill he'd get soil near the river bank for her. She'd put it in the tray to kill any nasties. Everything she grew was amazing! I've told my husband, a wire salesman, I wanted him to do the same for me! Ha ha it's not going to work out the same. This is a great alternative though. Thank you!
Christine says
Thanks for the good instructions! I understood why I should pasteurize the soil before I started my seedlings, but I was kind of dreading doing it, because of the earthy smell you mentioned. But I need to start my seedlings soon, so I pasteurized my soil last night. I dumped the soil into a roasting pan and covered it with foil. My oven has a handy temperature probe, which alerts me when the product that I am baking reaches temperature. That way I didn't have to keep checking. The soil was baking in the oven, while supper was cooking on the stove top. We didn't smell the soil baking at all, until the oven beeped, letting me know that the soil had reached temperature; so I opened the oven to remove the probe. That's when I did smell the soil, just briefly. I let it bake for the additional 30 minutes, and then left the oven closed and forgot about it, until this morning when I was going to bake muffins. When I opened the oven, I did smell a faint earthy smell, but there was no further earthy smell while the muffins were baking and that was it! We were really amazed at how little smell there was! Not bad at all! But I do think that part of the reason was due to the temperature probe, which allowed me to keep the oven closed, instead of periodically checking to see if it was up to temperature yet. Just wanted to let you know how well it worked for us. Thanks! 🙂
Anna says
Oh fantastic!! Those probes are amazing...definitely on the wish list if I ever need to replace our old stove! Thanks so much for sharing how that worked out, and for the kind comment!!
Jessie says
I stumbled across this post via pinterest and I'm really glad I did! I repotted a bunch of houseplants for my work last year and for months and months we had issues with the little buggers. I fiiiiinalllllly got rid of the last of them with several applications of diatomaceous earth. I've also had issues in the past with seedlings so I'll make sure and do this when planting time comes around this year. Thanks for posting this!
Anna says
Oh Jessie, I KNOW YOUR PAIN!
They're just horrid aren't they? It's absolutely not a battle I ever wish to fight again! So glad you found the post helpful, and thank you so much for your kind words!! Best wishes for a lovely gardening season!
Super Mom - No Cape! says
I had no idea! Thanks for posting about this!
Kim @ Berly's Kitchen says
This is so interesting. We don't plant/garden often. However, anytime we've purchased soil and left it for a few months, it seems to become a home for all kinds of creepy crawly things. I'll have to remember this for the next time we buy potting soil!
Anna says
Kim, I'm so glad you found it helpful! Yeah, those creepy crawlies are soooo miserable!
Anna says
Kim, I'm so glad you found it helpful! And ICK - those creepy crawlies are just miserable, aren't they?
Pamela says
As a gardener, this is super helpful to know! I'm going to pin to my garden board too!
Anna says
Pamela, I'm so glad you found it helpful! Thanks so much for the kind comment!!
Linda Smith says
Oh my! I had no idea you needed to pasteurize potting soil. Definitely pinning this now!
Anna says
Linda, I KNOW! I had no idea how widespread a problem it was either - until it happened to me! ?
Mary says
What does one do about mealy bugs in mulch bought at the local Home Depot?