

If you've been following me for a while, you probably already know how much I value good lard from pastured pigs, as a healthy cooking fat for our family. Now that I know how to render lard in an instant pot, keeping a good supply on hand is even easier!
I've been rendering our own lard for several years now, and love having it on hand - especially for baking! I always used to render it in the crockpot, which is a pretty clean and easy process. It takes quite a while though - usually several hours, from start to finish.
But this year, I have an Instant Pot.
Since it's revolutionized my cooking methods for almost everything else that usually takes longer than 10 minutes to cook, I knew it could probably work wonders on my lard-rendering routine as well.
And it delivered. One hour lard, my friends. One hour.
Just. So. Easy. Here's how to do it!

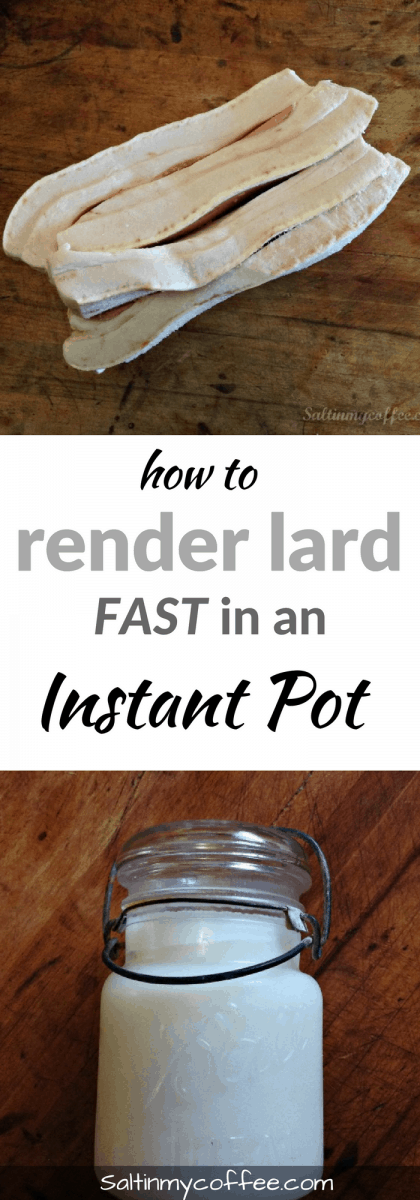
How to render lard in an Instant Pot
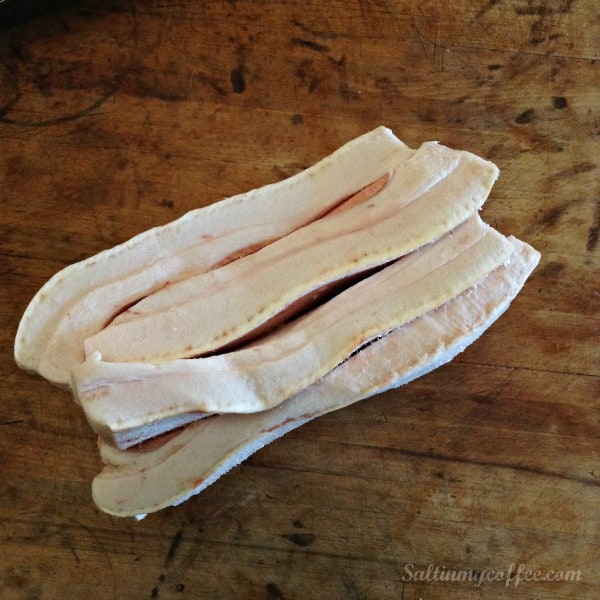
First, you'll need to get your hands on some good raw leaf lard or fatback from a pastured pig. For tips on how to source this, and why pastured is so important, check out my post here.
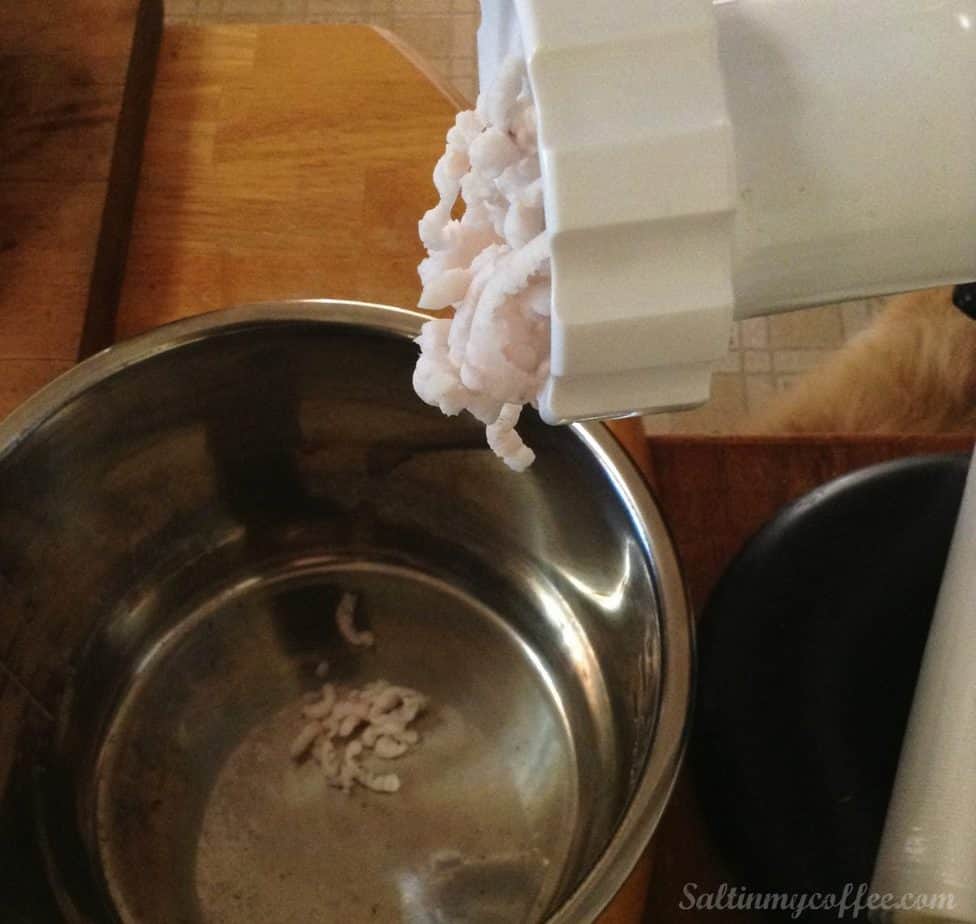
Now, to get fully-rendered lard in an hour, you'll need to either chop it finely, or grind it. Since I have a heavy-duty Kitchen Aid, with a grinding attachment, it really takes very little time to chop the fatback or leaf lard into strips, and put it through the grinder. Freezing the fat for an hour firms it up enough to make cutting into strips very easy.
If you're working with fatback, rather than leaf lard, you may also want to trim the thick, heavy skin from the fat (if your butcher hasn't done this already). I find it makes the grinding process MUCH faster and easier on the machine.
You can still toss those pieces of skin in the Instant Pot to render with the rest of the fat, and they'll cook up into very crunchy treats that are absolute heaven for dogs!
If you don't have a Kitchen Aid or meat grinder, don't sweat. You can just chop your fat finely, and it will come out fine. After a lot of experimentation, here's how I've found the timing works, based on how finely you chop your fat:
- Ground, or finely chopped: 1 hour
- Chopped small (½ inch cubes or so): 2 hours
- Chopped large (1-2 inch cubes, or even a little larger): 2.5 hours
These times don't include the time it takes for the Instant Pot to come up to pressure, which will add about 8-10 minutes to your total cooking time. And this is the version of the Instant Pot that I have, if you're wondering.
Add your fat to the Instant Pot, along with ¼ cup of water, and close the lid with the valve in the "closed" position.
A quick note about that ¼ cup of water. I find that when I use my kitchen aid to finely grind the fat, with the Instant Pot model that I have, I do not need any water at all. The lard comes out beautifully both ways, but the "cracklin's" just seem to come out more nicely without water, so this is what I generally do. That said, most folks opt for chopping fat rather than grinding it, and with the coarser chopping, the ¼ cup of water helps prevent the "burn error" from happening on your Instant Pot. I've also read some speculation that the newest Instant Pot models have a more sensitive error "burn" alert than previous models. For these reasons, I do make the blanket recommendation to add water.
Now - select "Pressure Cook", and adjust the time to 1 hour (or 2 hours for ½" cubes, 2.5 hours for large cubes).
When the cooking cycle ends, allow the Instant Pot to de-pressurize - either naturally or quick-release is just fine.
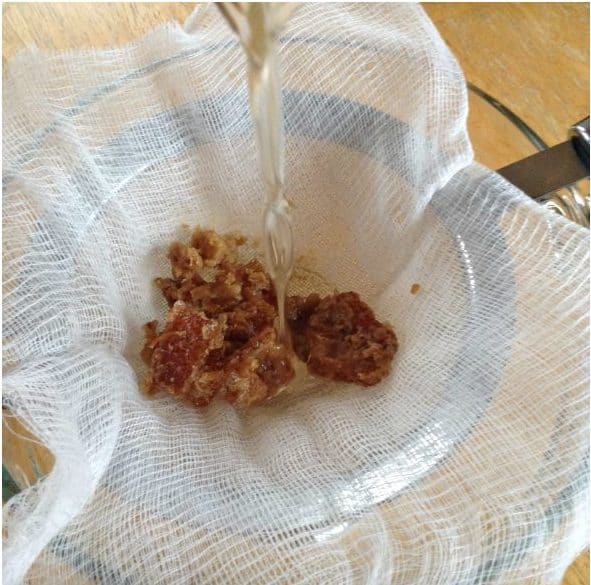
Pour the melted fat and cracklings through a sieve, and save those wonderful cracklings. They make tasty treats for either people or pets!
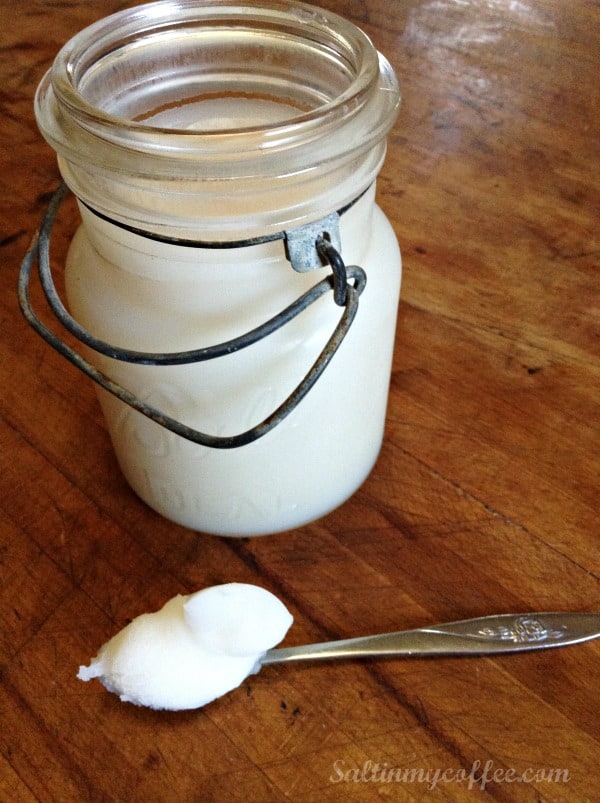
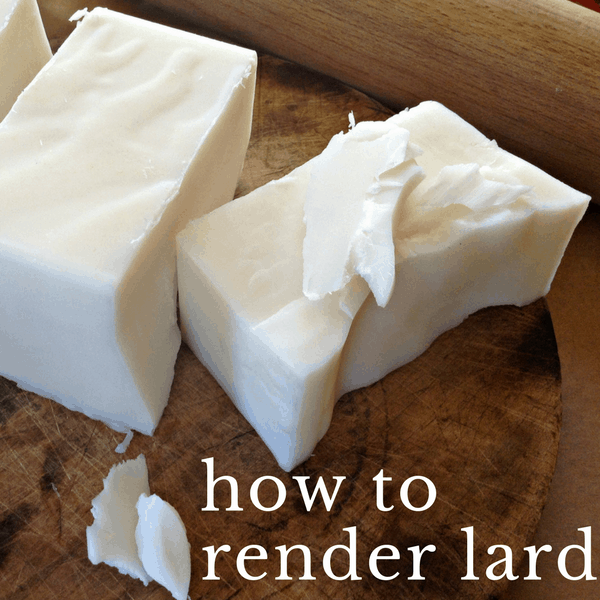
Pour the melted lard into jars or molds to harden. I tend to use both.
About half of my lard goes into mason jars (easy for scooping!) and half gets poured into loaf pans or these silicone molds, which make blocks that are easy to store for many months in the freezer, with no loss of quality. I put them in vacuum-sealed bags, labeled with the date and amount of lard that's in each package. I've stored lard for a year this way, and haven't noticed any loss of quality at all when frozen in vacuum-sealed bags like this.
This Instant Pot seriously just keeps making my kitchen a happier place. I've never really minded the slow process of rendering lard all that much, especially since I'm such a fan of the finished product. BUT - with two small kids, anything that can take a long project and condense it into a start-to-finish naptime task is a winning kitchen hack as far as I'm concerned!
Happy rendering!
Pin for later:

Anna Chesley
Anna Chesley is a freelance writer living a homestead lifestyle, with a special love for family travel, old books, vintage skills, and seaside living. In addition to founding Salt In My Coffee, she runs the website, New England Family Life, as well as The 1800's Housewife, a website devoted to re-creating authentic 1800's recipes.

PamG says
I ended up cooking mine for a total of 3 hours...and am slightly disappointed by the golden color of the liquid. My fatback was very pliable and easy to create chunks...but maybe next batch I’ll be trying it without water since the chunks of meat are in no way crispy...as you said it appears they absorbed all the water I added. Is there a way to crisp them up a bit?
PamG says
I did end up baking the resulting pieces of meat in a 300* oven and managed to crisp them up, but sadly the golden color has not left the lard...did I fail when I didn’t use cheesecloth in my sieve?
Joanne says
what weight of fat do you use for your recipe?
1/4 cup of water
?? lbs of ground fat
1 hour high pressure. Natural release
strain through cheese cloth, fill mason jars......
Celia says
I am able to purchase packages of bacon ends and pieces - a nightmare to try and cook down by themselves.
Have you ever done something similar to this with your method?
I'd like to cook them down (to as crispy as possible).
Anna says
Oooh! That's so wonderful you're able to get a great deal like that. I've never tried this method with bacon ends, but it does seam plausible - I hope you'll let us know how it works if you try it! I wonder if it also might work in the oven? I love cooking regular sliced bacon in the oven, and it seems that might possibly work with bacon ends?
Celia says
Yes I usually cook two pounds of bacon in the oven at a time but that is being able to lie nice flat strips out. this is one big mess o bacon.
I'll use your method and see what happens. I would love to have some nice yummy lard vs having to buy it.
Did you see NPR did a thing about lard this month?
Crystal says
I also buy bacon ends. What I’ve found best to cook them is on the stove very low heat while I’m already in there cookin other things. Then I pick out the pieces as they get done. The kids call them bacon sprinkles. I’ve never tried it in the instapot though.
Anna says
"bacon sprinkles" - I love it!! Thanks so much Crystal, for sharing your tips on working with bacon ends!
Maria says
I tried this and all the beef fat became a liquid yellow, not white tallow.
What did I do wrong? I followed exactly the instructions.
Todd says
My Thai cookbooks call for rendered pork fat for the stir fries. I could use vegetable oil, but that's no fun...
I was using "Epic" pork fat which was expensive at $9+ a jar. They actually had a recall on them and stop selling the product for awhile (they are back online however).
I made my first batch of lard and can't wait to cook with it tomorrow! Thanks for the instructions!
Anna says
Todd, I'm so delighted you found it helpful - yay! And now you totally have me hankering for Thai food!! Do you perhaps have a favorite cookbook to recommend? That's a cuisine that's direly under-represented in my cookbook collection, and I should really do something about that... Happy cooking!
Joy says
When you add water to avoid the burn code then wouldn’t your finished produ Have water in it? Is this a problem?
Anna says
Great question! The short answer is that I don't notice water in the finished product, and haven't found it to be a problem. I feel that since the "cracklins" don't crisp up the same, that they're probably absorbing any water that hasn't evaporated and been expelled through the steam vent. From reading every "wet render vs. dry render" result I could find in a google search when I was first experimenting, it seems that "less-crispy cracklins, and milder-flavored lard" are the most common feedback from those comparing wet-rendering results to dry-render. (When you use a bit of water when rendering lard or tallow, it's called "wet rendering"). Anyway, I really hope this helps! Again - you may not need that water at all. Since I grind my fat very fine, and know my machine never has a problem with it, I generally do omit the water. But having done it with and without the water several times, I can say I'm happy with the lard results both ways, and a bit happier with the cracklins sans water. Again - hope that helps a bit!!
Tina SMith says
Without water my instapot says BURN. Is this a problem anyone else has had?
Anna says
Tina, thanks so much for letting me know this is happening for you! I've used this method many times now without it happening to me, but would DEFINITELY go ahead and add water if that is something you're running into. Here's a post that talks a bit about that burn code, and makes me wonder if perhaps my Instant Pot is a bit older than yours, and things may have changed a bit? https://www.pressurecookrecipes.com/instant-pot-burn/
I also suspect this would be more likely to happen with larger chunks, rather than finely chopped. At any rate - I really appreciate you sharing your experience. Thank you!
Allen says
I can't find any reasonably price pork fat here in Tucson. so I'm considering buying beef fat and making tallow instead. Is it the same process?
Anna says
Allen, that's a great question! While I've never rendered tallow myself (definitely on my list of things to do!) I expect it should render very much the same as lard. Every tutorial I've seen for rendering tallow usually includes lard, and specifies that the process is exactly the same. Susie over at Whole Beauty Foodie has a post about rendering tallow in her instant pot that you might find helpful: https://wholebeautyfoodie.com/recipes/how-to-render-tallow-or-lard-in-an-instantpot
If you try it, I'd really love to know how it goes for you!!
Chip says
You can buy frozen fatback online from Amazon.
linda says
My butcher grinds mine up into tiny pellets. Do you think this would take less than an hour, or might setting the instant pot on sautee work just as well?
Anna says
I absolutely bet that would render more quickly! If it were me, I'd probably try 40 minutes on the high pressure cook setting, and see how that does. You could also try saute, but I suspect it would take a bit longer, and also might end up a bit splattery as you preiodicaly stir to make sure the bits of lard don't burn on. I hope you'll let us know what you find works well. And lucky you, having your butcher grind it so nicely for you - that's awesome!!
BT says
Do you use High Pressure?
And do you fill the ground fat to the Max Fill line for solids or liquids?
Thanks!
Anna says
Hi BT! Awesome questions - I should go back and update the post with these! YES - I do use high pressure, and I've been using the 2/3 mark (the liquid fill line) as the max when I'm rendering lard. Hope this helps, and thanks for the great questions!
karen says
Can you tell me how many minutes to set the pot to cook
6 .6 pounds raw fat? How does one figure this ? Thank you.
Cindy says
Do you not add any water to the pot before pressure cooking the lard?
Anna says
Hi Cindy! No, I do not add any water at all. I know the few other tutorials I've seen out there call for it, and I've tried it both ways, but the result is better when not including any water. Hope this helps!