


While hammers and anvils are what immediately come to mind when setting up a home forge, there are several other blacksmith tools that every home blacksmith will find necessary. This list of blacksmith tools to complete your home forge will help you know what to look for!

The tools and pieces of equipment that we’ve covered so far have been the essentials to begin forging. But you will most likely want to add a few more to your arsenal before you begin a project. As in all things, you can go nuts and buy or make a tool or jig for any project. It’s up to you to decide if you want to use a hammer and tongs or a jig to do scroll work. You can use a jig for just about any application, but the important things to consider with these questions are how often will you use the tool, and how much you want to spend, or expend in energy to fabricate, that tool.
For my forge, I’ve selected the tools and jigs that I need for my applications, and I have selected what I think will be most commonly used for most beginning blacksmiths below. For purposes of reducing clutter, I try to keep it simple. But I won’t lie – I have made the occasional impulse buy – that shoe anvil sitting under the work bench is a prime example: I will likely never use it, but it was available at a barn sale for a buck and while I was buying steel from him already, I grabbed it. Guilty as charged. But for 90% of the projects that I work on, these are my primary additional tools:
Blacksmith Tools to Complete Your Forge
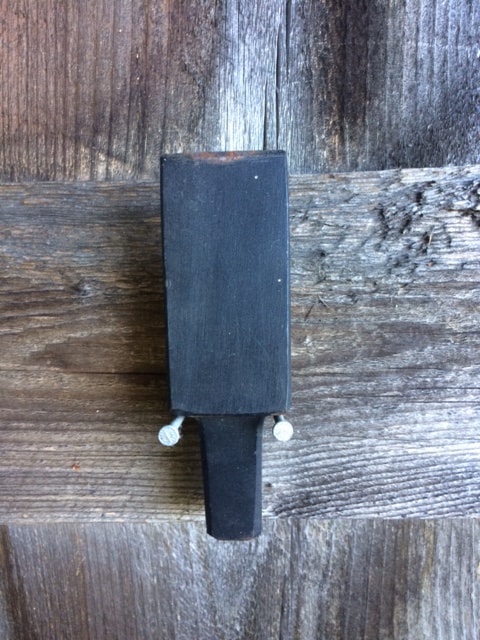
Hardie Hole Hot Cutter:
This is what I use primarily to cut steel into the lengths that I need. It’s a simple hardened triangle that fits into the hardie hole of my anvil and is invaluable. I use this on almost every project. You can use other tools to do this job, but this one is the best for my applications. It’s important to be sure to cool the cutting edge before, and after, you use it to keep the hardness and avoid damaging the face. I’ll demonstrate this in a future project post. You can get a good hardened cutting tool of this type for about $35.
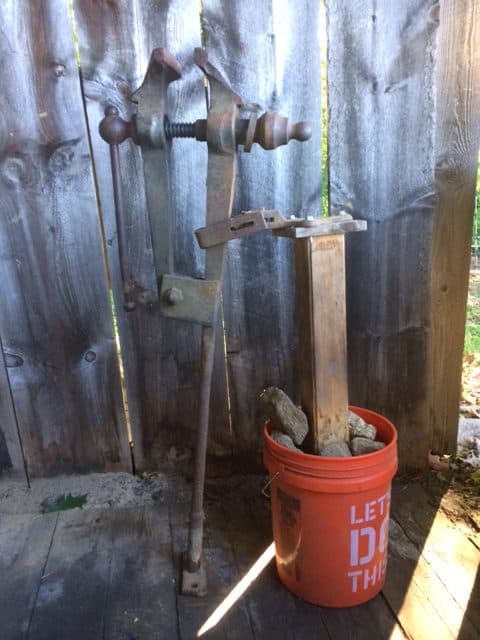
Leg Vise:
If you like to add twists or bends to your work, you can use the curved face of the anvil horn or turn the metal with two sets of tongs, but for ease of use and avoiding having to re-heat a piece (sometimes you only have a few seconds to complete a bend or twist and every second counts), I use a leg vise. The important difference between this type of vise and a standard bench vise (which you can also use for twists), is that the leg is in contact with the ground, allowing you to transmit the weight of a hammer blow to the floor and both bend and twist objects. The weight is born through the leg to the ground, rather than take a chance of hitting a bench vise and having the vise jaws and arm take the force of the impact (as well as your work bench). The vise has a spring in the middle of it that pushes the jaws back out when they are not tightened, so you can insert and remove a piece of work quickly. New leg vises can be several hundred dollars, so keep an eye out for one that is used – check online, auctions, and barn sales – I paid about $70 for mine, but the spring was broken (I don’t mind since I’ve gotten used to it). A solid, functional one in good condition should run about $100-$125.
Quenching Buckets:
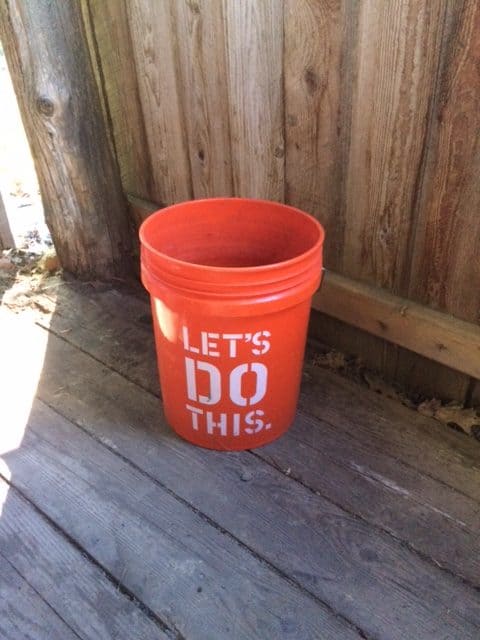
Simply put, you need one of these, so just spend the $5 at Home Depot or wherever and get one. The only things to keep in mind are how large, or long, your pieces are going to be that need to be quenched, and what can happen if you drop a piece of hot metal in the bucket and can’t get to it right away (we all do it). A plastic bottom can melt, putting a hole in the bucket, but for $3-$5 bucks a piece, it beats spending $30 for a steel water or metal bucket. Note: if you are going to do very long or very wide pieces, first measure a bucket to make sure that you have about 3” of clear space around it (for oil quenching you can have a reduced surrounding space 0 about 1”). You’ll need to have extra space to be able to handle the tongs and the piece, and for objects like swords, you will need to be able to heat treat the entire length of the blade, so you will need a long tube. Don’t pay attention to Hollywood with long horizontal watering troughs. If you take hot metal and quench it horizontally, rather than vertically, the metal will likely bend and you will ruin the piece. Always quench with the force of gravity on your side. Usually, this means plunging the piece straight down into the cooling medium. If you use oil and water, get multiple buckets and keep them dedicated to that one medium. Oil and water don’t mix and you want to keep your cooling mixture pure. I use sand as well for long treatments, so get a few buckets while you’re at the store. Cost: $3-$5 each.
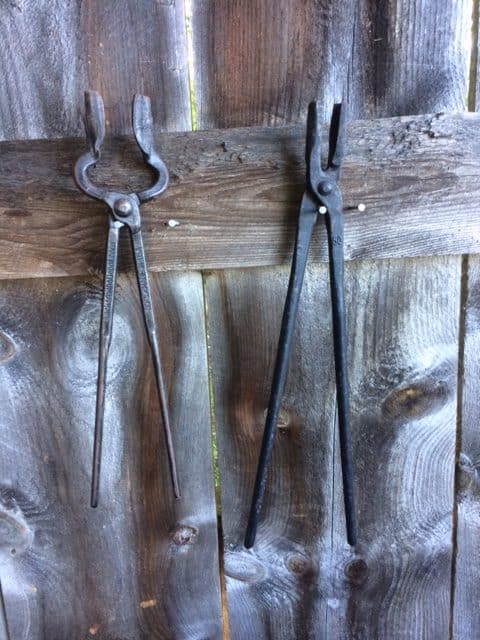
Tongs:
One of the best projects to begin with is to make your own set of tongs. However, in lieu of this, and to assist you with more complex projects, get a few pairs of tongs first. Think about the types of stock that you will be using to make your projects. For square stock, get a pair of tings with a square jaw space. For round stock, get rounded ones. For blades, get a swan neck pair of tongs. While you can technically make any kind of tongs that you need, sometimes it’s just easier to have a purpose made pair and for the one-off odd-ball jobs, just make those ones. I have three sets of tongs: one with wolf jaws for multiple shapes of stock, one for round stock and one for small blades. Keep in mind that the width of the stock will need to be considered when selecting the jaw size of tongs, so if you work mostly with ½” stock, don’t get 1” jaws. You can also get flat tongs, or make them, so that you can grip pretty much any kind of material, but remember that the jaws have to grip the steel firmly enough to control the piece while being hammered, and vibration from hammering or punching metal can cause the hot steel to slip from the jaws of some tongs. You don’t want 2,000 degrees of hot metal falling on your wooden floor. And a note of caution here, NEVER grasp a piece of steel with your bare hand, even if it falls while you are hammering it and think that you can just quickly snatch it back up to the anvil. Always use tongs and always assume that the metal is hot, even if it does not look to be heated. While in my initial instruction I once made the mistake of complying with a classmates request to hand him “that piece of metal” on the anvil I was working next to, and a second later I was sticking my hand into the quenching barrel with 2nd degree burns. The metal looked gray and cool, but it was 1,200 degrees. Always use tongs unless you KNOW the piece has not been heated. Cost: about $35-$70 depending on the type of tong.
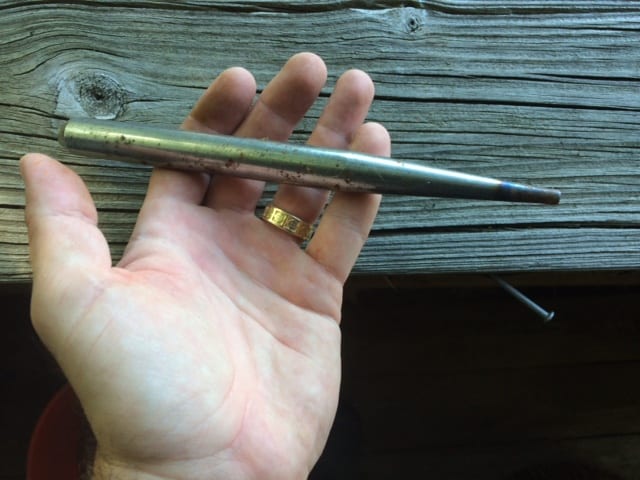
Hot Punch/Drift:
Most likely, you will need to be able to put a hole or three into a piece of metal, either for screw holes, attachments for a handle, or attaching a shaft for ax heads. While you can get a drill press to machine the holes for screws, you cannot machine an ax head’s tapered hole to receive the handle. You can use a number of different types of tools for this, but I like to first use a hot punch tool. This allows you to punch a hole in the hot metal and increase and shape it as you go along. Drifts are most commonly used for larger holes and the heating, drift punching and repeating process is necessary for a good sizing in applications of handles of different material than the head or blade. Either way, you will likely begin with a small hole that you punch and then enlarge. Most hot punches/drifts are easy to come by and can function in the same way – a punch can also be a drift, but be sure to get a drift that is made for this – some punches are not meant to be drifts – and they can come in all sorts of shapes on their tip. Round, square, diamond, oval. Just pick what you need most and expand your collection if you need to later. Cost: $7-$25.
Safety/Personal Protective Equipment (PPE):
A priority for all blacksmiths is to have appropriate Personal Protective Equipment (PPE). This is not just a matter of suggestion – hot metal WILL hurt you, and you WILL inevitably be burned, either by metal, or sparks, or the forge, or any other series of events that are not able to be avoided. Obviously, being safety conscious at all times is important, but even the best intentioned smith can get caught in a situation that they did not expect – picture a cooling piece of metal in a pair of tongs that you try to punch by yourself and a hammer blow dislodges the metal which then pops up and hits you in the face and then falls on the wooden floor and begins to burn. Yes, that can happen. So, for your own safety, and to help ensure years of smithing joy, don’t skimp on PPE.
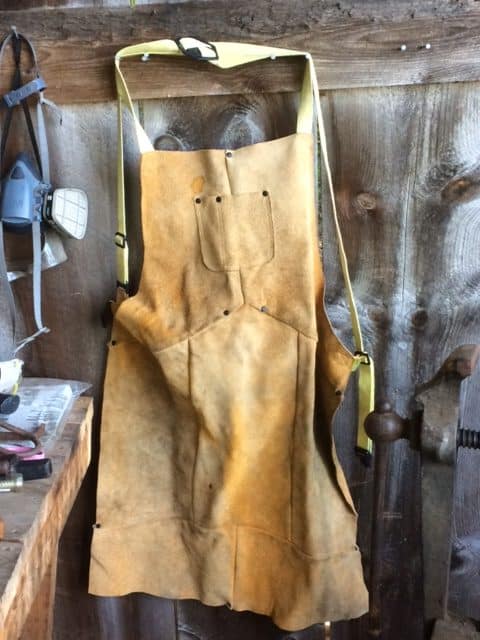
Apron
Every smith needs an apron. It’s not a point of manly pride – it’s a point of safety. Get one. It doesn’t matter what brand name is one it – as long as it protects you from bits of hot metal and is comfortable, you’ll be fine. The main purpose of this is to protect your body, and your clothes, from burning. Sparks can burn holes in clothes and skin very quickly and synthetic material can sometimes catch fire or melt. Covering your hole torso and the top of your legs will protect your from the majority of spark and metal burn issues. Cost: $40-$230
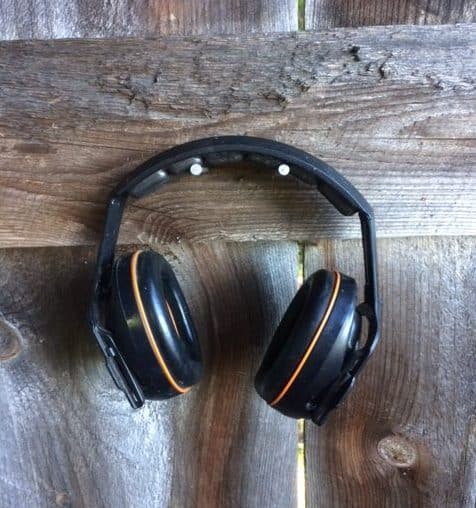
Ear protection
You will be pounding metal on metal and it is loud. Again, this is not about the aesthetics of smithing. Smiths back in the day didn’t know about long-term hearing damage, and many of them would be hard of hearing after working for years at the forge. The sharp pounding of the hammer and forge will cause long-term hearing damage, so get a good pair of ear plugs or hearing protection muffs that cover your entire ear. Cost: $5-$50
Eye protection glasses or goggles
These can be either open sided or closed but remember, especially when working with charcoal forges, you only have one pair of eyes and a spark or a shard of metal or coke getting tossed up into your eyes will blind you for life. Also, when dumping ash, the dust in the ash bin is VERY hot and can easily be caught up in a gust of wind. It won’t necessarily catch fire, but it will be hot enough to burn or blister your eyes. So don’t skimp. I recommend goggles or sided glasses. Cost: $5-$45
Gloves
You can choose to go easy here if you want to. Gloves are helpful to avoid burns from carelessly grasping a piece of metal, but they can interfere with the feel of the hammer in your hands. I sometime go without these, but having a pair on hand in the event you need them is a good idea. Cost: $5-$25
Closed toe boots or shoes
Don’t walk barefoot in the forge or wear sandals – you will get burned. Be sure to cover your entire foot and be mindful of falling sparks getting into your boot. Long pants that cover the tops and go outside the boot are a smart plan. Again, don’t worry about the brand name – you’re not walking a red carpet, you’re protecting your feet. Cost: $50-$350
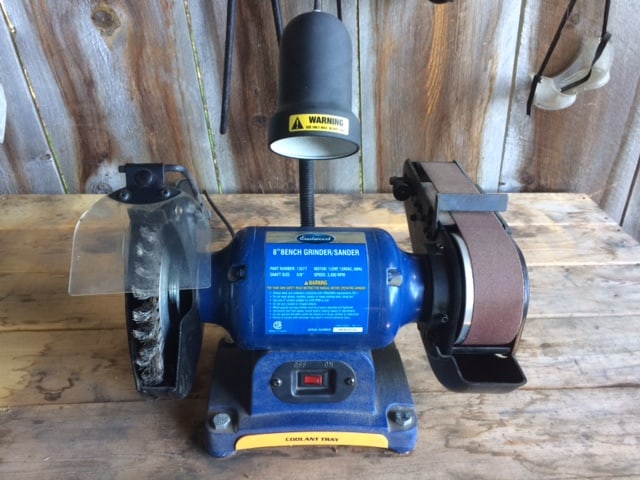
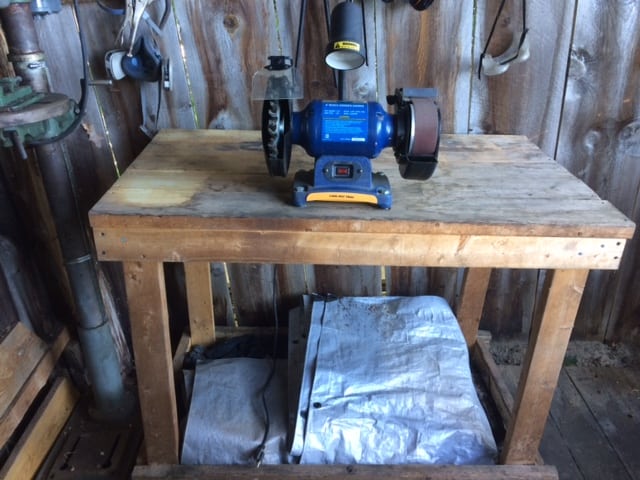
Grinder/Polishing Wheel:
When a piece has been forged, you will need to finish it to a useable and/or saleable condition. In some cases, this is able to be accomplished just by painting or waxing the piece as forged. But in the case of some finishes, and for blades, you will need to grind in an edge and/or polish the piece so it shines. A good circular grinding wheel with polishing wheel attachments is vital to this type of piece. Grinding wheels can range in size and cost, so pick one that will do slightly more than you anticipate needing, and that you can replace wheels on. Some models, such as mine shown above, also have a sanding belt attached, so it can be used for long, straight pieces as well. Costs vary widely, so choose what you will need, not something that costs more than your forge unless you will use it enough to justify its price. Look for interchangeable wheels and belts and price out the entirety of what you will be using first. I added a polishing wheel and a twisted wire brush wheel to mine for a total of about $200 for my set up. Keep safety in mind too – a clear grinding guard above the wheel can save you a lot of pain and could save your eyesight too, but always wear your PPE including glasses or goggles when grinding. Grinder/Polishing Wheel Cost: $40-$700+.
Aspirator:
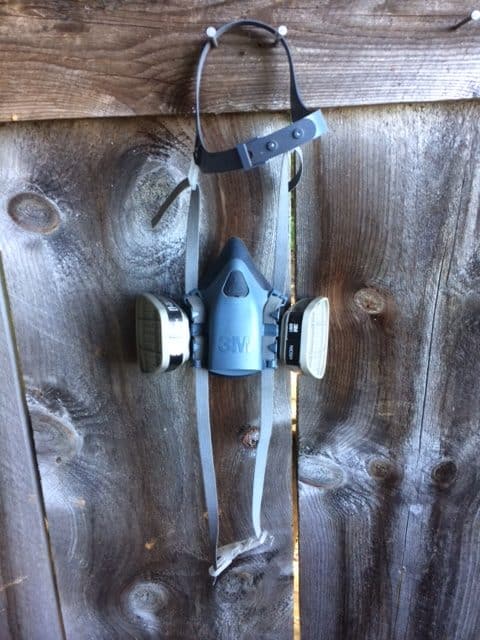
Another piece of equipment you will need with a grinder is a breathing mask. Fine metal particles can be inhaled and over time, in the moist recesses of your lungs, can lead to all sorts of nasty rust related issues. Don’t sacrifice your health – get a good, well-fitting aspirator or mask that filters out fine particulate matter and make sure that the filters are appropriate too – This should only cost about $40 and will save your health.
Work Bench:
Lastly, you will need a place to put all of your miscellaneous tools. Some tools can be hung on hooks on the wall of your garage or forge, while others, like punches and cutters, will need a shelf or work bench to keep them organized and at hand. If you get a grinder, it will need to be anchored and the easiest way to combine these uses is in a wooden work bench that you can directly attach your grinder or a small vise to. I would recommend building your own so that you can pick the size and shape accordingly. Mine was made from 2x4s and 2x6s. Use screws rather than nails to ensure that you will have a sturdy bench that can absorb the rotational vibrations of the grinder if you want to mount one on it, and it shouldn’t cost you more than about $35.
Suppliers
For some easy and readily accessible suppliers, try these:
Amazon – only by brand name here and from suppliers that are well rated. www.amazon.com
Pieh Tool Company – www.piehtoolco.com
Centaur Forge – www.centaurforge.com
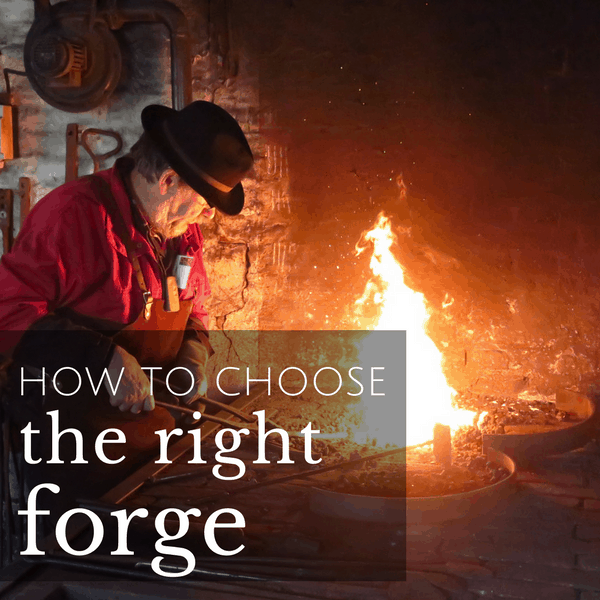
I’ll talk about where to source your steel from in our next post, and then, a quick tour of my forge before we get into projects.
Hammer on!
If you've missed any installments in our blacksmithing series, you can check them out here:
What Do You Need to Start Blacksmithing at Home?
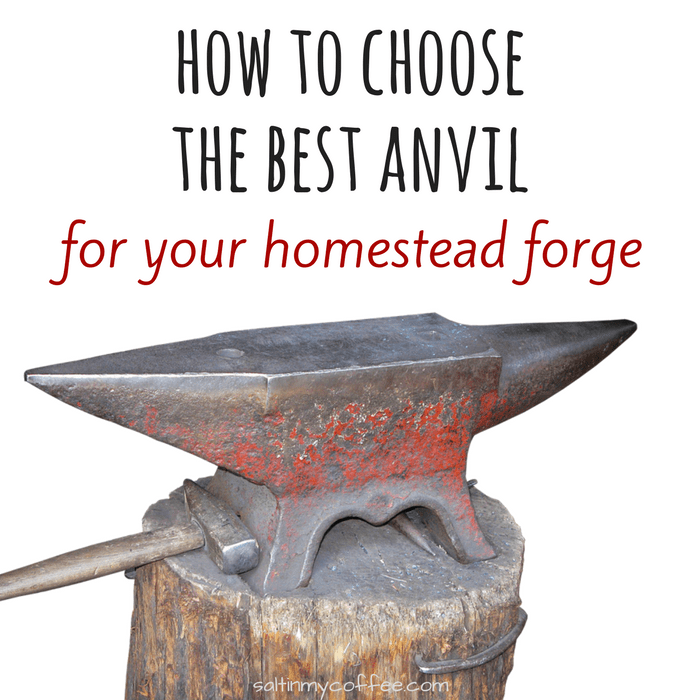
How to Choose the Best Anvil For Your Forge
Jennifer Shaver says
I love your website. I’ve recently gotten into gardening. Also my friend has a forge and is letting me learn Blacksmithing from her. I found your blogs very helpful. Your website has a cute name...where did you come up with the idea?
Ukraineo Anderson says
Thanks for taking the time to put the blacksmith info together. It is an awesome reference and a great series for the new smithie. I've been a welder for many moons and have done mostly heavy iron, pipe, equipment, mining etc... but I'm starting to look into lighter, easier metal work. I'm slowly getting my shop together and am looking forward to learning more about the tools and procedures.
Steele Honda says
Thanks for pointing out that to assist you with more complex projects, it can be smart to get a few pairs of forging tongs first. My husband is thinking about learning how to forge stuff because e thinks it would be fun a hobby and he could make useful stuff with it. I think I'm going to get him some forging tongs to help him start off on the right foot and so that he can have the right tools for the job.
John Edwards says
Little inquiry. I am endeavoring to enter the art, I as of now have a little fashion and iron block. I don't have any thought on the tongs, however. Is there any suggested for learners?
Cecil Carroll says
Hi, This is really a informative article. Anyone who wishes to set up their own forge really needs to read this.I am learning so much. Thanks for the sharing such an informative article.
Karen Merhalski says
Wow! A very well written article! I learned a lot. Anyone who wishes to set up their own forge really needs to read this. Dan explains exactly what you need and how much you can spend so as not to have any surprises.
Steve Merhalski says
Another great article on blacksmithing. I am learning so muck. Keep up the good work.