


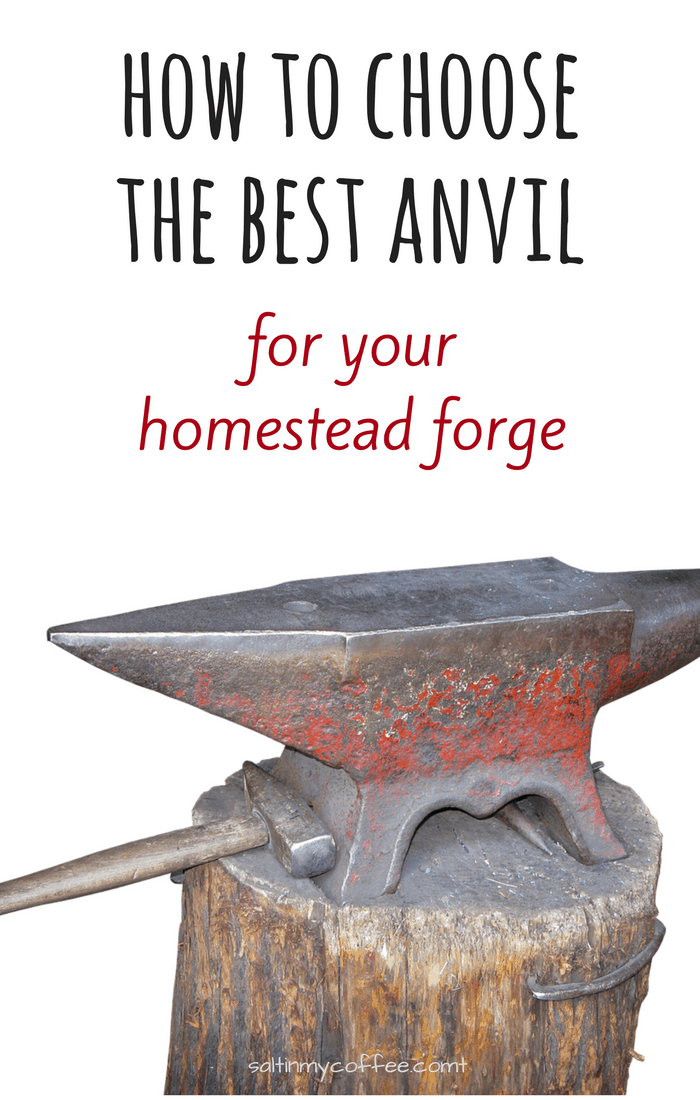
What is an anvil, and how should you go about choosing the best one for your home forge? Here's the newest installment in Dan's series on setting up a backyard forge! To start at the beginning, you can find the first post here. ~ Anna
In my previous post, I talked about how to choose the right forge for your homestead blacksmith shop. The next essential element of forging that you will need, is an anvil.
In some areas, you can skimp on the quality of your equipment. A forge can be a satellite dish and a blow dryer, but there are two parts of every forge that I strongly recommend you don’t sacrifice quality on – your anvil, and your hammer. Trust me, you will save countless hours of frustration and reworking mistakes if you buy quality pieces now.
Choosing an anvil for your home forge:
Anvil Type
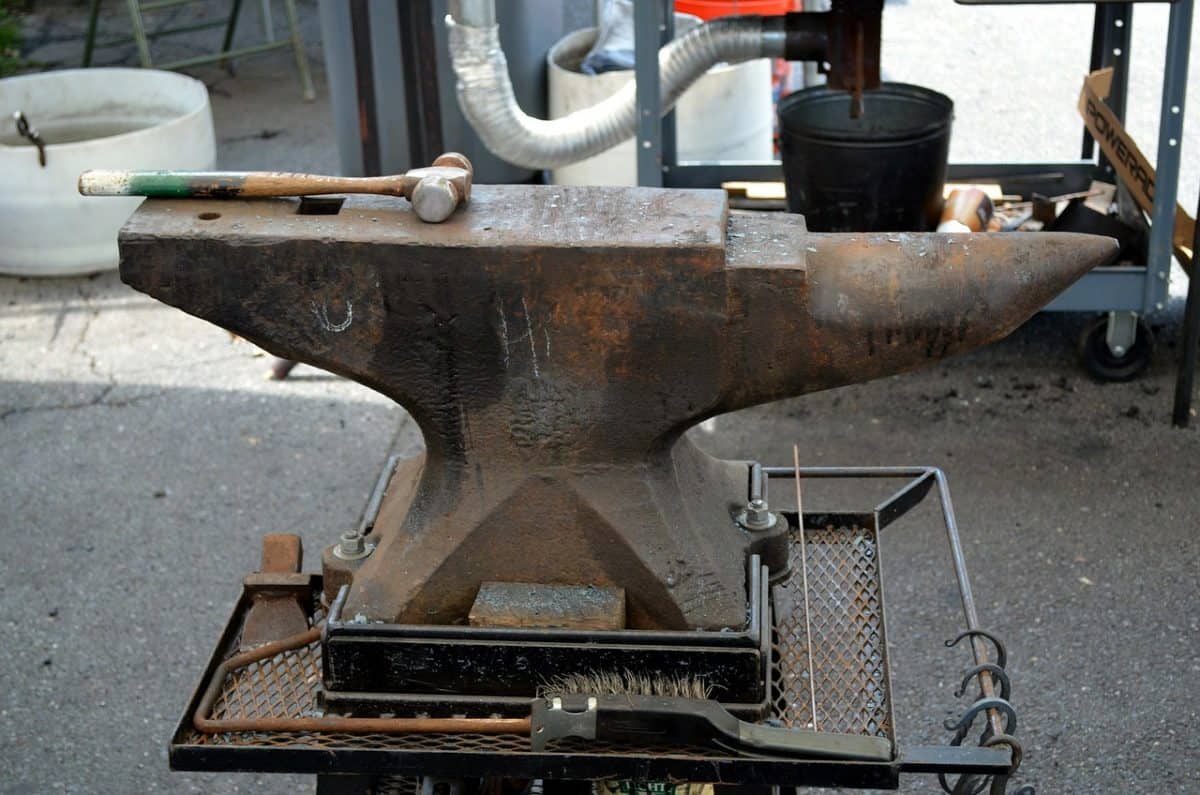
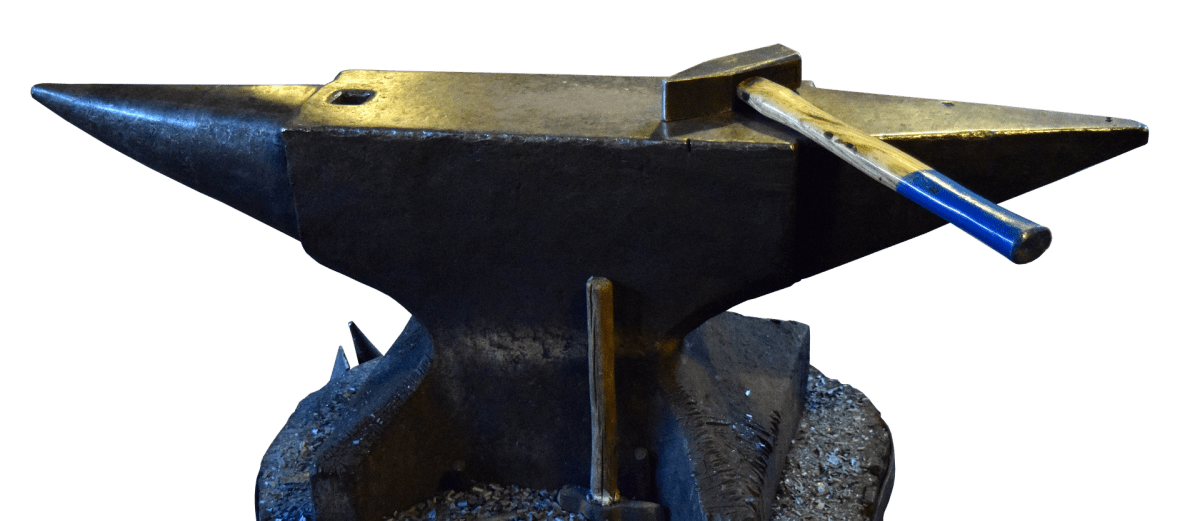
There are a number of different types of anvil designs to choose from. Any one that you feel comfortable with is fine. Just as cars have many different shapes and sizes, so do anvils, depending on what they are used for and where they came from. The traditional designed anvil is a London-style anvil that looks like a small “T” and has a horn on one side, and a squared off table on the end. It has a Hardie Hole (the square one) and a Pritchel Hole (the round one).
French style anvils have two horns on each end, and some other European anvils have a step that juts out from the side at a right angle that is still connected to the face. This can be used for various things. Personally, I prefer a traditional anvil. If you are going to use jigs, be sure that your Hardie Hole and Pritchel Hole are large enough to fit your jigs, but don’t over size them either. A ½” jig won’t fit into a 1” hole unless you have an adaptor, and they can sometimes get jammed into the holes as the adaptors can be a softer metal than the jig.
Anvil Material
I will only say this once – DO NOT BUY CAST IRON. Cast iron is way too soft and will not give you the rebound or strength you need to forge with. That 50-lb. cast iron anvil that's going for $75 may look great on Ebay or Amazon, but don’t waste your money. It is not worth it, and will either cause you hours of frustration as you pound away on a piece of steel and it won’t shape correctly, or it may break or chip.
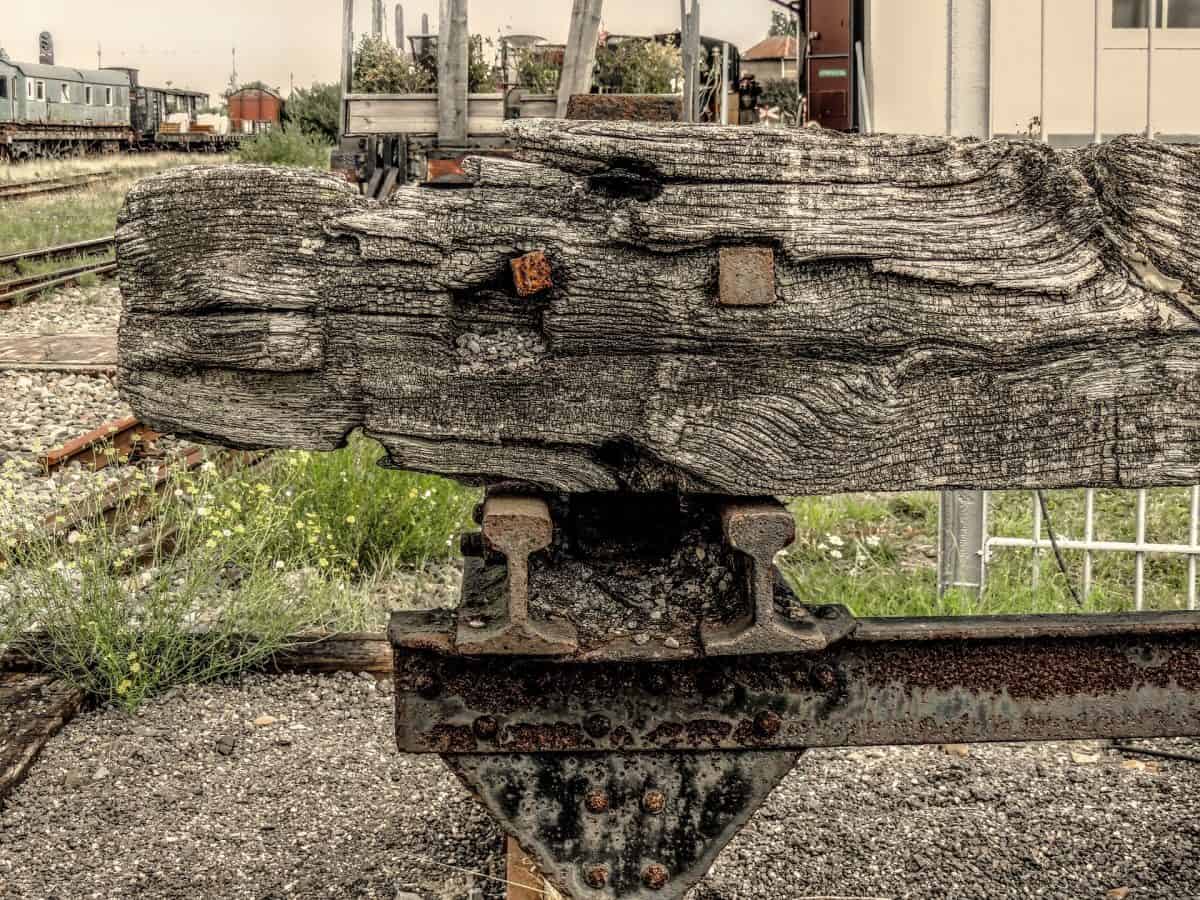
Anvils can be drop forged or welded and still be of quality, but you must look for an anvil with a tool steel or similar hardened face – this can be a pressed plate in a single piece of steel that was forged, or a plate welded onto a softer steel body. If cost is an issue, go with a good old fashioned railroad anvil – this is literally a piece of railroad steel track that has been cut to about a foot in length and has a smooth surface on top of it. It will work for most projects and is much better quality than a cast iron one.
Rebound
An anvil is the counter-blow to your hammer strokes. For every blow you land with your hammer, the anvil will produce the same force on a flat surface on the other side, so one of the most essential things to look for in a good anvil, is rebound. This is usually measured in a percentage of the amount returned from a dropped ball bearing. For example, an anvil that rebounds a ball bearing 5 inches when dropped from 10 inches has 50% rebound. Good anvils will have 90% or greater rebound in them.
Look for a small, ½” to 1” diameter ball bearing at your local hardware store and bring it along with a tape measure or ruler when you go to look at an anvil. Drop the ball bearing from a certain height, 10 inches is easiest to measure in a percentage manner, and see how far back up the ball bearing bounces when you drop it under its own weight. Let gravity tell you what the rebound is, don’t bounce it or throw it, just drop it. What this measures is the quality and density of the anvil, so a good quality anvil will be very hard on the surface and dense enough to rebound a ball bearing by 9-10 inches and somewhat less for subsequent bounces.
Texture
The face of the anvil – the smooth top that you will be placing your steel onto – MUST be perfectly flat, and free of blemishes. Look to see if there are any surface cuts, scratches, warps, etc, in the face of the anvil. Remember, this is important because when you strike hot metal, it will imprint the face of the anvil on the other side. Just as play dough will imprint the face of a texture into it when you press it onto an object, so will your metal with whatever is on the anvil’s face plate. You want a face that is as smooth as possible, and is also as flat and level as possible.
Don’t look at an anvil with a face that is bowed or indented, and avoid any with obvious pitting or gouges in them. There will likely be some wear marks from use if you are looking at a used anvil, especially around the outside edges, but consider the areas that you will be placing your steel, and how large the undamaged area is when you want to pound steel over it, before you buy.
Face Plate Adhesion
Look to see that there are no gaps or repair marks between the face plate of the anvil, and the body of it. Most anvils were drop forged using a piece of very hard tool steel that was wielded onto a solid steel body. Some were forged of a single piece of steel. Both are fine, but over the years, some face plates, particularly on anvils that were of less quality, tend to separate from the body of the anvil. Use a hammer to lightly ping on the anvil’s face all over the plate and see if you hear any echoes or reverberations. If a plate moves at all, avoid it.
Anvil Size
In forging, size really doesn’t matter unless you are going to use a large hammer, or need a lot of space to hold your work when using jigs. A 150lb. anvil will work for most people, even though the face may only be a few inches wide at its narrowest width. This is fine – remember, you will only ever hit metal at one point at a time, and the anvil’s width doesn’t need to be greater than your widest piece of work. That being said, it is sometimes easier to work with a larger face.
The most important factor after this is the weight of the anvil. It may look really cool to have a whopping 600lb. anvil in your forge, but do you really want to have to go pick up something that weighs that much and truck it home with you? Also, you will have to set your anvil on a block or other support to use it. Make sure whatever you are using to support your anvil will be able to safely handle the weight of it, including when you hit it. It shouldn’t wobble or move at all. My anvil is a 300 lb. one that I got for the size of the face and the length of the plate. In retrospect, I could have gotten a smaller one as I only use about half of its area to forge with. Cost is also usually linked to weight – expect to pay about $3/lb. for a good quality anvil.
Quality of Hardie and Pritchel Holes
Make sure that the Hardie Hole and Pritchel Hole are well-shaped and not rounded off at the corners or edges. You want to be able to have a sharp edge and corner, to ensure that your jigs will fit securely into them and not turn or bend in them.
Cost, and whether to buy a new or used anvil
Anvils don’t really “go bad” with age. Mine was forged in the 1930s, and it still works perfectly – 100% rebound and a smooth face plate, with no hollows or gouges. Used anvils are usually most cost-effective, and of better quality than new ones, as anvils are not made that frequently anymore. You may be able to find a bunch of cast-iron anvils from China or a few drop forged ones from Turkey, but you can do much better to look for one from the good ole USA for less cost, that has a few decades of use in it.
The main factors to consider with cost and new/used are the condition, and the material used to make the anvil. Any anvil that has a crack or chip in it is one to avoid. Look for a pristine surface area and a smooth plate. Anvils don’t really deteriorate unless they are rusted and even then, unless there is pitting in the surface, an anvil with a coating of oxidized iron can be cleaned off with a wire brush and treated to bring it back to full use. But a pitted anvil is not able to be repaired (unless you want to re-weld a new plate on the top), so just don’t bother with them.
Anvil Stands
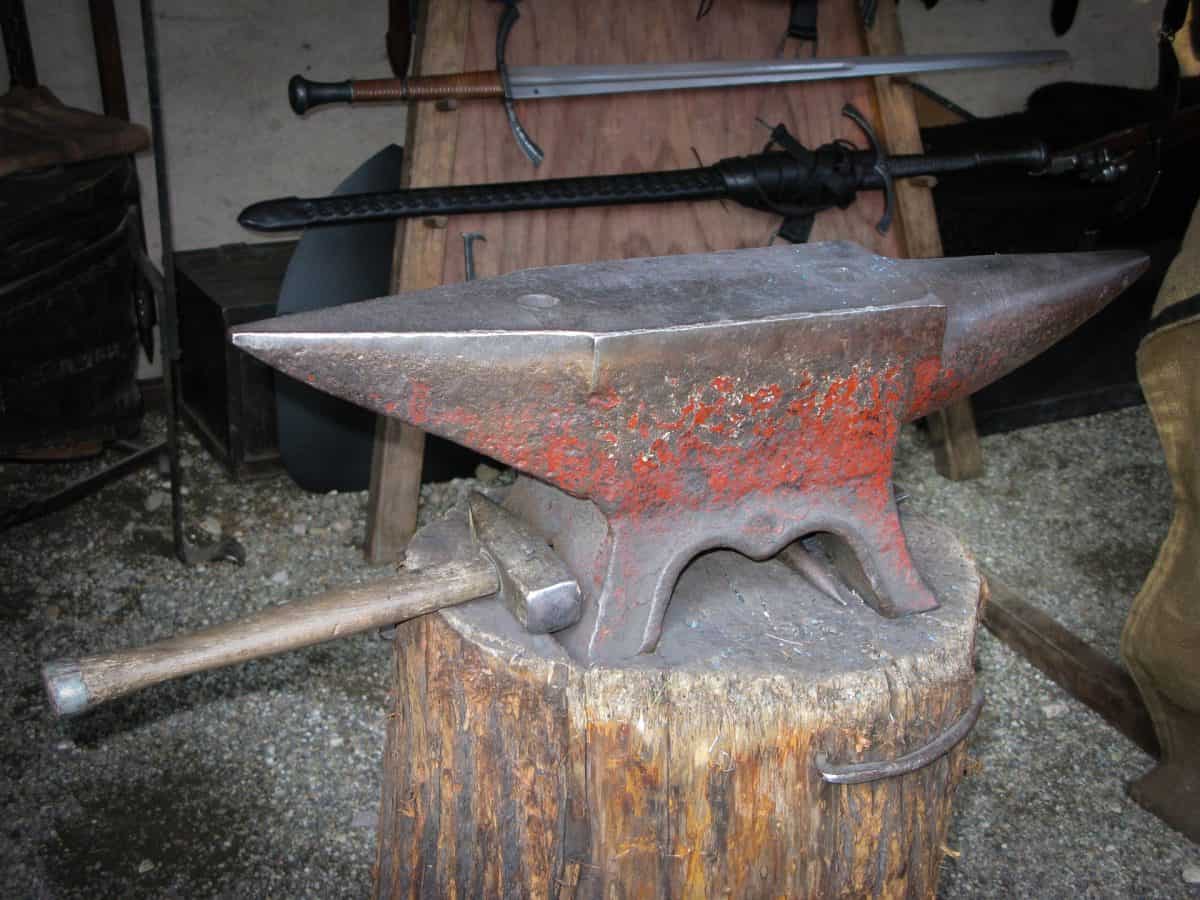
An anvil should be positioned so that your knuckles, when gripping a hammer and holding your arm straight down with the hammer perpendicular to the ground, should just touch the face of the anvil. For most of us, that means raising the anvil up about a foot or two. I use a solid piece of tree stump for mine, but there are also metal stands that you can buy and secure your anvil to.
Make sure that your anvil is solid and will not wobble or fall over when you secure it to your stand. 300lbs. of metal WILL break bones. You will be using some force on your jigs, and when using a sledge hammer on your anvil, so make sure it is secure and will not move when you set it up. You can secure an anvil to a stand with hardware like screws or nails, but whatever you use, make sure it is strong enough o keep the anvil stable and unmovable from the stand. They should be able to be moved as one piece with no separation when you lift them.
Suppliers
For used anvils, look on Craigslist or Ebay. Estate sales and barn sales are great too. Remember that shipping is not something that you want to do if you can help it, because a 300lb. hunk of metal will cost as much to ship it as it will to buy. You can also look for new anvils on sites that sell blacksmithing or farrier supplies. Here are a few links to suppliers that sell new anvils:
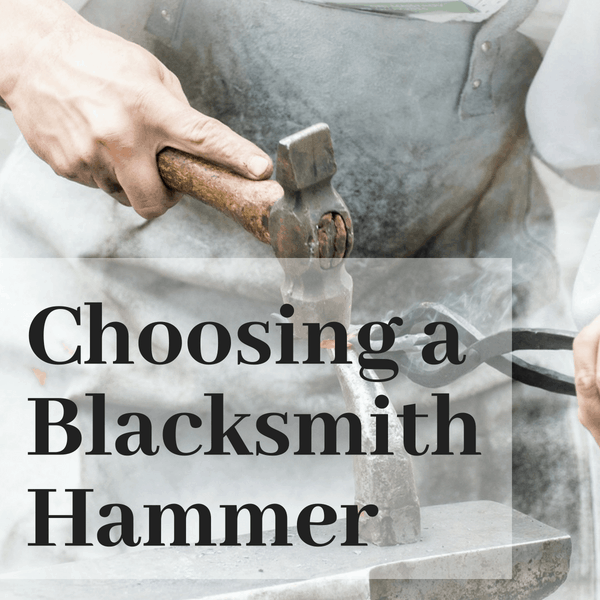
I’ll review hammers in the next post, but until then, if you have any questions or need help setting up your anvil, just give me a shout in the comments section below.
Hammer on!
Looking for the other installments in this series about blacksmithing? Here you go:
What Do You Need to Start Blacksmithing at Home?
Pin for later:

Eng.Ranjith Wasantha Wijesinghe says
Very good writing about the anvils.
Cathy says
Also check out Blacksmith depot for Anvils
Anna says
Great recommendation, Cathy!! http://blacksmithsdepot.com/ is a fantastic resource for all things blacksmithing, for sure!!
Joseph Ward says
Hi Dan
I just happened on your article on pintrest and am in the process of taking the plunge into smithing. I am a welder by trade so plan to build my own forge. I found your first three articles invaluable and look forward to the next one. I would never have known how to judge a good anvil thanks. I'm probably a bit long in the tooth to be taking up such a craft but I'm looking for a challenging hobby not to get rich so here goes. Looking forward to your post on hammers.
Hammer on!
Joe from Ireland