

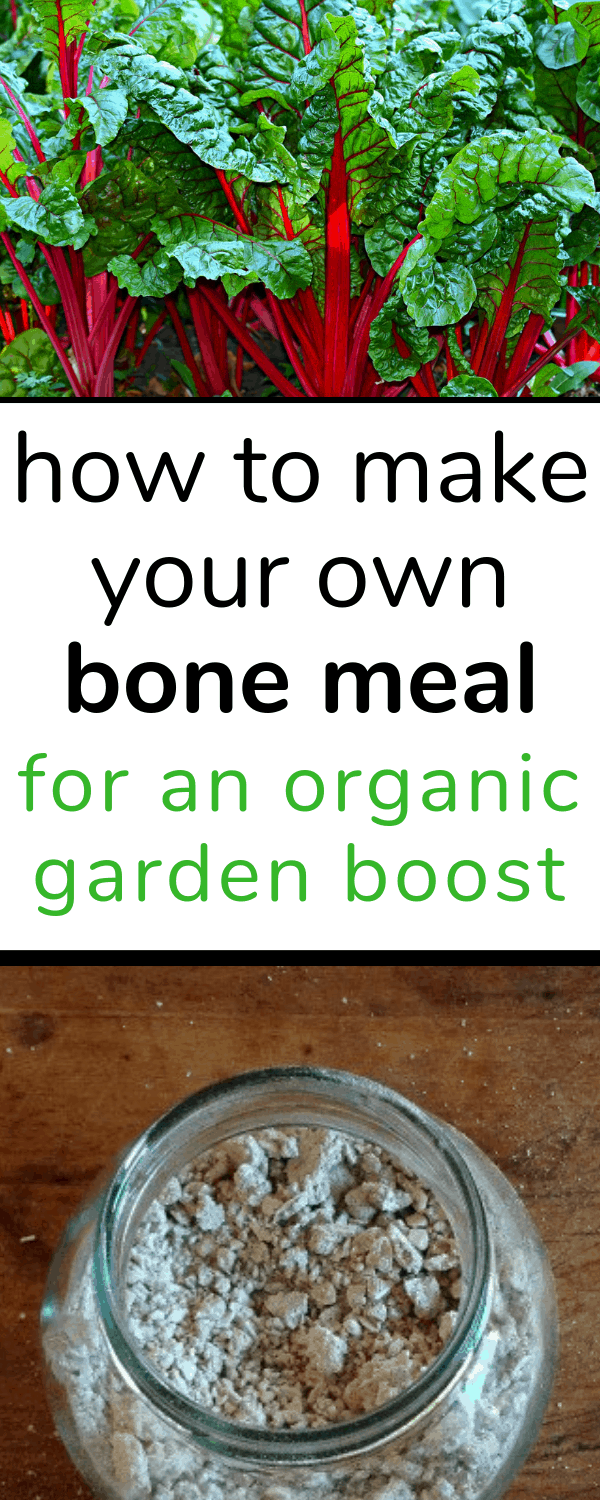
Want to give your garden a boost with bone meal, but concerned about where your bone meal comes from? It's SO easy to make at home! This post will tell you all you need to make your own organic bone meal right at home!
If you've been following me for a while, you probably know that we raise animals for meat - and that it's not something I take lightly. It's important to me that we use as much of each animal as possible. I think it shows respect for life, when we try to waste nothing.
Meat is eaten. Pelts are cured and used. Even some of the feathers get used. But...after we've eaten a roast or a chicken, and used the remnants to make broth, there's still that leftover pile of bones that just get sent to the compost heap.
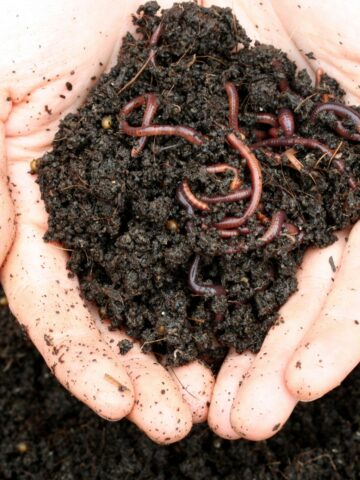
And while that compost does get used on the garden and doesn't go to waste, I have felt that I'm missing an opportunity by not making better use of the wonderful phosphorous and other nutrients left in the bones, in a more targeted way.
So I decided to start making my own bone meal with my leftover bones, to use as an organic phosphorus supplement for houseplants, and also to apply directly around garden plants. Phosphorous is especially important for growing robust, healthy root systems.
And it turns out that it's SO incredibly easy to make bone meal at home! Here's how I do it:
How to make bone meal
My first step in the bone meal making process is always to make broth from the bones. The benefit of this is that you get two batches of wonderful broth out of the bones, and then make your bone meal. I do this in one of two ways:
Instant Pot Method: Cover bones with water to the ⅔ mark. Add a splash of vinegar and a couple teaspoons of salt. Lock lid, and make sure steam valve is in the closed position. Cook on the "Soup" setting for two hours. Drain broth and repeat for a second batch.
Crock Pot Method: Cover bones with water, add splash of vinegar and a teaspoon or two of salt. Cover and cook on low for about 12 hours. Pour off the broth, and repeat for a second batch.
With the Instant pot method, you'll end up with bones that are already soft, and can be "smushed" between your fingers. With the crock pot method, you may need to cover the bones with water again and let them cook for another several hours to reach this point. You can also steam the bones for a while.
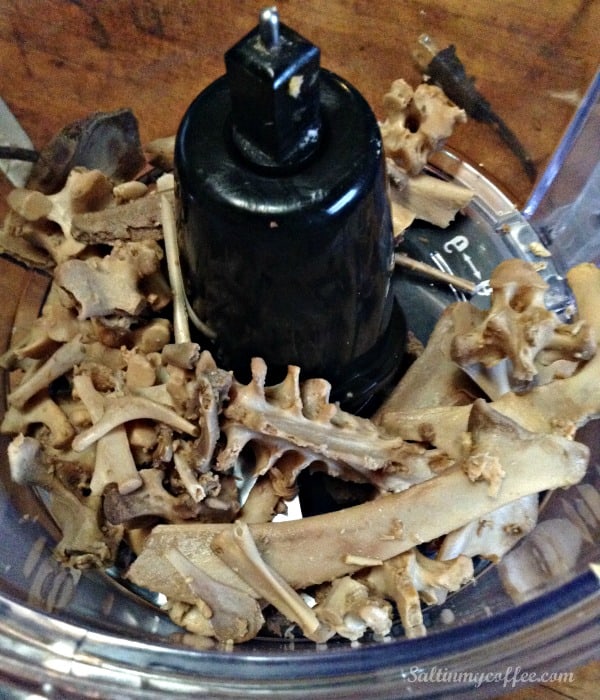
(My biggest reason for making sure they're a bit soft is that I don't want to destroy my food processor by blending the bones into a pulp!)
Once the bones have been used for broth and are softened up, drain them well and add to the bowl of a food processor. Pulse until thoroughly ground. This doesn't take very long at all. It's ready when it looks (and smells!) quite a lot like wet cat food.
YUM.

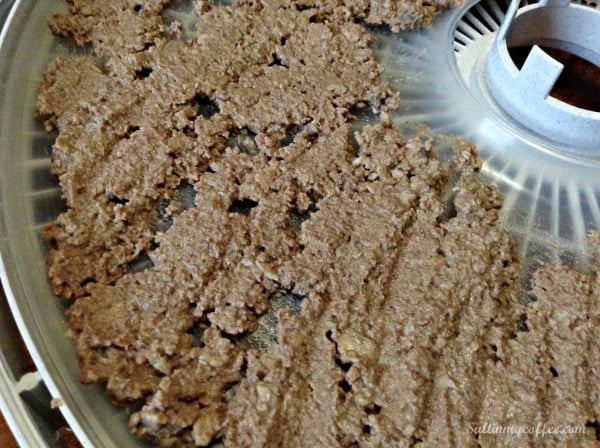
Spread that mash evenly on the fruit roll trays for your dehydrator. This is the faithful workhorse of a dehydrator that I use, and these are the fruit roll trays that I use with it.
Dehydrate on high (about 160 degrees) until the bone mash has thoroughly dried out. It should be, well...dry as a bone. (Haha!) If you rub a bit between your fingers, it will leave a white dust on your fingers when it's done. For me, this generally takes about 4 hours.
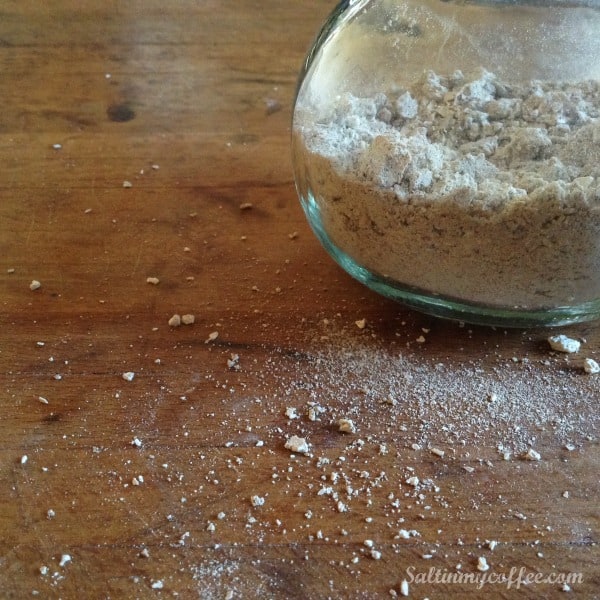
It will be so crumbly, that it will pretty much turn itself into a powder as you dump it off the trays, and pour it into jars. It reaches a fine enough texture that I enjoy using it just as it is.
If you'd like the texture to be extra fine however, you can pulse it in a magic bullet or in the food processor again.
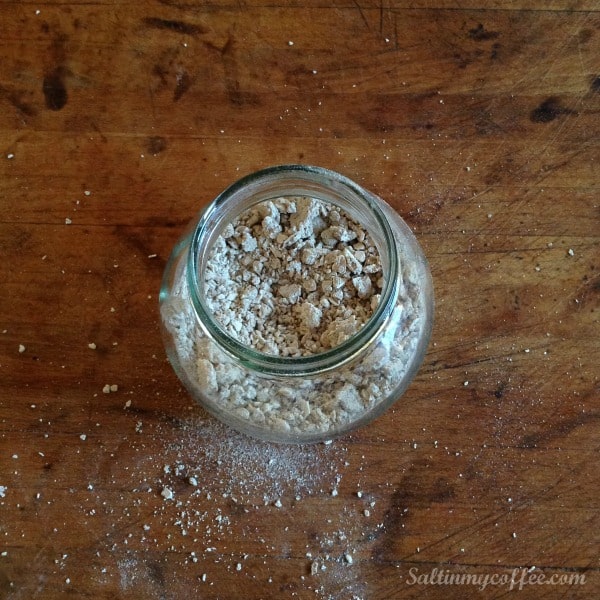
Store in tightly-sealed containers in a cool place. Bone meal lasts very well, and isn't prone to clumping, so it works just fine to keep adding to your bone meal stash over the winter, and use it when you get your garden going in the spring. That's all there is to it!
Happy gardening!
Read Next: A BETTER Method for DIY Seed Tape
Pin it for later:
Save

Anna Chesley
Anna Chesley is a freelance writer living a homestead lifestyle, with a special love for family travel, old books, vintage skills, and seaside living. In addition to founding Salt In My Coffee, she runs the website, New England Family Life, as well as The 1800's Housewife, a website devoted to re-creating authentic 1800's recipes.
Bronze says
Do the nutrients get destroyed by the long cooking process?
Janet Russell says
Could you grind using a blender instead of a food processor?
Anna says
In a very powerful blender, like a Vitamix, that should work just fine!
Ctgardengal says
I've been making bone meal this way for years. Not only chicken bones, but pork and beef bones as well. I find that large bones take 6 hours in the pressure cooker before they are crumbly enough to grind. If any pieces are still too hard, I put them back for a couple.more hours.
I agree, there's no reason not to use the entire animal - head to tail. It gave its life for us, so we should show respect by utilizing every.possible part.
Gene says
Thanks for the post. I've been trying to move to a zero waste kitchen as much as possible and have started making homemade vinegar with fruit scraps among other things. And now that I am close to running out of bone meal and would have gone to the garden center otherwise, I thought that making bone meal at home should be fairly straightforward, and voila I found your post. My question: wouldn't the salt be a problem? or is it in such a minute amount not to be a problem? or does the salt not penetrate the bones? I remember way back when my father inadvertently watered his and my mom's houseplants with liquid that did have some salt in it (i.e. it was water from a fresh water aquarium that he added salt to on occasion for whatever reason I can now not remember), and most of the plants died because of the salt.
Connie says
I think the salt was added for flavor in the broth. Since you are not going to be using the broth because the chickens are too old I wouldn't add any. A roasted chicken already has seasonings but the bones would not have much seasonings left after cooking them down twice. But this is just my opinion.
Sarah says
Excellent post! Thanks for sharing your experience. Definitely going to give it a try.
Ariel says
If it is going straight to the garden do you need to dry the powder first?
Katie says
This is what I'm wondering as well...seems like we can skip the drying step if putting straight into the garden.
Bronze says
You can skip the drying. The point of drying is for long-term storage because it's convenient to have a large store of meal available for use any time of the year.
Laura says
Have you done this with weight-bearing bones of larger animals like pigs and cattle? Do they break down as easily after a while? I ask because days in my crockpot with vinegar have had little effect, and I'm wondering whether the pressure cooker would make any difference.
Anna says
Hi Laura! I've not done this with pork bones, but have used lamb bones several times, and once also included some beef marrow bones in with the lamb. It does take longer than poultry bones, but did break down easily after I believe just one extra run through in the Instant Pot. I hope this helps!
Ctgardengal says
I have, you can find the details in the comment I left today 1/20/21
Joanne says
I just put everything left from the broth and pulverise it in my vitamix and put it staight in the garden ,works great!!
Anna says
YES! Fantastic. That's a great tip, Joanne, thank you for sharing!!
Julie says
I make stock about once a week, I haven’t done this with the leftover bone , but it sounds like a great idea. That being said, my Mastive and Pitbull would be so diapointed. I usually give them the extra broth and and use the pulverized bone in homemade dog cookies. Of course I freeze a lot of the concentrated broth as ice cubs and use it for people food. I also try not to waste anything. Adding egg shell is also a great way to add calcium and other nutrients.
Anne-Marie says
Do you also pour the stock into garden ?
Anna says
Hi Anne-Marie! I use the stock as a good bone broth base for soups. Sometimes I share with the pets, ; ) but it's usually just the bone meal that makes it to the garden.
Nancy says
Thank you for the bone meal process. Don’t think me morbid, but would a cremated person make good bone meal or would the nutrients be ruined in the cremation?
Anna says
Hi Nancy! What a fascinating question. I am no expert on the cremation process, but since bone ash can be a fertilizer (https://en.wikipedia.org/wiki/Bone_ash), I would believe that nutrients would indeed be available from cremation remains. I found this page to be helpful in understanding the cremation process more (https://www.funeralwise.com/plan/cremation/cremation-process/), and since both wood ash (from the combustible container) and bone ash are useful as fertilizers, I would surmise that the answer to your question would probably be yes. But again, I'm not at all an expert. I do help those links might point you in the right direction though. Best wishes to you, A
Lawrence says
My wife’s uncle requested we do that upon his death. We just spread his ashes in his garden. Not sure if it made too much of a difference. We sold his house soon after.
Jenni says
This a great idea. I do not have a dehydrator, could you put in oven on a low setting?
Anna says
I'm absolutely sure you could! I'd use the lowest setting you can (I think for many ovens, it's about 200 degrees), and would just keep checking it until it's fully dry and powdery. Compared to many other things (like tomato slices or fruit jerky, for example) - this doesn't take a really long time to dehydrate, so it shouldn't monopolize your oven for hours and hours. If you try it, I'd love to know how it goes for you!!
Karen says
I dry the bones I use for stock in the sun. If I've used the oven, I will place them in the oven after turning it off. It is a longer process, but I do the same thing with egg shells with success. When they are "bone dry", I place them in an aluminum pie plate, put my boots on and crush them with the heel of my foot. Blenders are expensive and I'd rather not risk it.