


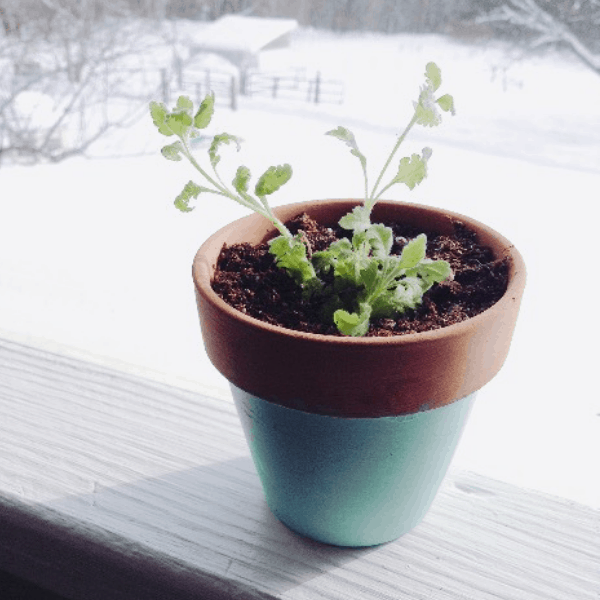
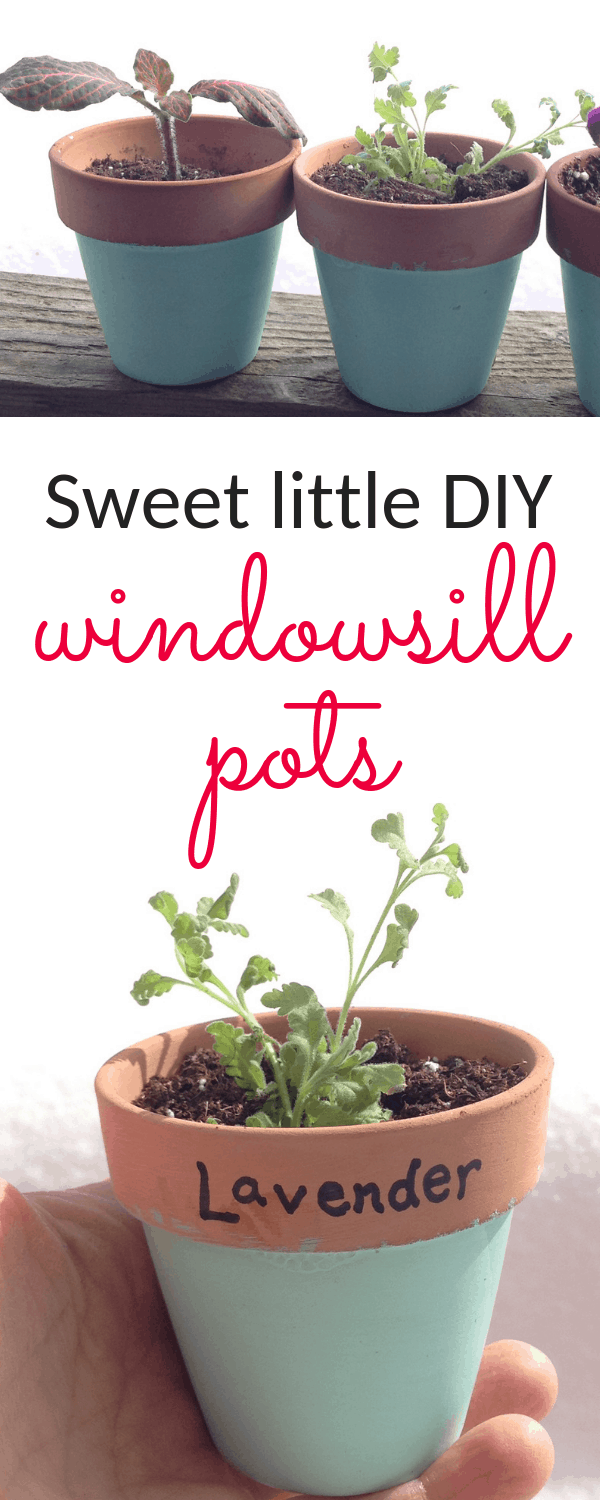
For a spot of cheer in your kitchen window, try making up a batch of these little painted window sill pots. They're a quick and easy diy project that brings a lot of spunk to a small space!
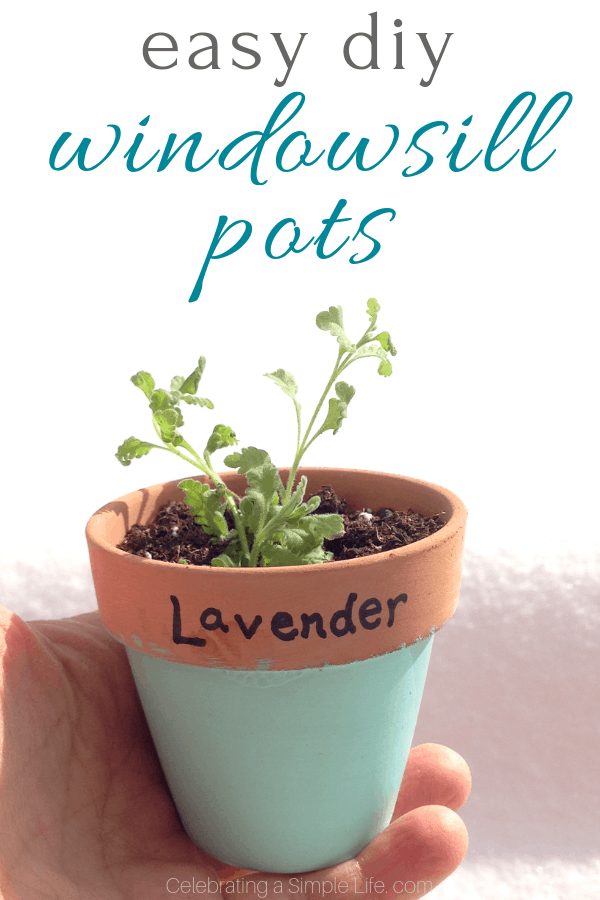
You guys, this little project is SO easy and self-explanatory, I've been talking myself out of sharing it with you for at least a month. But the truth is - for being the easiest-ever DIY, these bright little pots have brought me so much joy all winter, I can't not share!
Every time I'm in the kitchen, they make me smile - from my first cup of coffee in the morning, to those last few dishes I'm doing up after the kids are in bed. They're just bright and cheerful, and feel like spring. And did I mention, they're easy?
DIY painted window sill pots
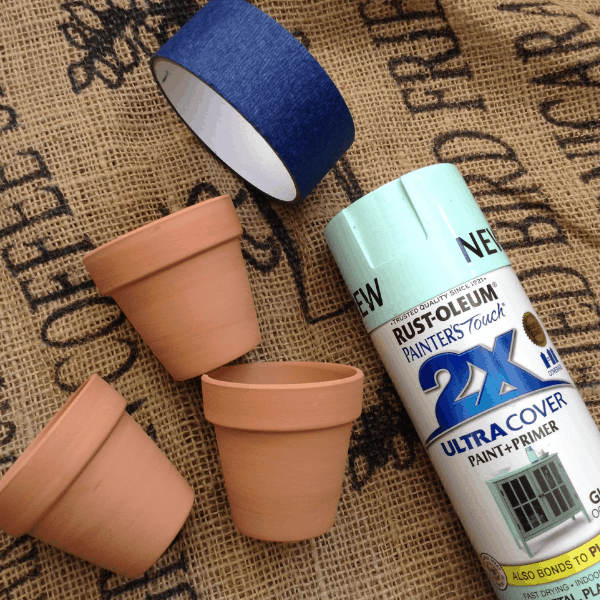
Here's what I used to make these little cuties:
- mini terra cotta pots (I used these ones from Dollar Tree)
- painters tape (also from the dollar store)
- Rustoleum Painter's Touch spray paint in "Ocean Mist"
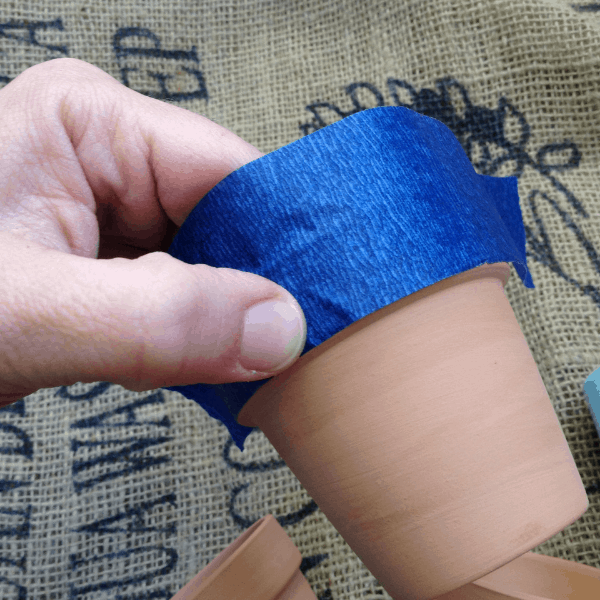
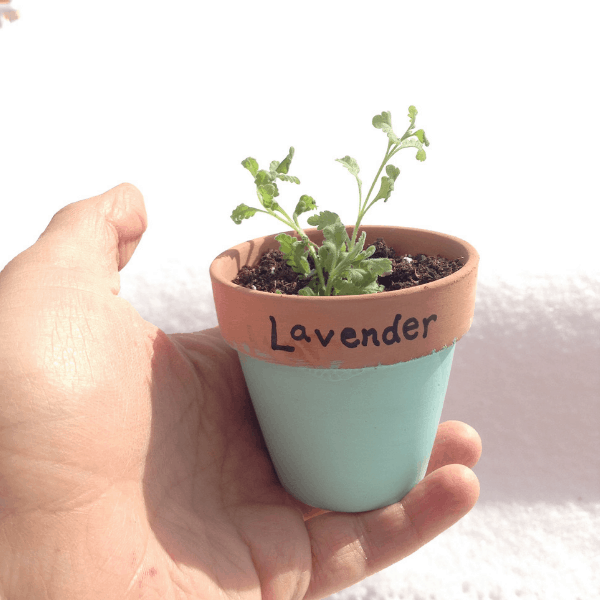
I knew I wanted to leave the rims of the pots natural, so the terra cotta would be a nice contrast to the bright gloss of the painted pots. To make that easy, I covered the rims with painters tape.
Since the rim is a slightly sloping surface, the tape needs to be firmly pressed and smoothed all around that lower edge, or you'll end up with a bit of paint trying to leak in through any wrinkles.
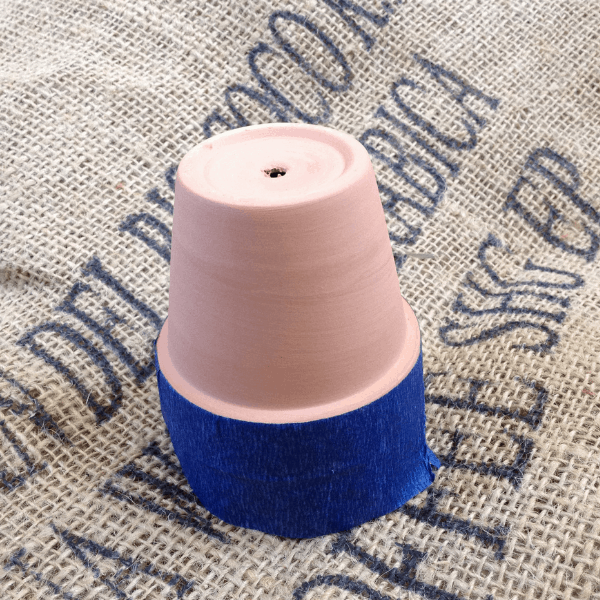
Once the rim was all painted up, I tipped the pot upside down, and gave it two light coats of spray with the spray paint.
As with any spray paint, be sure to shake according to the directions, and use it in a well-ventilated place - or preferably outside. Personally, I always like to use a face mask as well. Spray paint is pretty potent stuff if you get a whiff.
I experimented with a few different ways of painting these pots - one light coat, two light coats, or one heavy coat. Hand-down, I like the effect of two light coats the best, since this gives the most even, thorough coverage. That's what I was going for.
BUT - if you're looking for a light glaze of cover, with a hint of terra-cotta showing through when the pot is wet, you'll probably like the effect of one light coat. If you enjoy a heavier, but slightly uneven and drippy look (which actually is kind of cool), one heavy coat will probably make you happy.
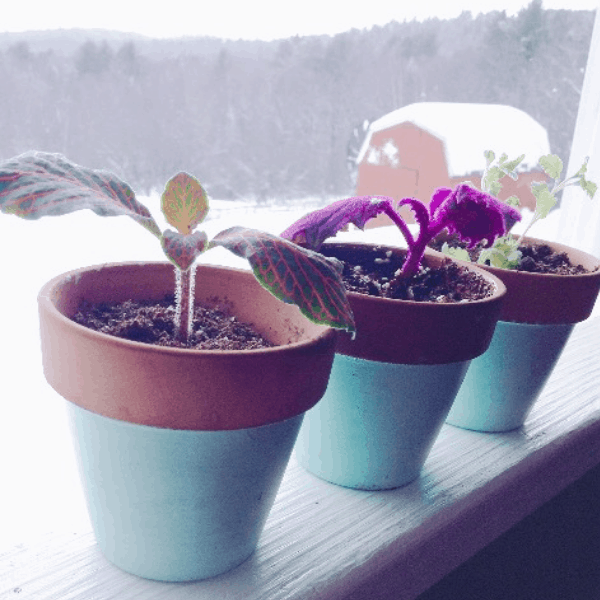
You'll want to let them dry thoroughly before using them - at least two hours was what it took for me, with a temperature of about 45 degrees on the day I painted them. That pretty much sounds like summer, compared to the sub-zero temps on the day I took these photos of them in my snowy window.
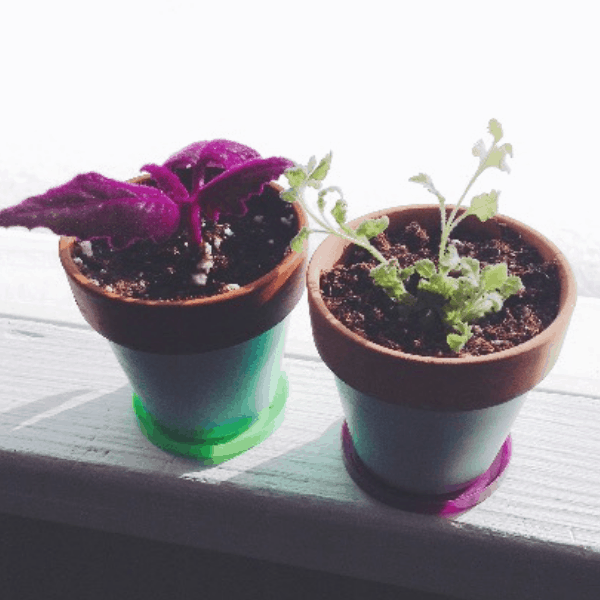
If you're looking for a little "dish" to put under the pots, to help protect your window sill, I found that lids from mini play-doh containers fit perfectly under these tiny pots. Lids from the 4-packs of mini "off-brand" play dough that you find at the dollar store work too, and those are what's shown in this photo.
When using such tiny pots for growing plants, I find it necessary to attend to their water needs a bit more carefully than the rest of my indoor plants, since their small size makes it easy for them to dry out quickly. These are a few obsersvations I've made about growing plants in teeny containers:
- succulents, and other plants with minimal water requirements work wonderfully
- a potting mix with a bit of extra peat or even sphagnum moss in the bottom can help with water retention
- I water my tiny-pot plants thoroughly in the sink every few days. Return to window when water stops dripping.
While plants in teeny pots can take a bit of extra care, I get such joy from having them in my kitchen window, and love using these little pots as a "half-way house" for newly rooted little cuttings. I hope if you make some of your own, they bring you as much joy as they have for me!
Happy planting!
Pin for later:

Anna Chesley
Anna Chesley is a freelance writer living a homestead lifestyle, with a special love for family travel, old books, vintage skills, and seaside living. In addition to founding Salt In My Coffee, she runs the website, New England Family Life, as well as The 1800's Housewife, a website devoted to re-creating authentic 1800's recipes.


Comments
No Comments