


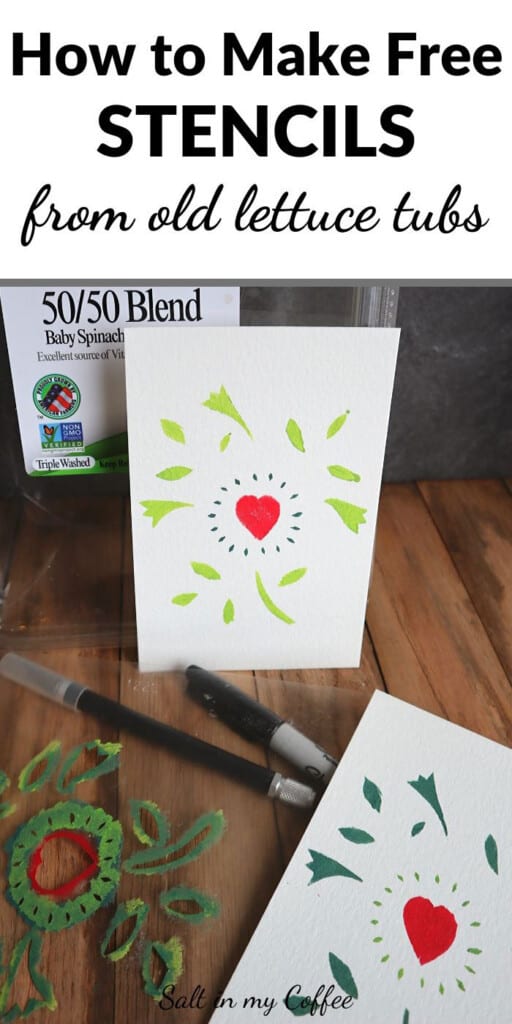
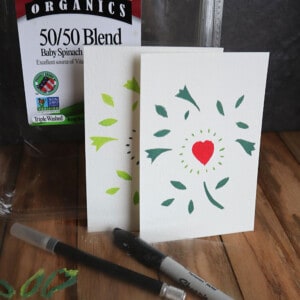
This easy tutorial shows how to make stencils from old lettuce tubs, or other free plastic produce containers. These homemade stencils last for years with proper care, and can be used hundreds of times.
I've been dreaming lately about what to do with my upstairs bathroom, and keep coming back to the idea of stenciling. I'm still not decided if I'll actually end up stenciling it or not, but the idea has sent me down one of the most delightful "bunny trails" of library research I've been on in a long time.
Stenciling on walls has a long and vibrant history here in New England. Many gorgeous stencil designs have been preserved in old colonial homes, and I've been geeking out over hunting for examples of early American stenciling in old books from the library.
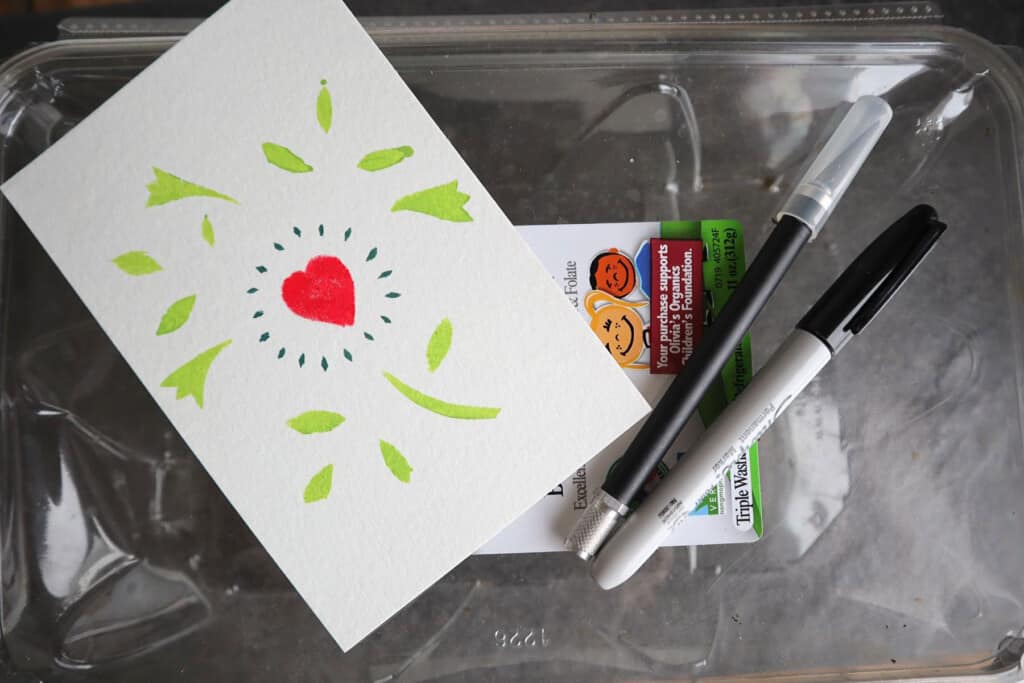
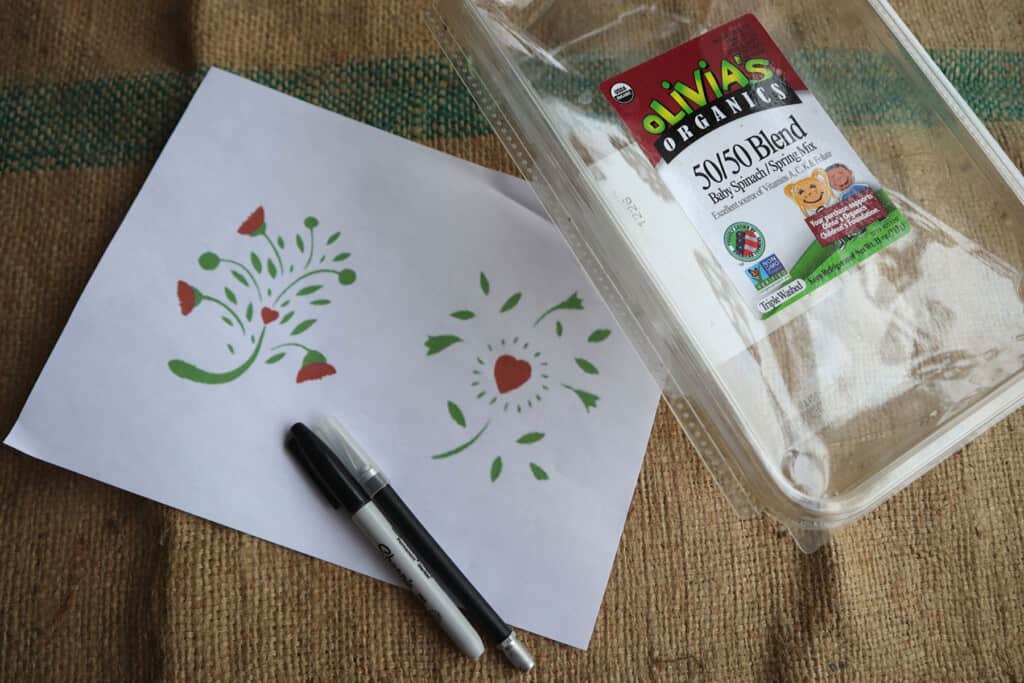
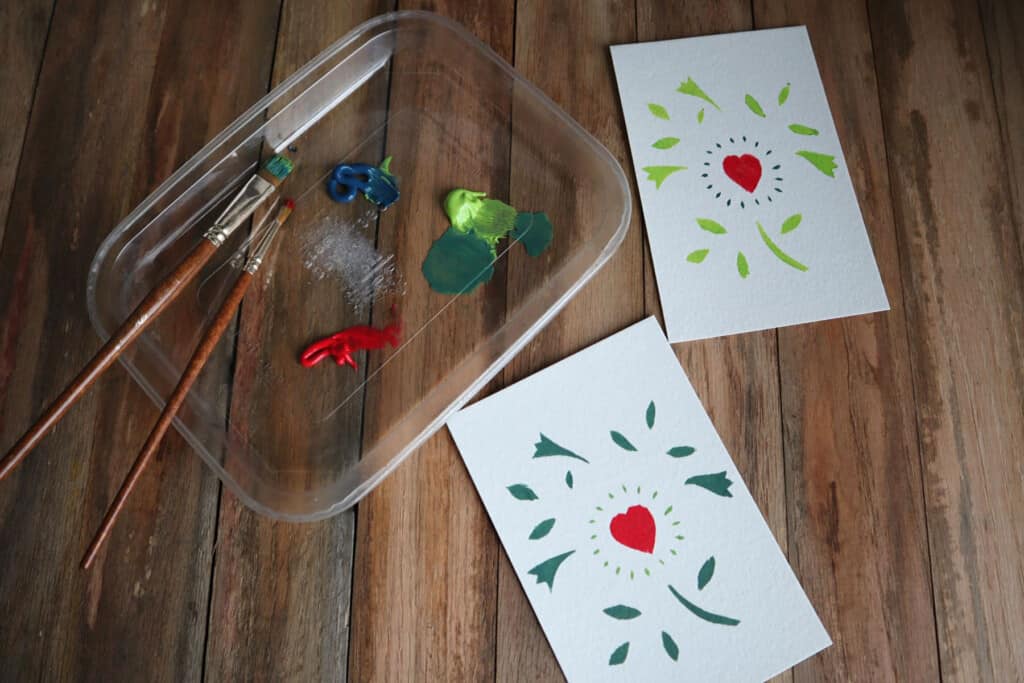
While I might not be ready to paint my bathroom yet, all of these beautiful old stencil images quickly had me wanting to make some stencils of my own. I decided to make up a few based on sketches from my Colonial-Era research, and use them to stencil a stash of greeting cards to keep on hand.
When making homemade stencils, people often use cardboard, or the clear plastic sheets that used to be used with transparency machines. (Do you remember those?)
The trouble with cardboard is that it can be used only a few times without starting to break down. Transparency sheets work very well, and the only catch is that they're not free - which can be a bummer when you're learning a new skill and want the freedom to make some mistakes.
If you eat store-bought lettuce or pre-made salad mixes though, you probably already have access to a steady supply of perfect plastic for stencil making.
Turning a tub of lettuce or spinach into a stencil is a quick and easy project. I honestly think the hardest part is deciding on a stencil design!
The first thing you'll need is a copy of your selected design, printed to the size you want. Having trouble finding a design you love? That's ok! There are several online sites that have free printable stencil patterns, which can be a great way to get your feet wet with stencil-making.
Free Stencil Gallery has a lots of stencils designs that are free to print and use. While I find it a bit disappointing that so much of their collection is related to modern comics and superhero films, there are quite a few lovely plant and animal designs that are well worth checking out.
Free Printable Stencils is another site that has printable stencils, and while their collection is a tad more limited, I think it's nice that they include some border designs.
This Free Stencil Maker is an online program that can turn any text into a printable stencil pattern. It's a great way to get a printable stencil pattern for putting a child's name onto a toy box, dresser, their bedroom door, or just about anything else you'd like to personalize!
Once you have your design chosen and printed, you're ready to follow the steps below and make your first stencil. It's easy, fun, and addictive! I've been slowly adding to my collection of early American inspired stencils with each tub of lettuce that we empty. I'm not sure what I'll do once my garden starts up and I stop buying produce. Maybe I can bribe the neighbors with duck eggs, to save all their lettuce tubs for me.
Have fun, and happy stenciling!
How to Make Stencils From Empty Produce Tubs
Equipment
- X-acto knife or similar blade tool
- Cutting Mat
- Pair of sharp scissors
- Protective Eye Wear
Ingredients
- Old produce tubs or plastic egg cartons
- Stencil design, printed to your desired scale
- masking tape
Instructions
- Start by removing the flat surfaces of your produce containers. The top lid of a lettuce tub or plastic egg carton usually can be removed very easily without the need of scissors. However, the bottom of most lettuce or salad tubs is also a flat, clear surface that can be used for a second stencil. To use the bottom panel, use a sharp and sturdy pair of scissors to cut the flat bottom out of the produce container, then discard the sides.
- Remove any labels from the flat plastic panels. If labels don't peel of easily, they usually scrub off very well with dish soap and hot water. Dry plastic sheets completely.
- Place cutting mat on a firm work surface. Place your stencil design on the mat, then center your plastic produce sheet over the printed design. Tape in place.
- Don your protective eye wear - it's just always a good idea while doing "close work" with a thin sharp blade.
- Now, use your X-acto knife to carefully cut around the edges of each stencil area. (I find it's easiest to completely cut ALL stencil sections at once, before lifing the plastic and removing the small plastic cut-outs from each stencil opening.)
- Once every part of the stencil has been cut, remove the tape and lift the plastic sheet from the design. Remove any remaining plastic cut-outs from the stencil openings, using the knife to tease them out if necessary.
- Your stencil is now ready to use! To make your stencil last well for hundreds of uses, be sure to clean thoroughly after each use, and store flat.
If you liked this post, you may also enjoy:
✦ DIY Felted Wool French Press Cozy
✦ Dyeing With Goldenrod
✦ Dyeing With Devil's Beggartick
✦ Handmade Grapefruit Lip Balm
✦ DIY Wood-Rejuvenating Spoon Butter

Anna Chesley
Anna Chesley is a freelance writer living a homestead lifestyle, with a special love for family travel, old books, vintage skills, and seaside living. In addition to founding Salt In My Coffee, she runs the website, New England Family Life, as well as The 1800's Housewife, a website devoted to re-creating authentic 1800's recipes.
Comments
No Comments