


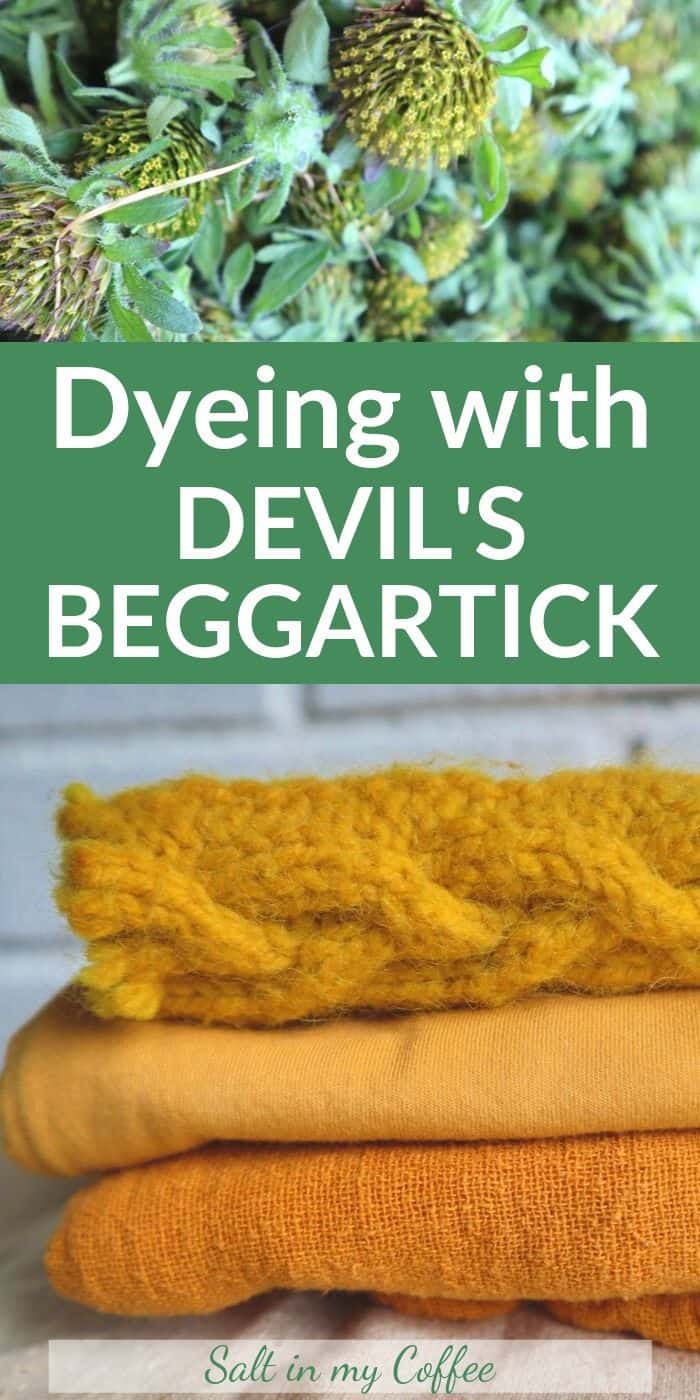
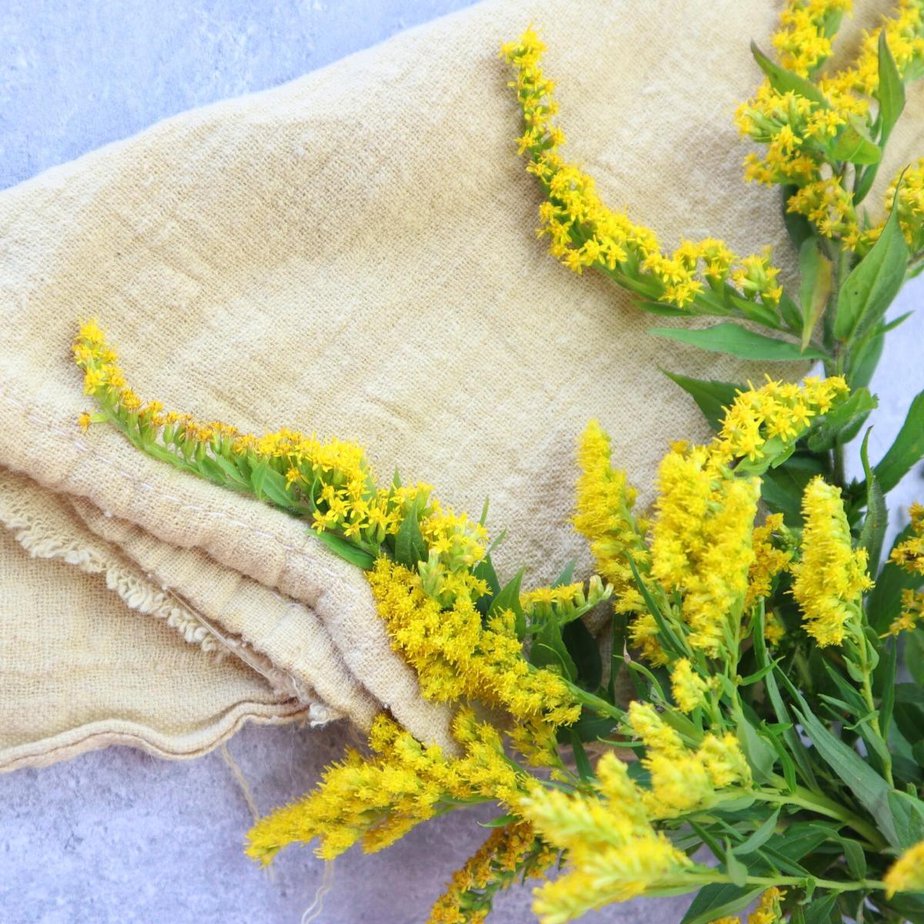
Devil's Beggartick provides a warm, luminous, yellow dye that is quite colorfast. Here's the method I use for dyeing with Devil's Beggartick.
Last year was the first time I'd noticed it. A tall plant with frond-like leaves, and hard, bristly-looking yellow flowers. It was under one of our apple trees, and I thought it looked so interesting, I wouldn't let anyone bother it.
I had a vague feeling it was so odd, it must have medicinal qualities, but I looked all through my medicinal wild herbs books, and never did identify the plant. Winter came, and I forgot about it.
Turns out, its name is Devil's Beggartick. I finally figured it out by snapping a photo and using the PlantNet app on my phone.
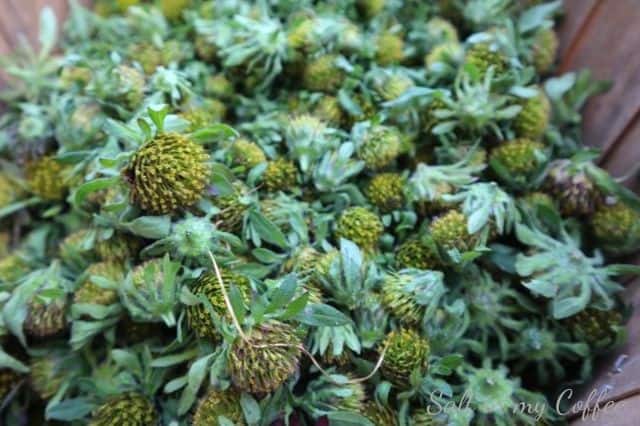
This year, that crazy plant is everywhere. Probably because those bristly flowers turned out to be full of burr-like seeds that readily stick into feather and fur, and were carried all over the property, I now have scores (if not hundreds) of tall, leggy beggartick plants. Most of them grow to about 4 feet, but in the places where they're happiest, they grow to the full extent of their size. Several were over 6 feet tall this year.
Even though it has so quickly become quite invasive, I'm still taken with the crazy, bristly thing. It's just so different. As I held one of the flowers, on a chilly September morning, I wondered if it had ever been used as a dye plant. It just has that look to it. "Dye something with me!", that flower that wasn't-quite-a-flower seemed to yell.
Once I'd finally identified the plant, it was easy to see that Devil's Beggartick has a history of medicinal use in various healing traditions. But in all of my searching, I only found one mention of it as a dye plant, and that was as a comment in a forum where someone mentioned that a friend had tried dyeing with it, and obtained "a beautiful deep golden yellow". At least I wasn't the only one to suspect its dye potential, and it was more than enough to encourage me.
Devil's Beggartick may not have much of a documented history as a dye plant, but I have bushels of the stuff, and was eager to just try it. Some time and effort and a bit of alum were really all I had to lose.
I decided to try using only the flower heads, so spent about 1.5 hours one day while the kids were playing outside, just snipping hundreds of devil's beggartick blossoms. I called it quits once I had a good half-peck basket full.
I piled the blossoms into my old aluminum metal canner that I use for all of my dye projects, and added enough water to cover the blossoms, and 1 Tablespoon of Alum. Over medium heat, I just-barely simmered them for about an hour, stirring often. These flower heads require more intentional stirring than some dye-stuffs, since the burr-like flowers really just want to stick together in a mass. The scent they release as they're simmering is warm and woodsy, and really quite pleasant compared to some dye plants I've worked with.
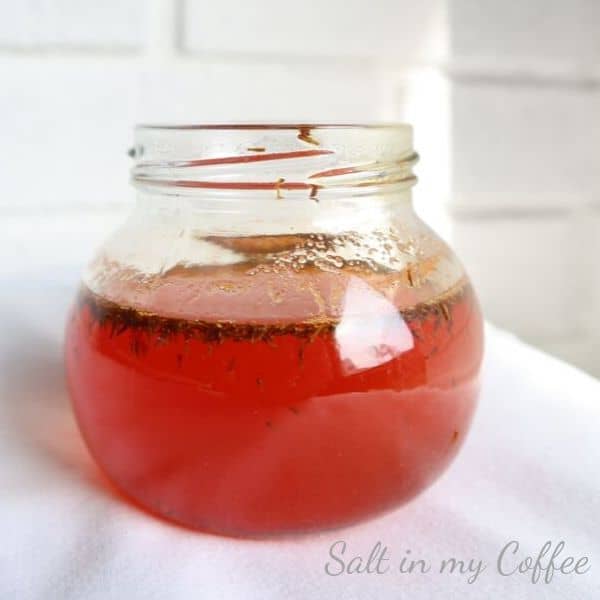
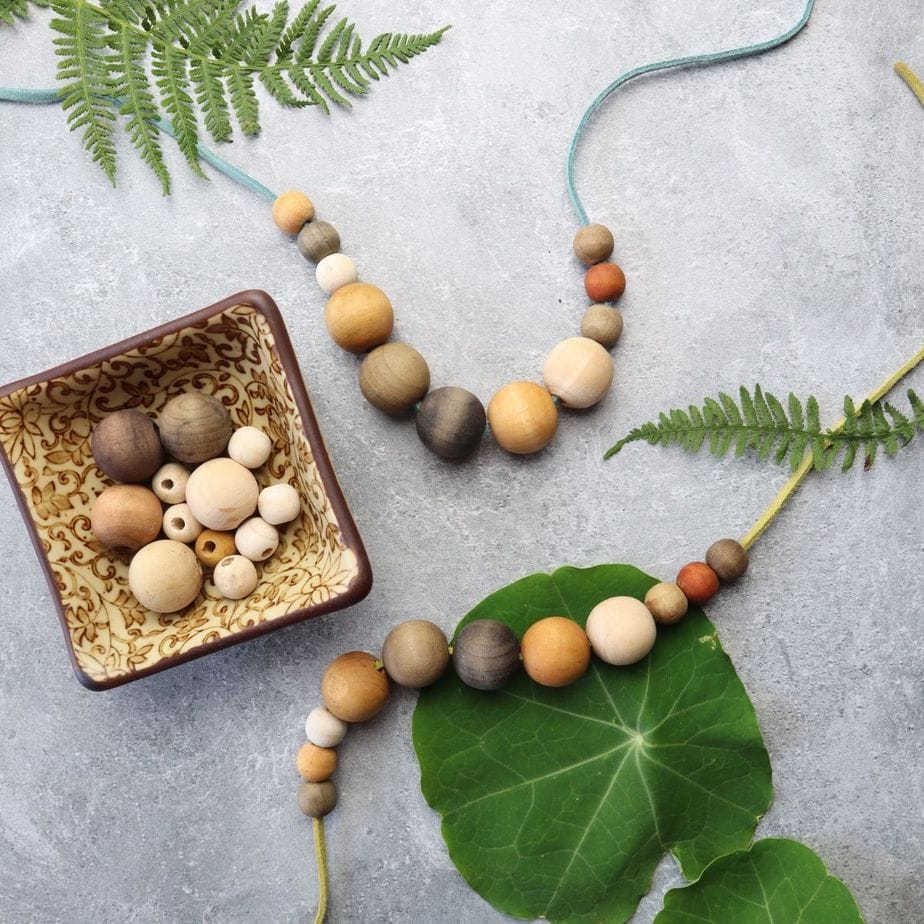
After an hour, I drained off the dye bath and poured it through a sieve to remove all vegetable matter. I saved a jarful to put in the fridge and use another day, for dyeing wooden beads. Then I added my fabric to the strained dye bath.
I tried articles of cotton, wool, and cotton that had been pre-mordanted with milk. Dampen your fabric before putting in into the dye bath, to help prevent patches of uneven color.

Pre-mordanting with milk is a technique I picked up from Rebecca Desnos. She uses vegan methods, and so works with soy milk, but the idea is the same - the proteins in the milk bath help color bind to the fiber being dyed.
I generally use about ¼ cup of milk to 2 quarts of water, and let the fabric soak in it for an hour or so. Gently squeeze out the fabric and let it dry for a day or two before dyeing it. It's a tip that's really effective, and has totally upped my natural dye game. If you're not following Rebecca on Instagram, her feed is just inspiring and lovely!
I left the fabrics in the dye bath for the next 48 hours, stirring every time I walked by them. Especially if you're letting them sit this long, it's important to keep stirring with some frequency so they dye evenly.
After 48 hours, I squeezed out the dye liquid from the fabrics, and hung them in the shade to dry. Once dry, I let them just sit for four days. I've found that allowing fabric to sit dry for a while after dyeing really does seem to have an impact on the long-term color-fastness of the finished articles. When I first started dyeing with plants, I would have had a really hard time waiting this long, but I've learned patience over these last few years!

After 4 days of sitting dry, I popped them right in the washing machine and put them through a cold water wash. I then line-dried them - but only because my dryer was broken at the time. Once they're finished going through the dye process, natural hand-dyed articles get absolutely no special treatment in my house. They get used, abused, loved, and washed, just like every other piece of fabric our family uses. I figure if I were to warrant them any special treatment, I'd just use them less - and where's the fun in that?
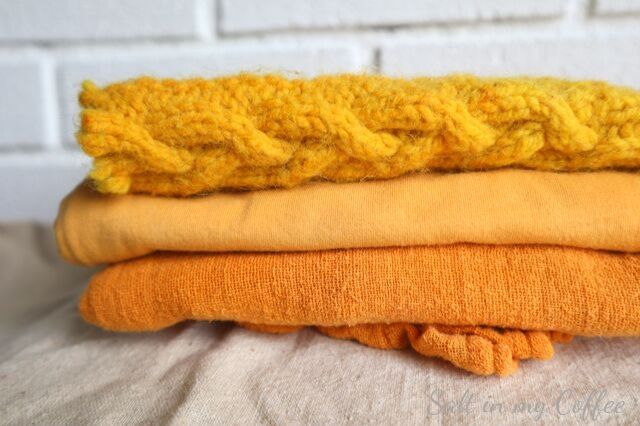
I absolutely adore the finished colors I got from this experiment. I'm quite positive that since devil's beggartick has become well established on the property, it will now be one of my go-to natural dyes each year. The color is bright and cheery without being too "cute". There's a wholesome depth to the color that's just pleasing to the eye. I'm so thankful that one of the articles I'd tried dying is a cotton shirt - I've been wearing it every day that it's clean, and that warm glow of the color just makes me happy all day.
This definitely gives a natural dye that's more color-fast than dyeing with goldenrod, though it does take a bit more work, because of ALL those flower heads.
If you try dyeing with Devil's Beggartick, I hope you'll report back and let us know how it goes for you! Happy dyeing!!
Read Next: Dye Plants to Forage in Fall
If you liked this post, you may enjoy:
✦ Lime & Lemongrass Room Spray
✦ 7 Steps to a Paper-Free Kitchen
✦ How to Naturally Clean a Stained Mug
✦ What to Do With Clothes You Don't Wear
✦ DIY Wood-Rejuvenating Spoon Butter

Anna Chesley
Anna Chesley is a freelance writer living a homestead lifestyle, with a special love for family travel, old books, vintage skills, and seaside living. In addition to founding Salt In My Coffee, she runs the website, New England Family Life, as well as The 1800's Housewife, a website devoted to re-creating authentic 1800's recipes.

Andrea says
I tried dyeing with Beggarticks after finding your post. I just used the leaves, since my stand is just starting to bloom.
I soaked the leaves in water for 4 days, and noticed that the plants had already released a ton of color. I poured off the soaking water, added a handful of the leaves, and simmered gently.
My 1st test skein came out an unremarkable light tan. Then I remembered reading an article that recommended adding chalk to yellow dyes like weld, to improve the depth of color.
The chalked skein came out bright, saturated canary gold, like you got in your testing. Definitely adding this plant to my dye garden!
Anna Chesley says
Hi Andrea! Oh, I love hearing "tales from the dye pot" like this! What a great move, trying the chalk--I LOVE it that it gave you those bright canary gold results! Thank you so much for taking the time to share your experience, I'm cheering you on!