


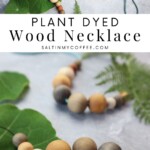
Learn how to dye wooden beads with plants, bark, and even food scraps, to create stunning natural jewelry. These hand dyed wooden bead necklaces make handmade gifts that are easy and frugal - but sure to be treasured!
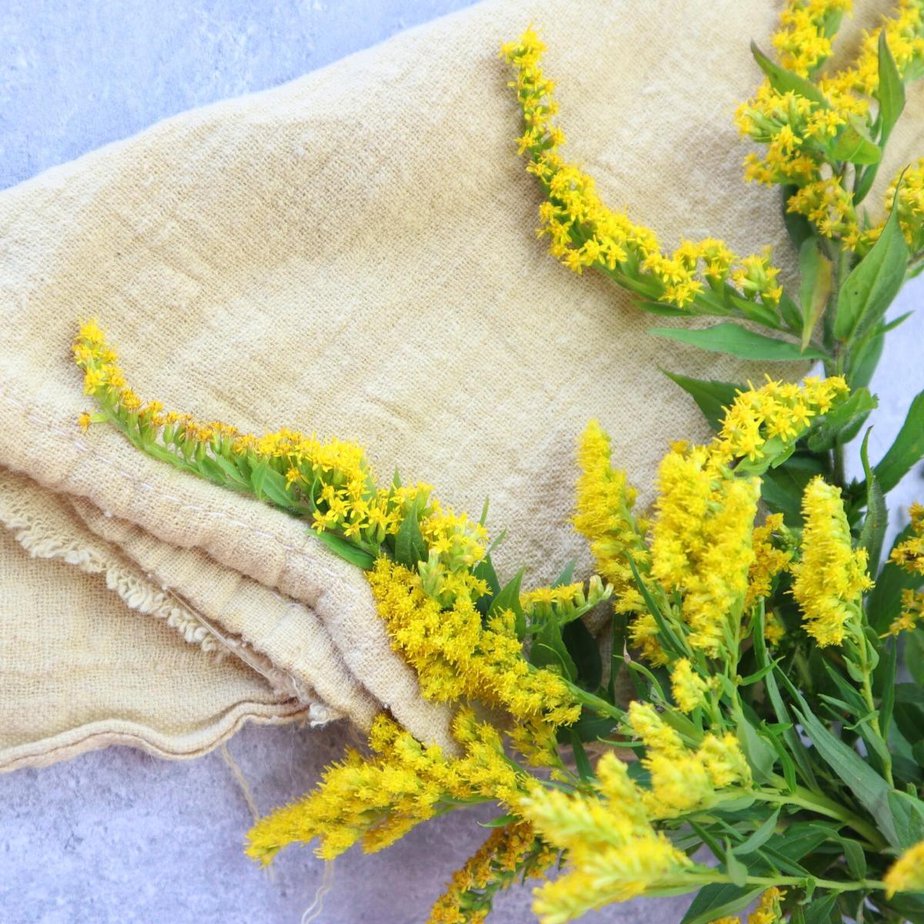
You know me - I've almost always got a dye pot on the stove. Especially in the fall, when so many dye plants are at the perfect stage for foraging.
But as time goes on, I find that I don't always have fabric handy that I want to dye. Or I might not have room on my stove during a canning marathon for my big dye pot...but could squeak in a wee little pan of something or another.
To satisfy that continual itch for creativity and experimenting with natural color, I often turn to making micro batches of dye. Rather than fabric, I color small things like wooden beads and watercolor paper, which I almost always have handy.
Interested in dyeing paper with plants? Here's how to do that.
This tutorial is the result of many, many experiments with wooden beads. Some results have been underwhelming, many have been surprisingly beautiful, and all have taught me a little more about working with wooden objects and plant dyes. I'm still learning more, every time I get out my dye pot!
As I've experimented with dyeing wooden beads, the most helpful resource I've found is Rebecca Desnos' book, Botanical Dyes on Wood, and I really recommend it. A beautiful read, it's full of so many great tips for dyeing on wood, especially if you're looking for 100% vegan methods, which is what Rebecca uses.
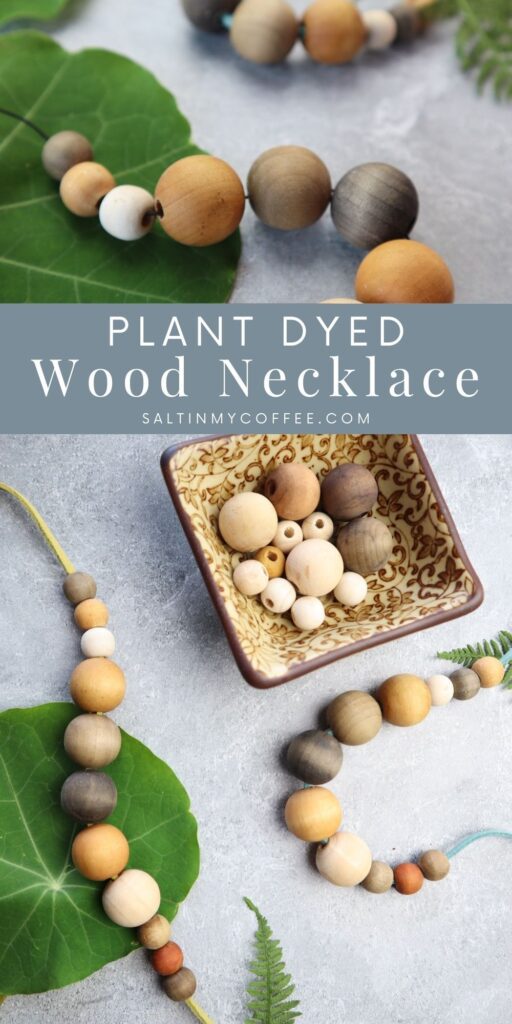
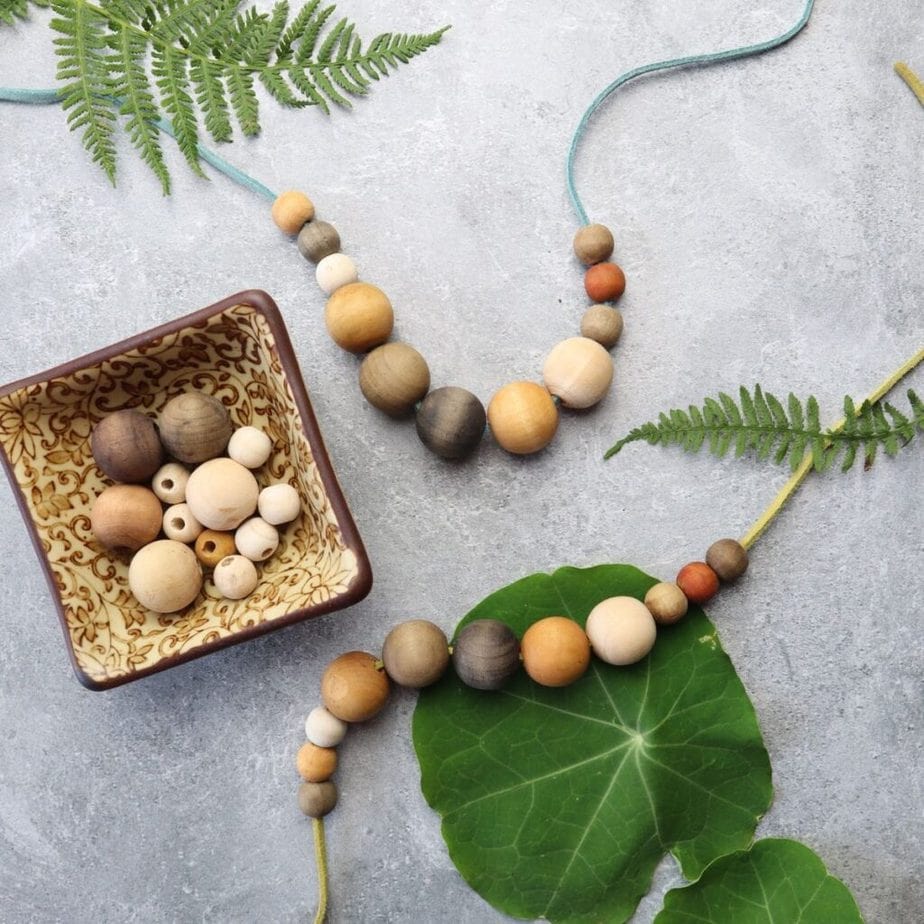
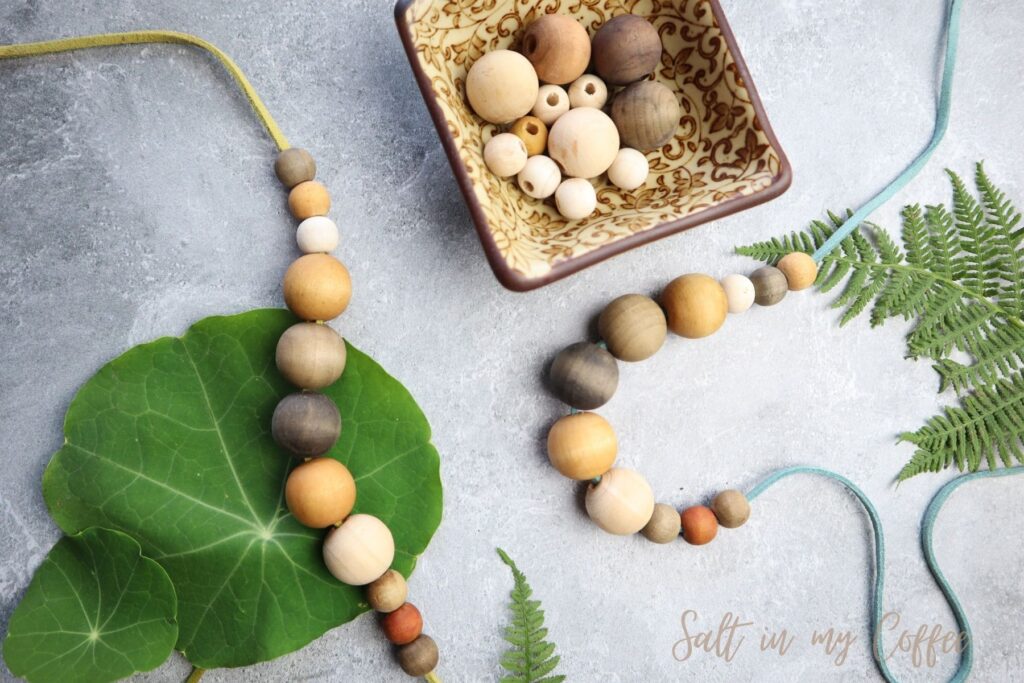
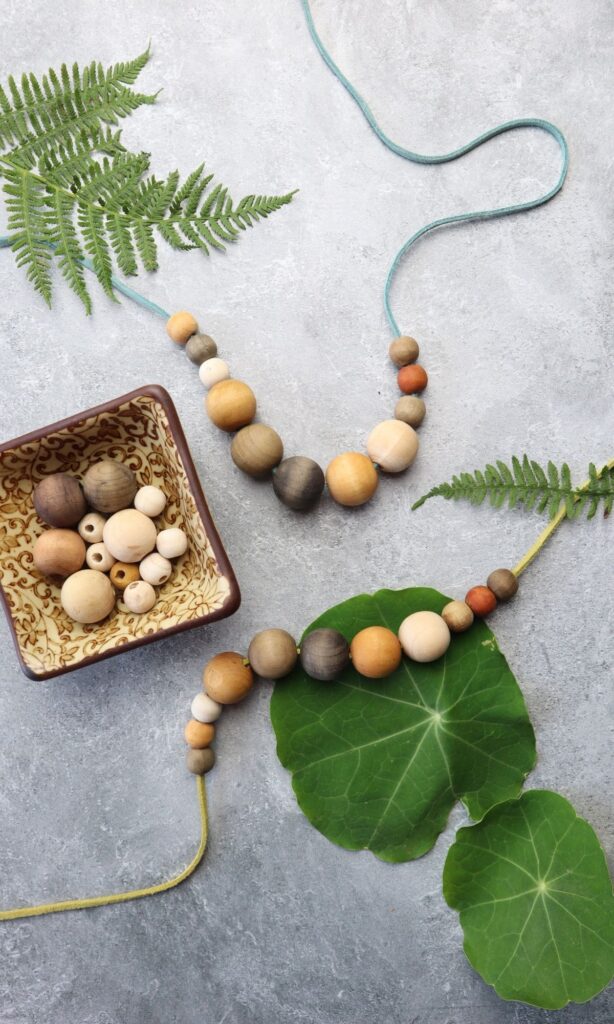
Some of my favorite things to make with all the wooden beads I've dyed, are these lovely wooden bead necklaces. Each one is different, and they make wonderful handmade gifts.
Here's how I go about making a wooden necklace, like the ones in the picture.
1. Pre-treat the beads with a natural mordant
First, you'll need some beads. Choose light-colored wooden beads that don't have any protective finish. (The exact beads I used in these photos are no longer available, but these ones look similar.)
Just like when working with cotton fabric, it's generally beneficial to use a mordant when working with wood. This helps the color to bind with the wood, making the color build up more quickly and vividly.
Milk, soy milk, and alum all work well as mordant pre-treatments for wooden beads. I find that milk or soy milk help the color to build up a little more quickly than alum, but I do feel they very slightly shift colors to being both warmer and darker. If I'm aiming for a bright lemony yellow, rather than a shade of orange, I tend to lean toward using alum instead.
Start pre-treating the beads a day or two before you actually want to dye them. Since you can store pre-treated beads indefinitely, you can actually treat a whole batch of beads at once, and save them to work with, any time you have a dye pot going.
To pre-treat the beads, create a mordant solution in a non-reactive bowl. Use 1 Tablespoon of milk or soy milk to 1 cup of water. For alum, use 1 teaspoon of alum to each cup of water. Mix thoroughly, and then add your beads. You want plenty of room for them to swish about, and enough liquid to more than cover the beads. They'll mostly float, but will eventually soak up some of the liquid and you don't want them to "run aground".
Let the beads sit for several hours, or even overnight, giving them a stir now and again to help them evenly absorb the mordant solution.
Now remove the beads and let them dry on a towel - but don't throw away the mordant solution yet. You're going to soak the beads two more times, and it generally works well to just store the mordant solution in the refrigerator between soaking sessions. If it's hot weather and the solution starts to sour or curdle, or if you'd rather not save it to use again, you can of course just make up a fresh solution for each soak.
Once the beads are dry, return them to the mordant solution, and allow to soak again for several hours. Don't forget to stir occasionally.
Repeat the drying and soaking one more time, and then the beads should be well treated. Dry them one final time, and they'll be ready for dyeing.
2. Create a dye bath
Dyeing with beads is fun, because you're not making a vat of dye - just a wee little bit of it. If you have old aluminum camping pans, designed for heating just a can of beans over a campfire - those are ideal for making tiny batches of dye.
If you already have methods you like, for extracting dye from various plants, go ahead and use those - just make tiny batches compared to usual. I also find it's helpful to create a stronger concentration of the dye bath than I would if I were working with fabric.
If you're new to dyeing with plants, use this as a good basic method for creating a small dye bath to dye several beads. Add about ½ cup of dye plant in a pot, covered by just enough water to keep it covered as it simmers. Simmer lightly for about 20 minutes, and then let it sit overnight. Many colors benefit more from a long warm soak than vigorous, extended simmering, so without space to detail a best method for each individual plant here, this method works pretty well for all of them.
In the morning, strain your dye bath through cheesecloth, giving it a squeeze to extract as much color as possible. Return your dye bath to the pot, and you'll be ready to add the beads.
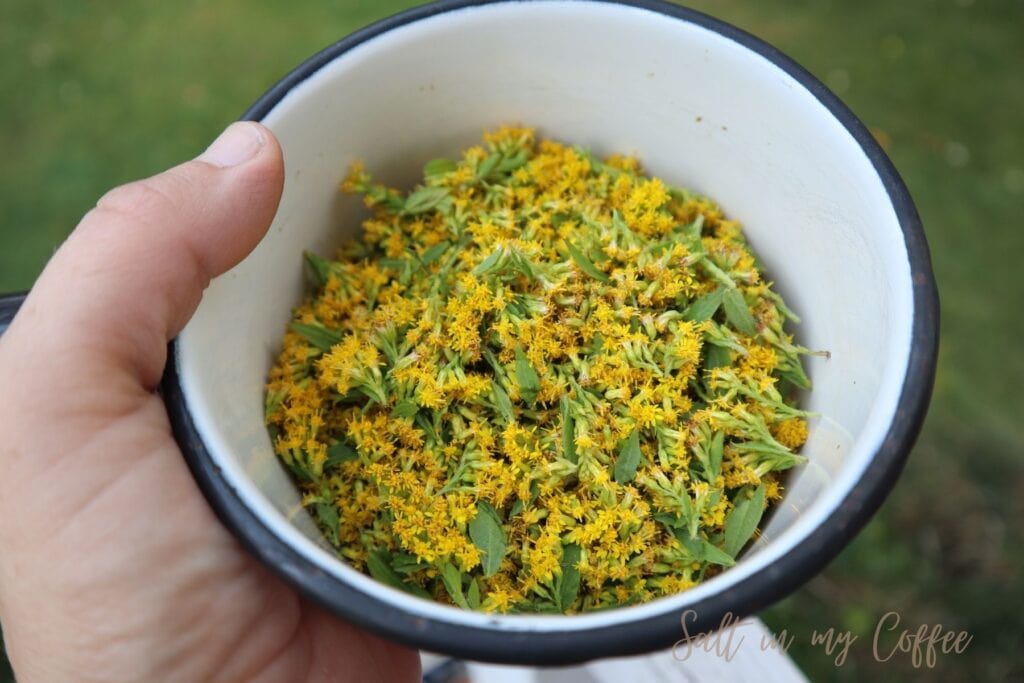
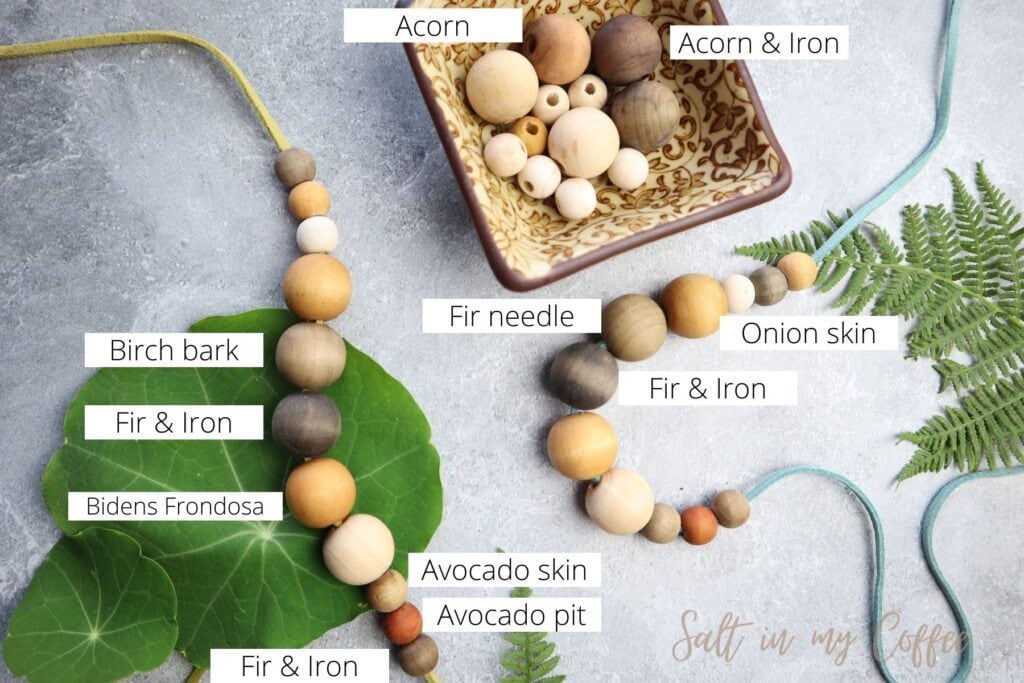
Try some of these plants for getting a beautiful range of colors for your beads:
- Onion skin (warm yellow)
- Bidens frondosa (yellow orange)
- Fir needles (light mossy green)
- Fir needles with iron (dark gray)
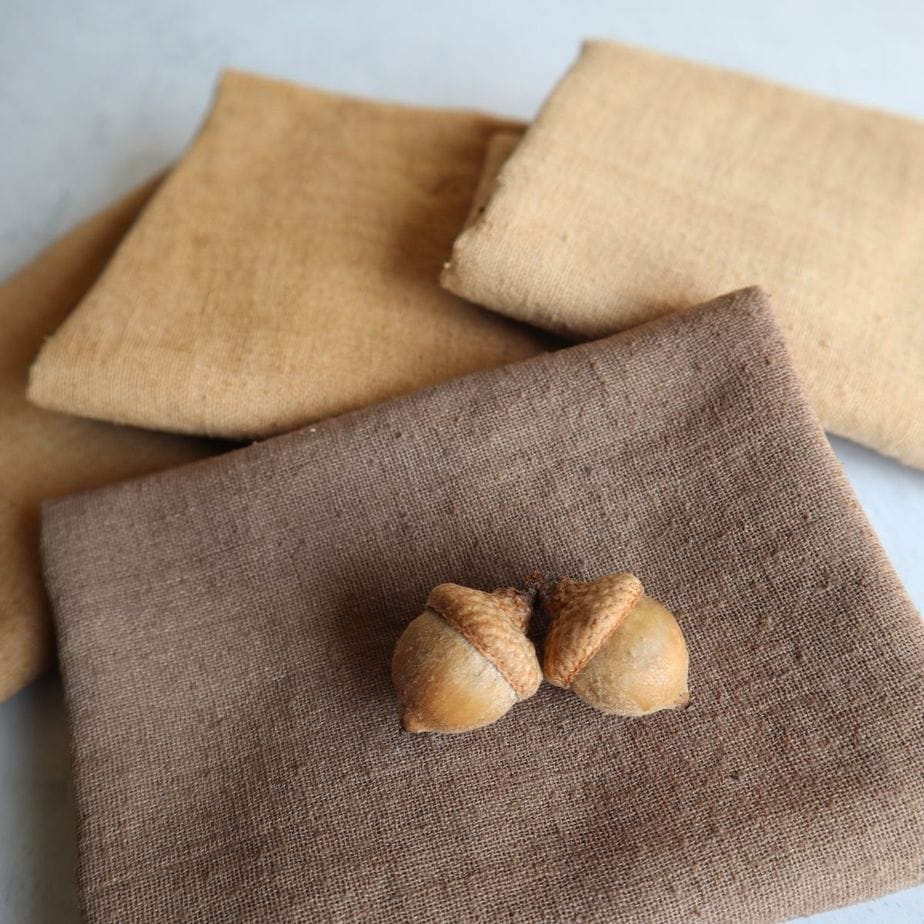
- Acorn (rich brown)
- Acorn with iron (warm dark gray)
- Avocado pits (warm red-pink)
- Avocado skins (pinkish orange)
3. Dye the beads
Wood builds up the best color as a result of multiple dips in the dye. Add your beads to the dye pot, and let them soak for an hour. Then take them out and let them dry. Return to them to the dye pot to soak for another hour, after which you'll take them out to dry again. Repeat this, until you're happy with the depth of color on the beads.
For complementary tone-on-tone beads, try dyeing some beads just a few times in the dye pot, while returning others to the same pot many times to achieve deeper shades of the same color.
On a day that I'm working with beads, I keep a drying rack on the counter next to the stove, with a rag spread out under it, to accommodate the day-long process of playing with beads and plant colors.
4. Apply a natural wood conditioner (optional)
Your plant-dyed beads will be lovely just as they are, but if you'd like to give them a bit of extra sheen, consider rubbing them with a natural wood conditioner, once they've fully dried. Another benefit to treating beads with a conditioner is that it can really help color show up, if you have some beads that turned out a bit more faintly than you were hoping.
I like to wait until a day or two after I've finished dyeing the beads, before conditioning them, so that the colors are really set, and are less likely to rub off with the conditioner.
My favorite conditioner for wood beads is a beeswax-based recipe that I use for all of my wooden spoons and cutting boards. You can find that natural wood conditioner recipe here.
Rebecca Desnos likes using linseed oil on her hand-dyed wood beads, and that's a good vegan option if you don't want something with beeswax in it. (Do be aware though, that in my experience linseed oil often darkens color a bit more significantly than a beeswax conditioner - though that can also be a good thing!)
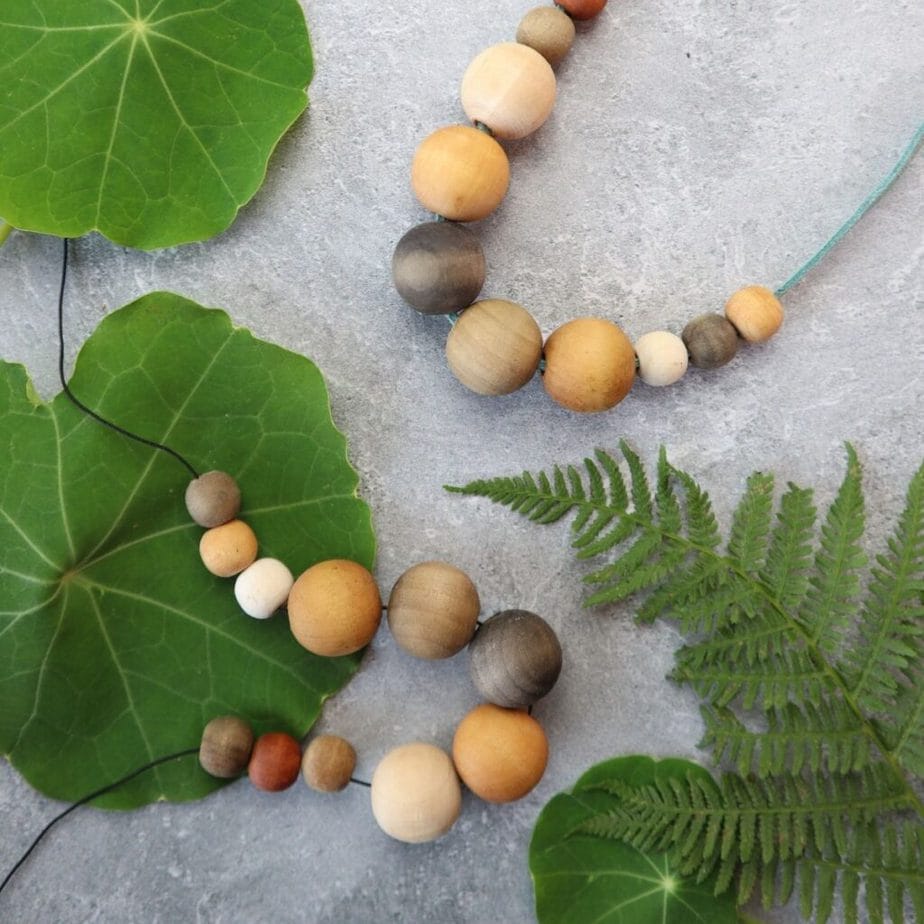
5. String beads onto leather, silk, or elastic
Now it gets really fun! String your beads onto whatever necklace material you like. Silk ribbons or leather cords make beautiful choices. I often string and un-string my necklaces several times, before I find the combination of bead sizes and colors that just sings to me.
This is a really, really fun project to do with kids. Set them up with a bowl of beads and some necklace laces, and let them make necklaces for their grandmothers for Christmas!
6. Finish the necklace by adding findings
It's really inexpensive and easy to add a good lobster clip to the end of your homemade necklaces. These are the ones I keep on hand for making necklaces, and they're easy to use.
I hope this quick tutorial has given you a few ideas or inspiration for diving in and making your own necklaces with plant-dyed wooden beads! It's easy, and just so much fun.
Have any questions about dyeing wooden beads that I haven't answered here? Please ask away in the comments, and I'll try to help!

Anna Chesley
Anna Chesley is a freelance writer living a homestead lifestyle, with a special love for family travel, old books, vintage skills, and seaside living. In addition to founding Salt In My Coffee, she runs the website, New England Family Life, as well as The 1800's Housewife, a website devoted to re-creating authentic 1800's recipes.


Comments
No Comments