

This quick and easy little craft is so rewarding, and is a fun project to make with kids!

When my daughter was little, she used to develop an acute fondness for our Christmas tree during each holiday season. By the time January came around, that tree was practically part of the family, as far as she was concerned.
Eventually the poor thing would get so dry it was practically a fire hazard, and would simply have to be removed to the outdoors. My sweet little girl would cry like her heart was breaking, as it was carried out the door.
The only way I could help assuage the loss for her, was to turn it into a "tree for the birds." We'd set it up in a place where we could see it from the window, and put some treats for the birds on there. Seeing songbirds enjoying their treats on our poor dry tree was exactly what her little heart needed.
That precious little tenderhearted girl is a great big kid now, and doesn't even remember mourning the yearly loss of her friend, the Christmas tree. Doting on the wild birds is still fun though, and thankfully, kids never seem to outgrow craft time!
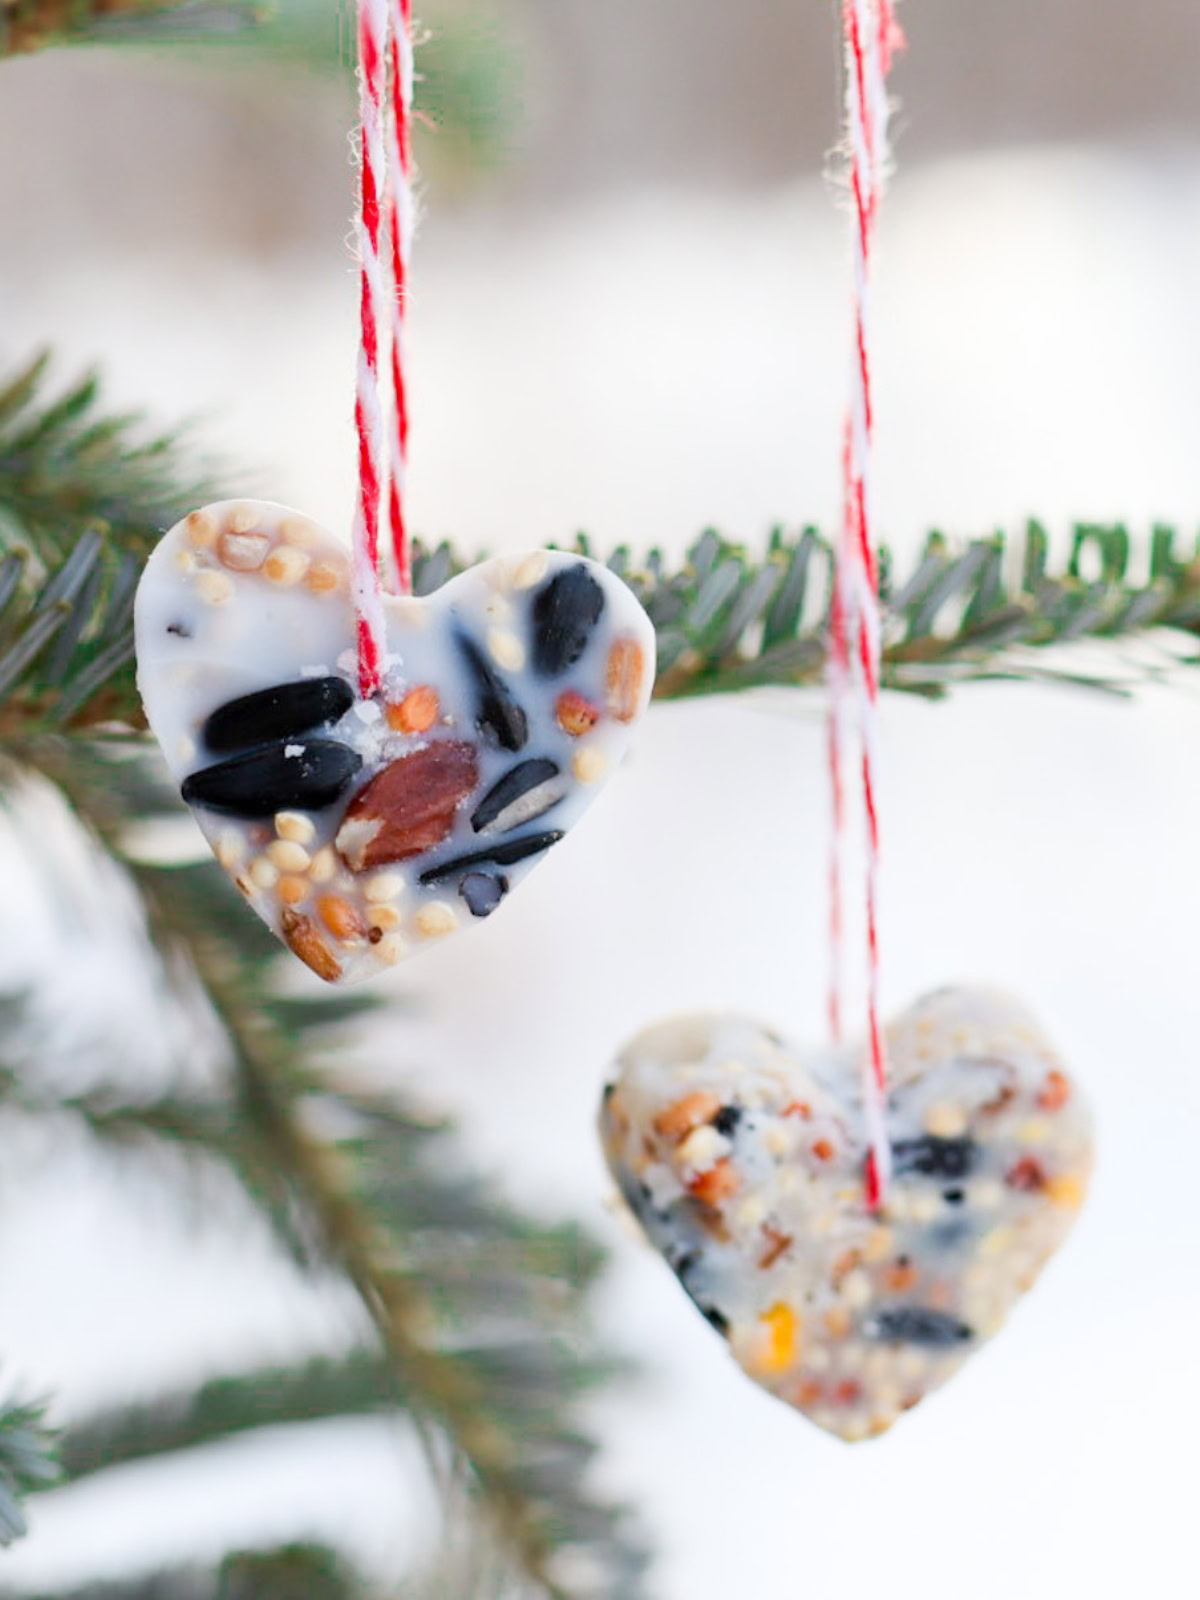
This year, as the Christmas tree grew brittle and brown, I decided to bring back our old tradition of turning the evicted tree into a "tree for the birds"--this time with a valentine theme.

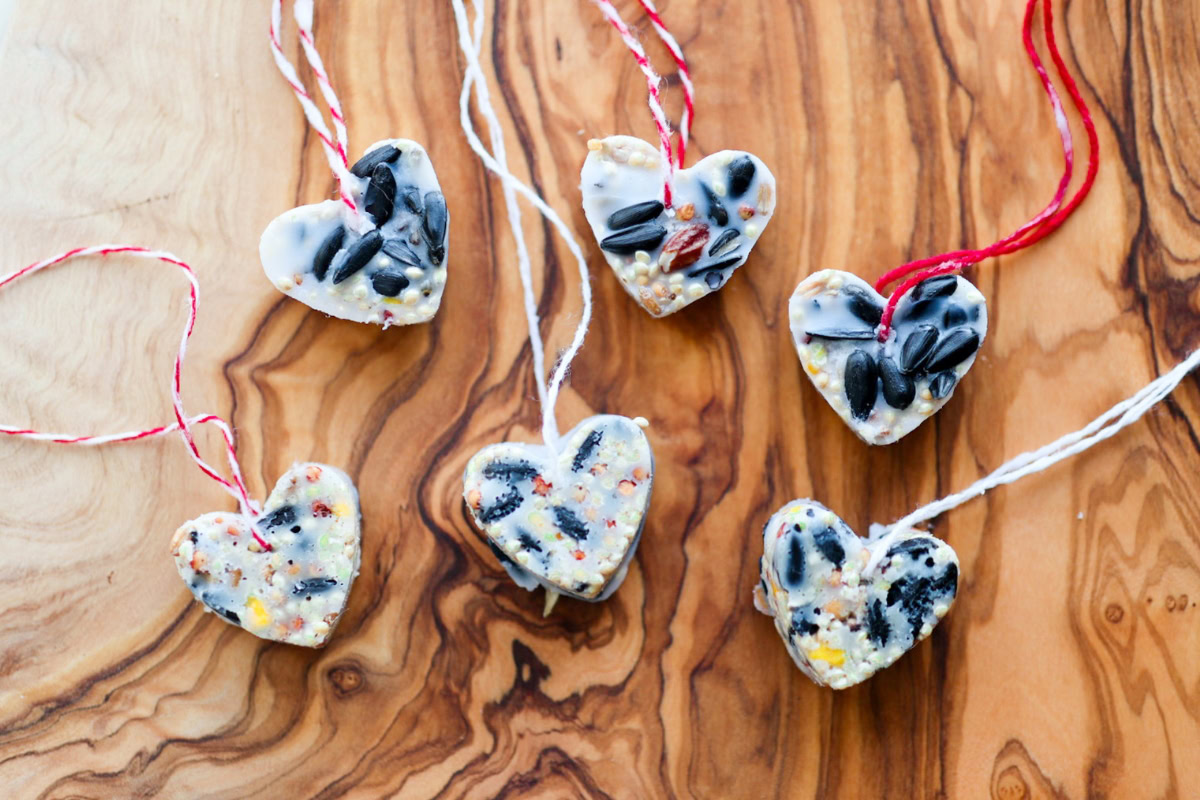
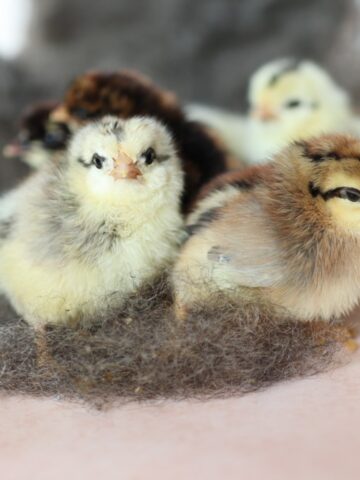
I grabbed a heart-shaped ice cube mold at Dollar Tree, and we made up several batches of these cute little birdseed valentines for the chickadees, nuthatches, and gold finches that hang around our yard this time of year.
Making these cute little Valentine Tree "ornaments" is the easiest thing. You'll need:
- Heart shaped silicone ice cube mold
- Darning Needle
- Lightweight String or yarn
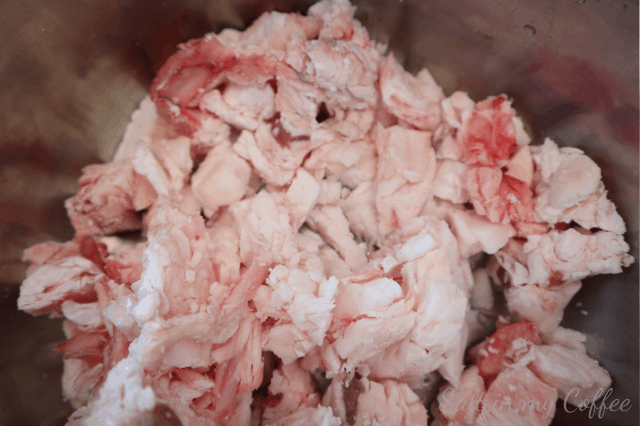
- Raw Suet
- Birdseed
For a typical 8-cell ice cube tray from the dollar store, you'll need about ¼ cup suet and ¼ cup birdseed for each batch of 8 ornaments.
Step 1: Melt the suet
To melt the raw suet, it's easiest to start by roughly chopping it up. This helps it to melt more evenly and speeds up the melting process. Using a double boiler helps ensure the suet doesn't scorch, so this is how I like to do it. Fill the top of your double boiler with the chopped suet, then set over medium-low heat, stirring occasionally until the suet is fully melted.
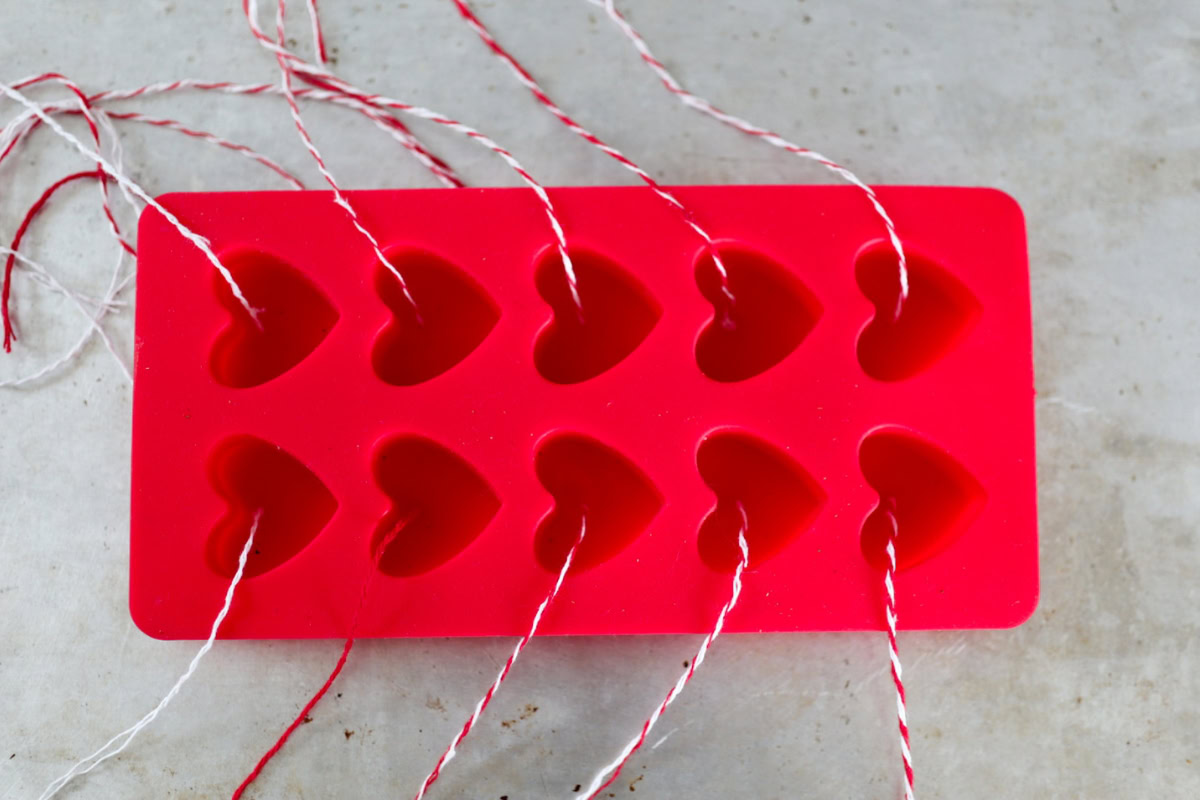
Step 2. Prep the molds with string
While the suet is melting, cut 8" lengths of string, and thread one end of the first piece through your darning needle. Use the needle to poke a hole below the top center of one of the hearts, where you want the string to go through the finished suet ornament. (Don't make this too close to the top, or there won't be enough suet above the string, and the string might easily pull out.) Draw the string half-way through the silicone, leaving half below the mold, and half sticking out the top of the mold.
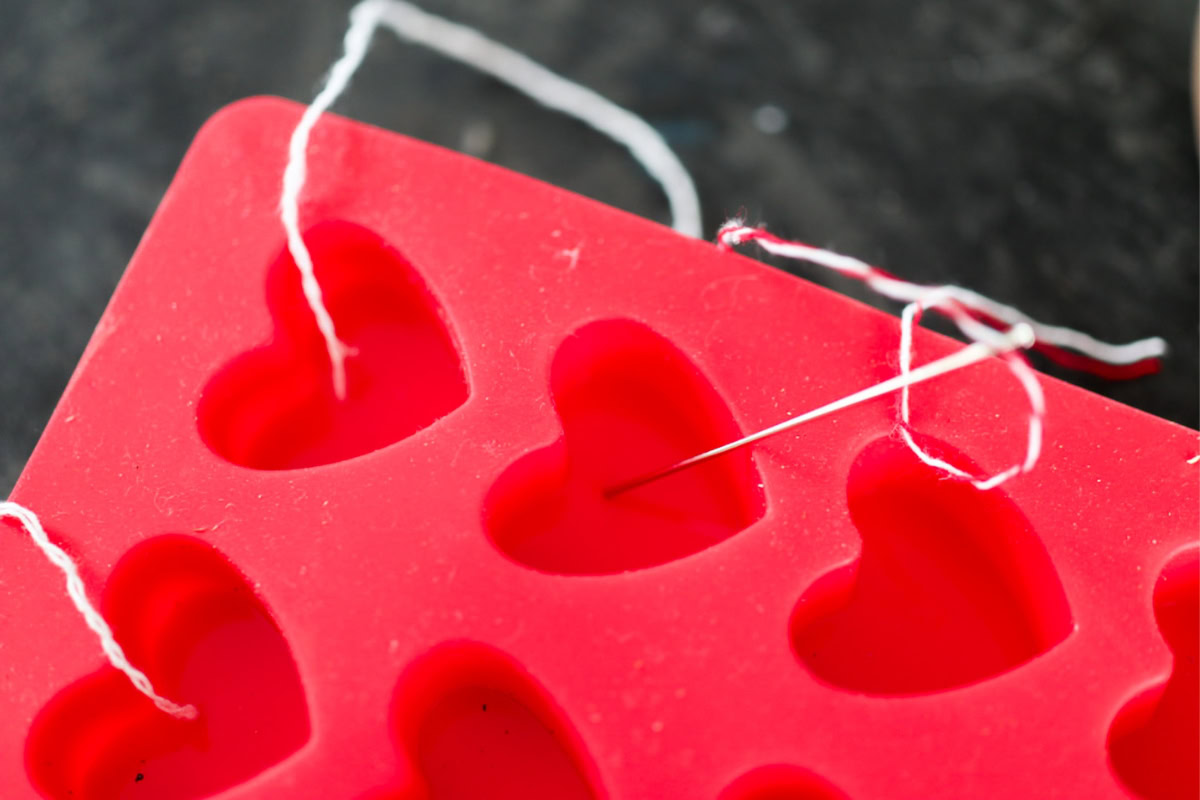
Repeat this for all heart shaped cavities.
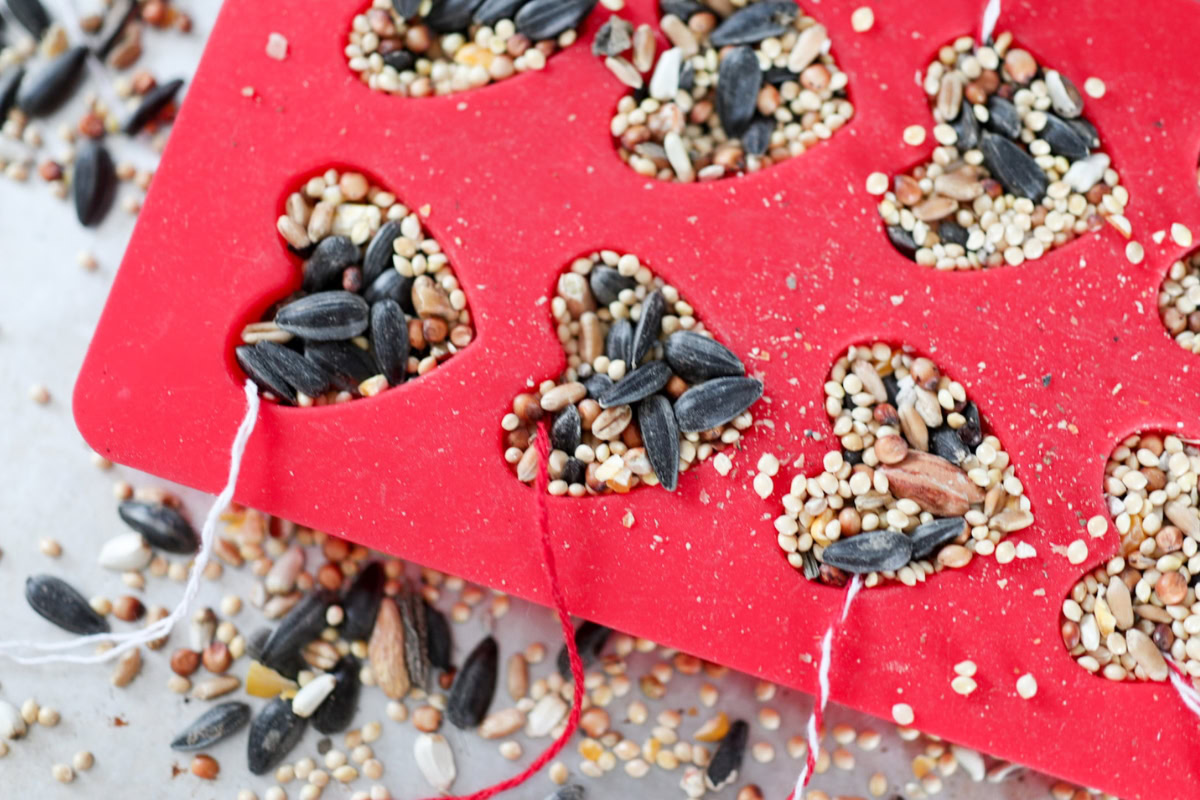
Step 3: Fill the molds with birdseed
Now fill the molds with birdseed. You can fill them evenly with the top. The melted suet will pour right down in between the seeds and hold it all together just fine.
Step 4: Fill with melted suet
Now, fill each cavity with melted suet. Do this slowly and carefully, letting the liquid suet trickle down through the seeds. If you dump too quickly, you risk "sloshing" some of the seeds out. When all cavities are filled, you can give the tray a gentle tap on the counter to release any air bubbles.
To make sure the top part of the string comes straight up through each ornament, and that it doesn't end up stuck in the suet, you can drape the top portion of string over a stick or pencil, just like you would with the wick, when pouring a candle.
Step 5: Chill, un-mold, and hang your ornaments
Now set the whole mold somewhere cool to firm up. Once the suet is opaque and firmly set, you can gently un-mold each ornament. As the heart shapes release, just gently pull that bottom part of the string right through. You can use these molds again and again, for as many batches as you like, using that same string hole each time.
Tie the ends of the string together for each ornament, and you're ready to hang them out on your "Valentine Tree" for the birds!
Some other articles you might enjoy:
- Old Fashioned Balsam Fir Pillows
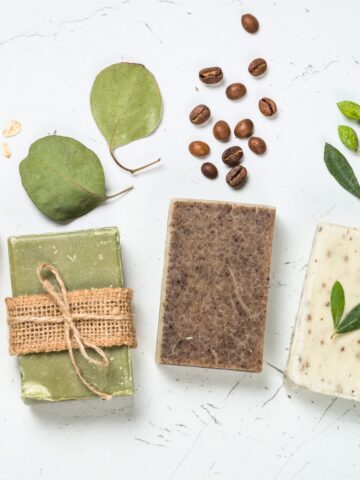
- Eucalyptus, Fir, and Nettle Hot Process Soap Recipe
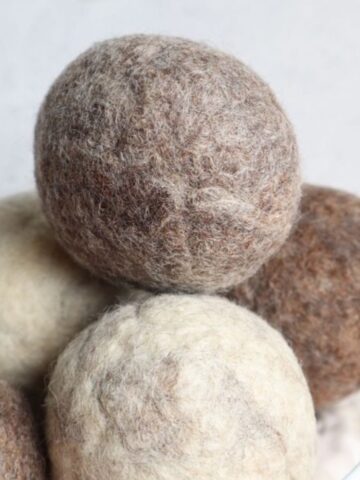
- Do Dryer Balls Really Work?
- Free Printable Vintage Valentines
- 1800's Housekeeping Tips
- 19 Surprising Plants That Make Fun Natural Dyes
- 15 Handmade Last-Minute Teacher Gifts That Are Easy But Meaningful
- 14 Pro Tips for Saving Money on Soapmaking Supplies


Anna Chesley
Anna Chesley is a freelance writer living a homestead lifestyle, with a special love for family travel, old books, vintage skills, and seaside living. In addition to founding Salt In My Coffee, she runs the website, New England Family Life, as well as The 1800's Housewife, a website devoted to re-creating authentic 1800's recipes.

Comments
No Comments