


Freezing sugar snap peas and snow peas is easy to do, and you DON'T have to blanch them first. Here's how to get the best results!
Over the last week, we've been getting two or three rainy days in a row, with an odd sunny day here and there in between. Every time we see the sun come out, the kids and I head straight for the garden.
Staying away from the pea patch for even two days in a row right now, means that every time we get in there to pick, we're coming away with baskets full of snap peas (our favorite!) and snow peas (a seed-ordering mishap, but we're ok with it.)
The result is more peas than even my pea-loving kiddos can manage to eat. (And they'd gladly eat peas at lunch, for snacks, and with dinner, every single day.)
Fresh snow and snap peas are one of those things you just can't can, and dehydrating them turns them into unpalatable survival rations. This means green peas really are one of the very few vegetables that get to take up space in my 'deep freeze'.
The old rule of thumb was that you always, always, always should blanch fresh snow and snap peas before freezing them. In my younger years I was a faithful follower of that rule, and hated the result. Even cooked in a curry or something where mushy peas were sort of forgivable, the texture was really disappointing.
Then I tried skipping the blanching altogether, and found that frozen peas are just fine! They'll never be exactly like fresh, but they still have a bit of snappy attitude when they're thawed. I will never go back to blanching again. Not because I'm lazy, but because I much prefer the result.
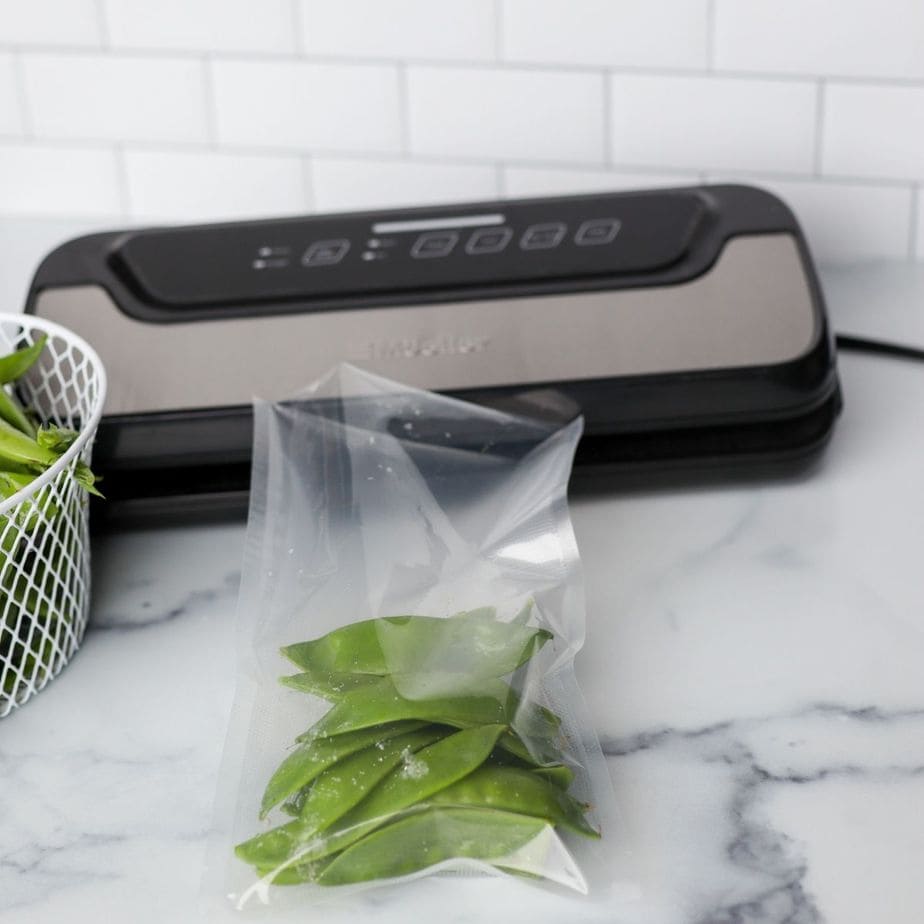
I will say that having a vacuum sealer really does help with preserving the quality and texture of frozen peas, but you don't need one to successfully freeze snap peas without blanching. Even if you're just using regular ziplock bags, I still strongly prefer the results of freezing snow or snap peas without blanching them first.
Here's the method I follow:
How to freeze snow or snap peas without blanching
1. Start by washing the peas and drying them thoroughly.
If they're already clean when you bring them in from the garden, you really can skip this step and just brush the peas clean as you work with them. The less water involved, the better, honestly.
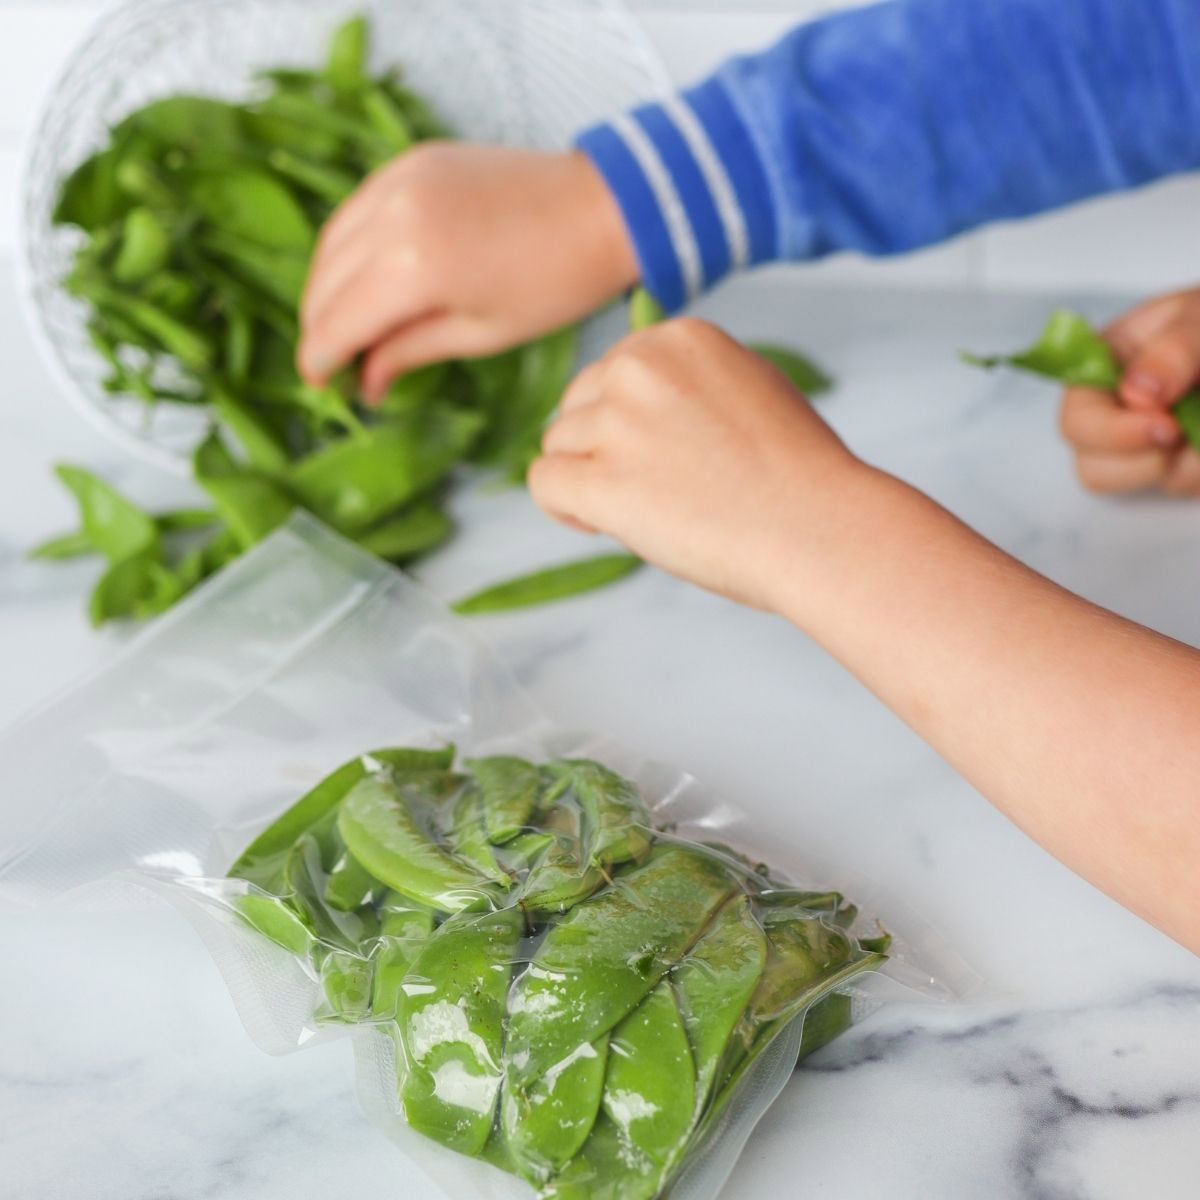
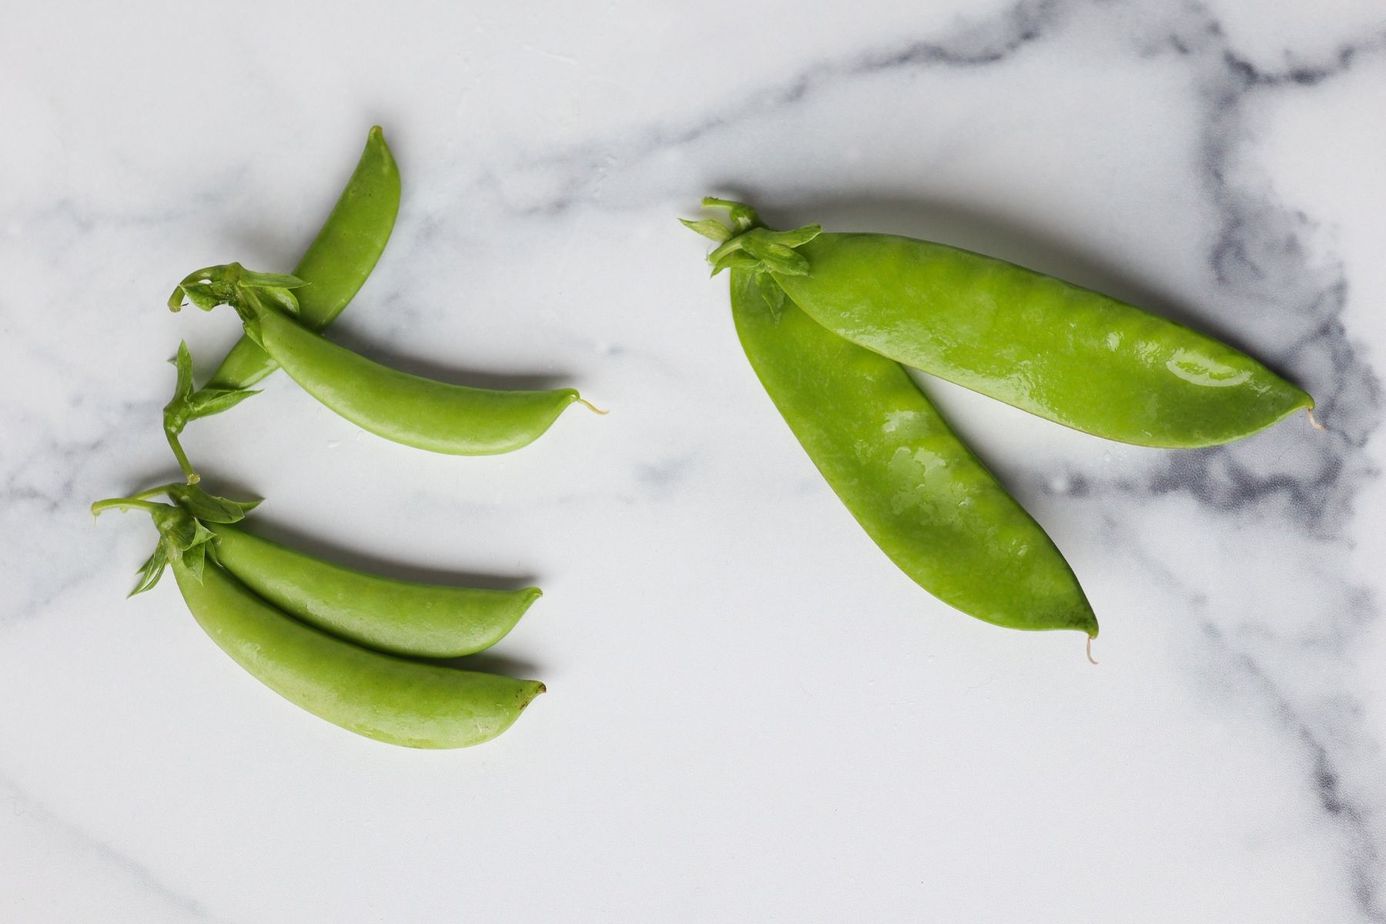
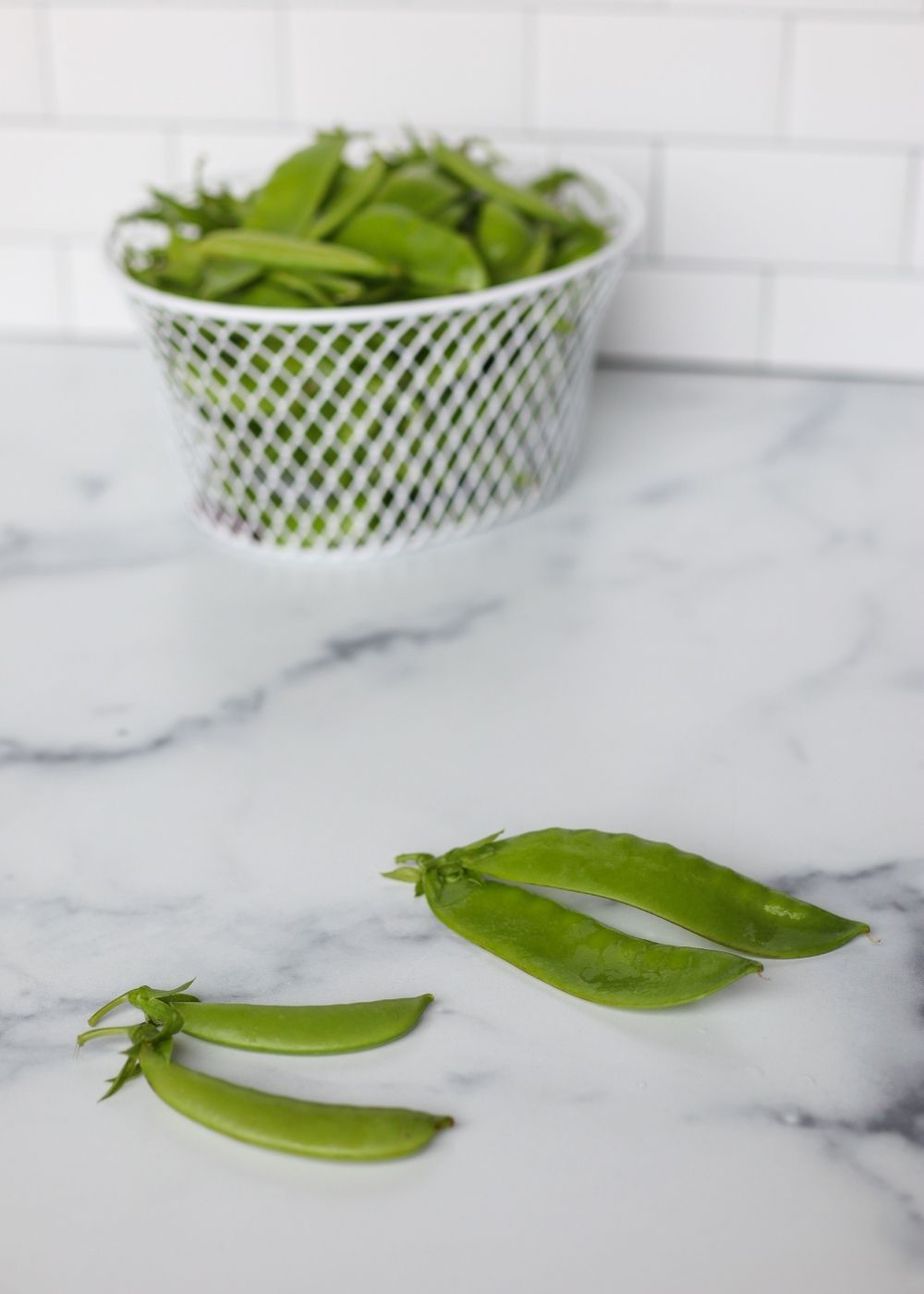
2. Remove the stems, and any tough strip down the side.
If you're working with snow peas, many varieties have a pretty sturdy strip that runs down the side, and pulls off easily as you're removing the stem. Most snap pea varieties that I have grown really don't have this, so you may not need to worry about it.
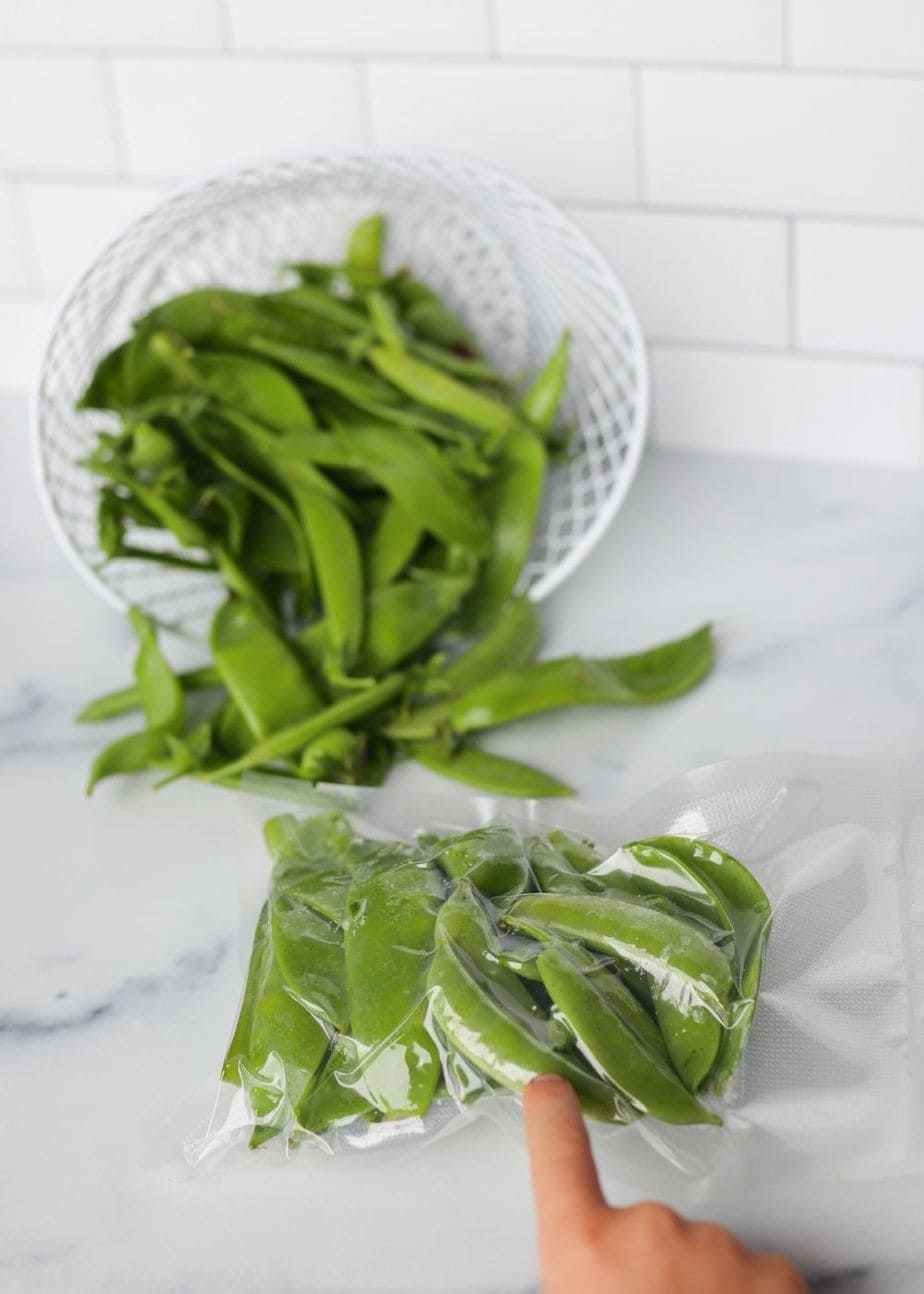
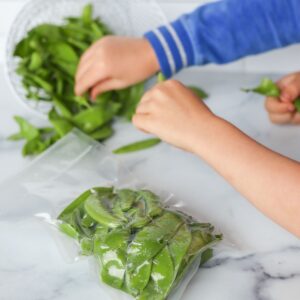
3. Place into vaccum sealer bags, or regular ziplock bags.
The less air you end up with in the freezer bags, the better. To help eliminate air pockets, I like to place the peas in the bags all lined up in the same direction, rather than topsy-turvy.
Some people like to chop their snow or snap peas before freezing them. If you generally chop your peas before using them in recipes, you can certainly go ahead and do this. I like using whole peas in most recipes, and find that keeping them whole helps to slightly preserve the quality of the frozen peas, so always freeze mine whole.
4. Remove air, and seal the bags.
Vaccum sealer method: If you have a vacuum sealer, you'll want to use a gentle setting if you have one. If you've washed the peas, and they're even a tiny bit damp, you may also want to use the "moist" food setting.
Freezer bag method: If you're working with regular freezer bags, it also is a good idea to remove as much air from the bags as possible before sealing. If you happen to have a straw handy, place one end into the bag, and seal the bag around it. Suck out as much air as you can, and quickly seal the bag as you pull out the straw.
5. Store in the freezer until needed.
Even with a vacuum sealer, peas are one of those delicate veggies that are best used up within about six months or so. Without a vacuum sealer, I recommend trying to use them within 1-3 months.
When you're ready to use them, I find it works best to add them frozen, directly to whatever I'm cooking, whether it's a stir-fry, curry, or other dish. Thawing in advance really decreases the texture quality, and mushy peas are almost always the result.
I hope you have as wonderful a pea harvest as we do this year, and that you're able to stash away a treasure trove of that green bounty for the colder months. My biggest problem with using up all of our frozen peas is getting creative with how to use them. I've promised my kids that this year we're going to try using them in more than just stir-fries and curries.
How do YOU use all your frozen snow peas? Give me your ideas in the comments!
Freezing Sugar Snap Peas and Snow Peas
Equipment
- Vacuum sealer and vacuum bags, OR
- Regular freezer bags
Ingredients
- fresh snap peas or snow peas
Instructions
- 1. Start by washing the peas and drying them thoroughly. If they’re already clean when you bring them in from the garden, you really can skip this step and just brush the peas clean as you work with them. The less water involved, the better, honestly.
- 2. Remove the stems, and any tough strip down the side. If you’re working with snow peas, many varieties have a pretty sturdy strip that runs down the side, and pulls off easily as you’re removing the stem. Most snap pea varieties that I have grown really don’t have this, so you may not need to worry about it.
- 3. Place into vaccum sealer bags, or regular ziplock bags. The less air you end up with in the freezer bags, the better. To help eliminate air pockets, I like to place the peas in the bags all lined up in the same direction, rather than topsy-turvy. Some people like to chop their snow or snap peas before freezing them. If you generally chop your peas before using them in recipes, you can certainly go ahead and do this. I like using whole peas in most recipes, and find that keeping them whole helps to slightly preserve the quality of the frozen peas, so always freeze mine whole.
- 4. Remove air, and seal the bags. Vaccum sealer method: If you have a vacuum sealer, you’ll want to use a gentle setting if you have one. If you’ve washed the peas, and they’re even a tiny bit damp, you may also want to use the “moist” food setting. Freezer bag method: If you’re working with regular freezer bags, it also is a good idea to remove as much air from the bags as possible before sealing. If you happen to have a straw handy, place one end into the bag, and seal the bag around it. Suck out as much air as you can, and quickly seal the bag as you pull out the straw.
- 5. Store in the freezer until needed. Even with a vacuum sealer, peas are one of those delicate veggies that are best used up within about six months or so. Without a vacuum sealer, I recommend trying to use them within 1-3 months. When you’re ready to use them, I find it works best to add them frozen, directly to whatever I’m cooking, whether it’s a stir-fry, curry, or other dish. Thawing in advance really decreases the texture quality, and mushy peas are almost always the result.
Other food preservation articles you might enjoy:


Anna Chesley
Anna Chesley is a freelance writer living a homestead lifestyle, with a special love for family travel, old books, vintage skills, and seaside living. In addition to founding Salt In My Coffee, she runs the website, New England Family Life, as well as The 1800's Housewife, a website devoted to re-creating authentic 1800's recipes.

Julie Way says
great advice. Thank you!