


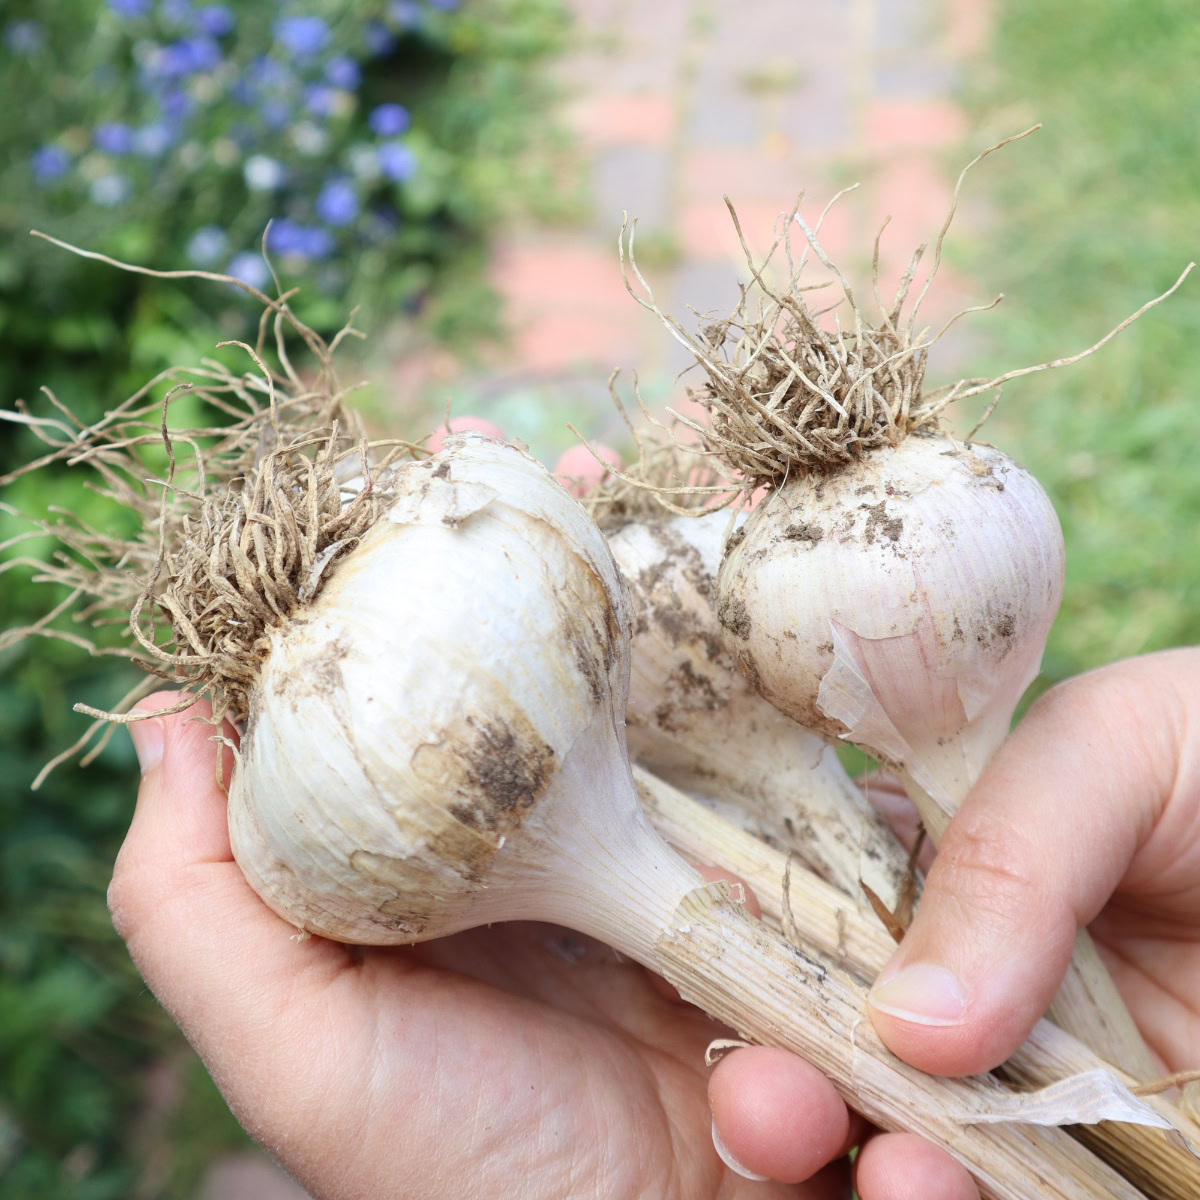
If you never got your garlic planted last fall, you can still plant in early spring, and even get an impressive harvest. This article will walk you through how to plant garlic in the spring, and still get huge, fully-formed bulbs at harvest time.
Sometimes life just doesn't shake out how you plan it.
I always plan to plant my garlic in the fall, but sometimes life in the fall just doesn't allow it to happen. Whether because of moving, or other life events, there have been multiple years that my garlic hasn't made it into the ground in the autumn months, before the ground froze and it was too late.
Last year, I told myself I was going to take a year off from growing garlic and didn't plant any on purpose. That's fine, except that over the winter I changed my mind and my recipe repertoire, and now I want ALL the homegrown garlic please.
Thankfully, that's not distressing, because I know from experience that I haven't missed the boat. Many's the time I've planted garlic in the spring, and had neighbors with fall-planted garlic envying the size and quality of my harvest. Spring planted garlic can do just fine.
Here are a few tips I employ to get great harvests, when I plant my garlic in the spring.
1. Plant spring garlic as early as possible
I've found that getting garlic in the ground as early as it can feasibly be worked, is really a key part of getting a good crop from spring-planted garlic.
One common problem with garlic planted in spring instead of the previous fall, is that often the bulbs will form not a cluster of cloves, but just one big single clove. These look more like a scallion or green onion, and they're still tasty - but not what you're hoping for when you plant garlic.
In my experience, this is most likely to happen when planting garlic late in spring (around the last frost date, for example), rather than very early, as soon as the soil can be worked.
Here in Zone 5a, when I've planted garlic cloves in March or early April, it has always grown to form beautiful bulbs with fully-formed cloves. People don't believe me when I tell them it was planted in the spring.
If you're reading this in May and still want to get garlic in the ground, don't lose all hope. While you will most likely end up with garlic that just forms a single, clove-less bulb, it's still edible and delicious.
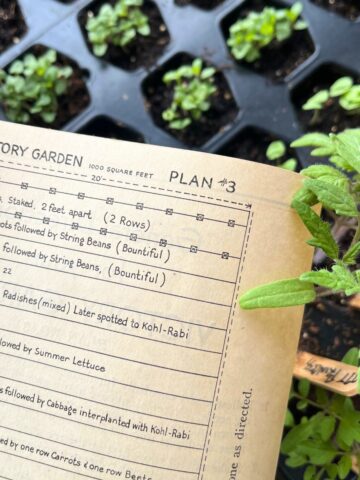
2. Choose an ideal growing site
More than ever, it's important to choose a prime location for your garlic if it's going to have a shorter than usual growing season. Choose a location with well-drained soil that gets full sun--at a very minimum, 6-8 hours daily.
It's usually good practice to also use a garden bed that hasn't been used for onions, garlic, or other alliums within the previous year. For my money though, I'd always prioritize the quality of the location over the rotation aspect, if you're faced with having to make that choice.
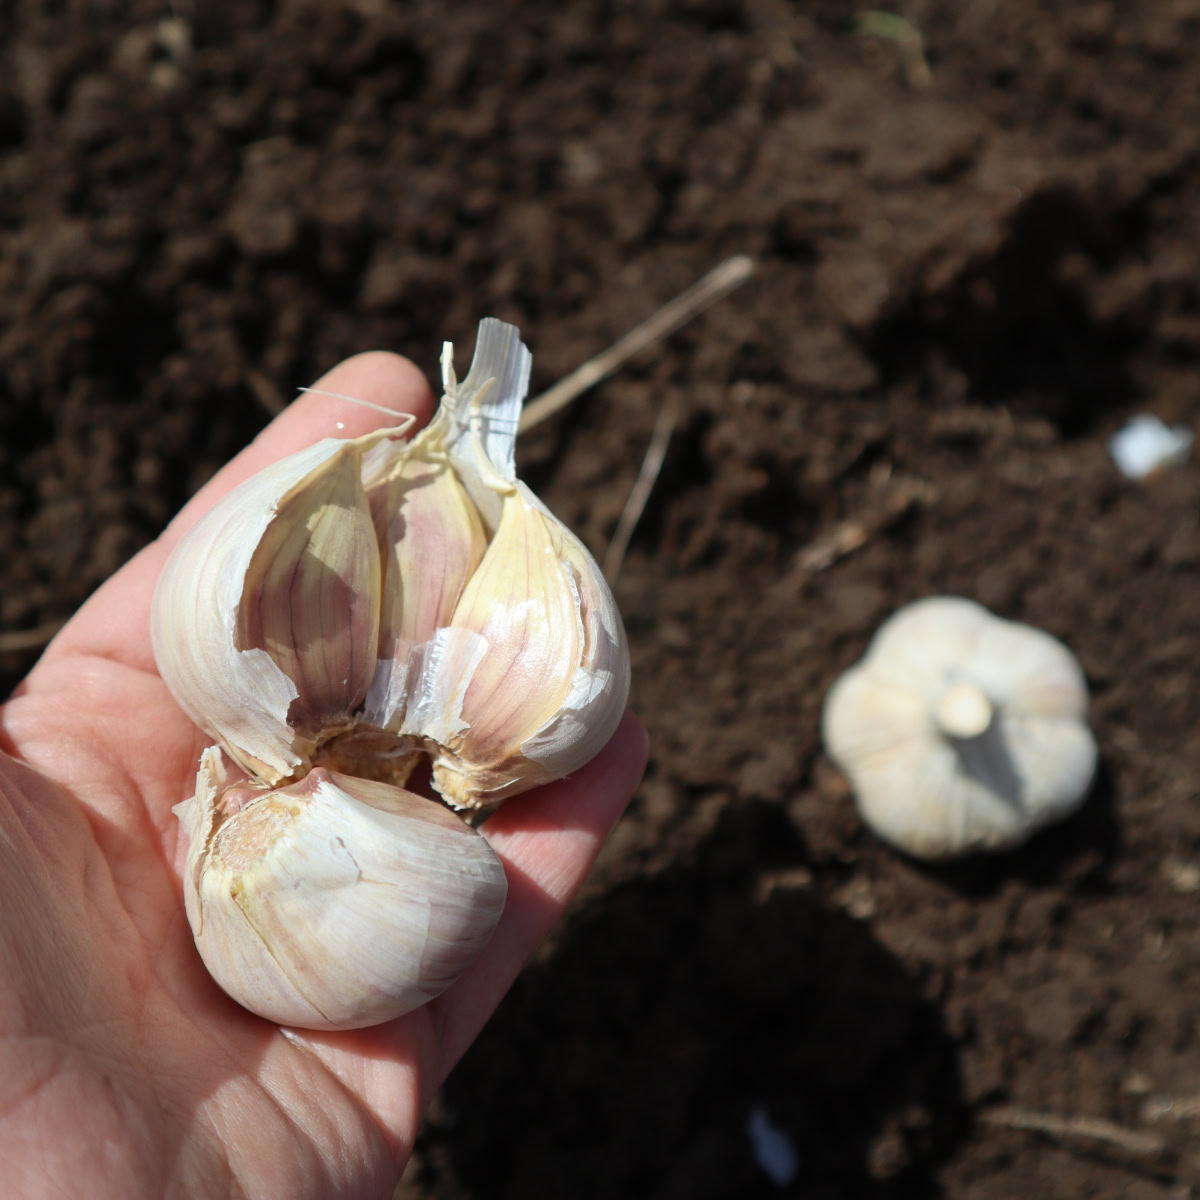
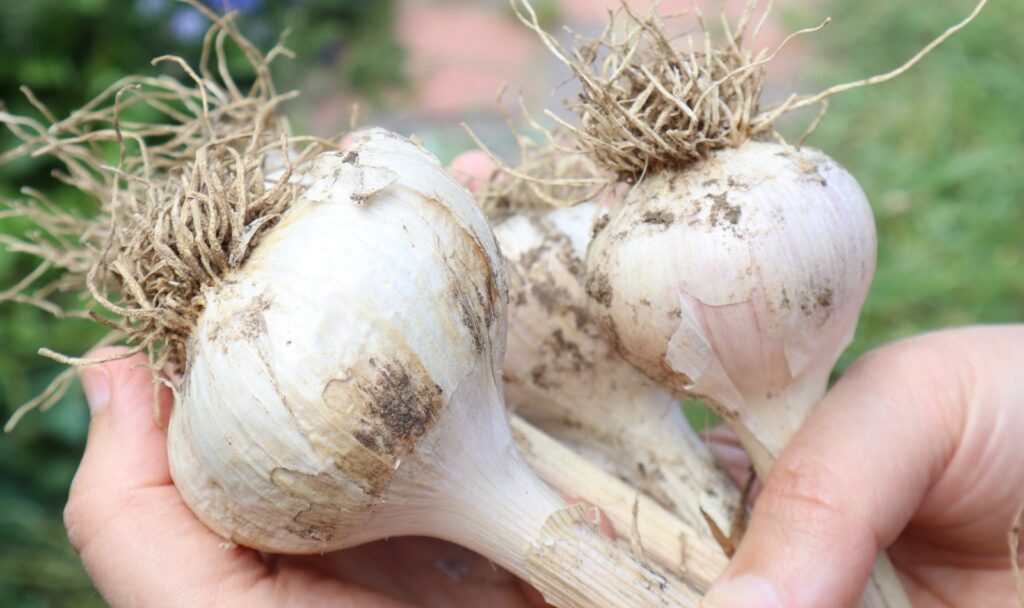
3. Use the best seed garlic you have available
Great garlic comes from great bulbs of garlic. While it might be tempting to cook the most beautiful bulbs of garlic from your supply and plant any scrawny leftovers, it's really worth sacrificing the largest, best, most beautiful cloves for planting.
If you're buying "seed garlic" in the spring, it's often much harder to find, and more picked-over than in the fall.
Just source the best seed garlic that you can. If you can't find any, there's always the grocery store. I know that many bloggers have devoted a whole lot of words to how worthless it is to plant grocery store garlic, but in truth--I've grown some absolutely beautiful, luscious garlic from grocery store cloves that I used in a pinch.
People love to cast shade on people homesteading "the wrong way", but life is short and we're too busy living it joyfully to let it get to us.
Don't skip growing garlic just because you can't get your hands on good "seed garlic." Just get some garlic in the ground and give it your best.
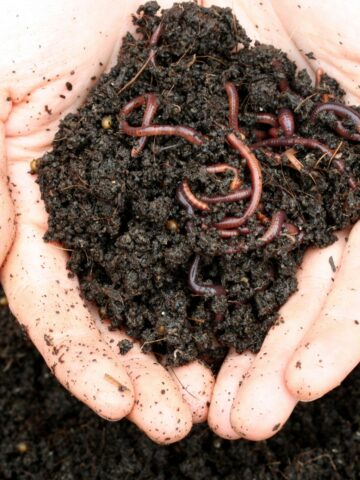
4. Prepare the soil well
Garlic is a heavy feeder, and it loves loose, well-worked soil. Take some time to really prepare your soil deeply.
Add several inches of good quality compost and thoroughly work it in before planting. The extra effort at this step will really pay off.
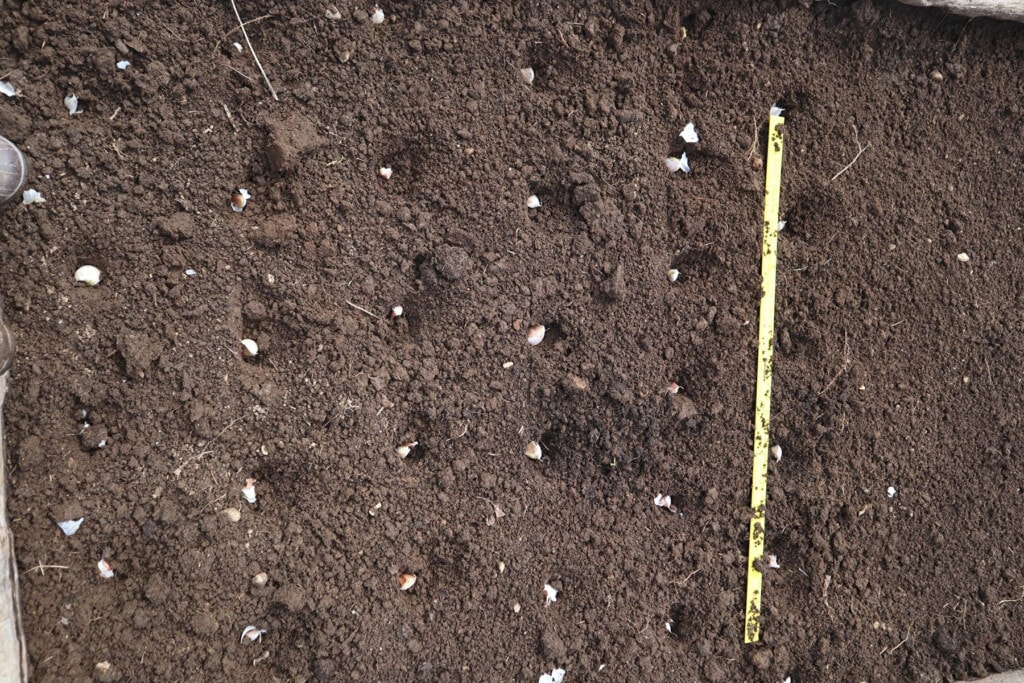
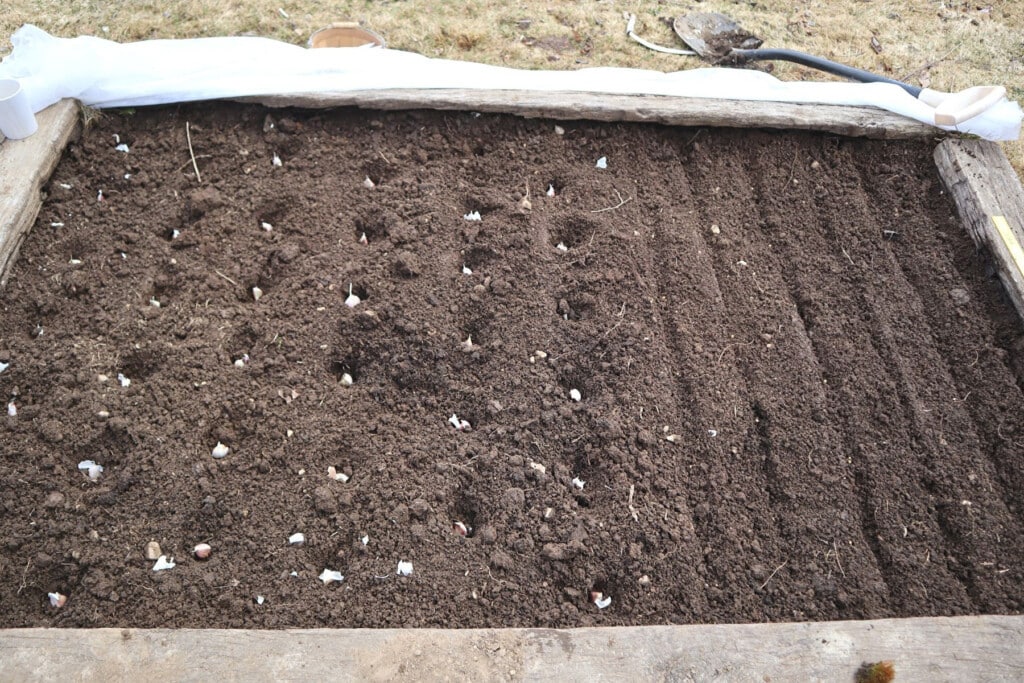
5. Plant cloves with optimal spacing
It can be tempting to crowd garlic in, with the idea that it's not going to grow as large as fall-planted garlic anyway. In my opinion, that can turn into a self-fulfilling prophesy. I've had good luck with giving spring-planted garlic the same space that I use when planting garlic in the fall.
Traditional spacing typically dictates planting cloves 4-6" apart, in rows 1' apart. My favorite spacing, which has always given me exceptional garlic, is planting the cloves 8" apart, in staggered rows that are also 8" apart.
It's a efficient way to evenly fit as many cloves of garlic as possible into a large raised bed, while giving each plant plenty of space.
To plant the garlic, you'll need to start be separating each bulb of garlic into separate cloves. Each clove will become its own plant.
Plant each clove, fat end down, to a depth such that there's about 1.5" of dirt covering the tip of each clove.
6. Caring for garlic once it's planted
If you were planting garlic in the fall, you'd now pile several inches of mulch over the bulbs to help insulate it over the winter. In spring, you'd pull off all but an inch or two of mulch to allow the garlic to grow up through the mulch, unhindered.
Planting garlic in early spring, you'll want to skip the deep layer of mulch, but it will still benefit from a thin, even layer of straw or other mulch, if you have some. This will help retain moisture, and slightly moderate the temperature of the bed, helping it to get a good start.
As the garlic begins to grow, ensure that it stays well-watered. It doesn't like to stay soggy, and you want the garlic bed to be in a well-drained area, but it's important to not let the garlic bed get too dry between waterings.
Especially since spring-planted garlic has a shorter time to grow, you'll want to keep conditions as optimal as possible.
Don't be temped to boost growth throughout the summer with fertilizer. If you've worked a good thick layer of compost into the soil before planting, the garlic probably has all that it needs to thrive.
If you skipped this step, and planted in soil that's lacking in nutrients, you may want to give your garlic a boost every couple of weeks with a natural fertilizer, like Neptune's Harvest.
Once the plants are about 8" high, you'll want to stop applying any fertilizer so that they stop pouring energy into growing lush foliage, and start diverting that energy into bulbing up under ground.
7. Remove scapes as they appear
In mid-summer, you'll start to see those beautiful curly scapes starting to form from each garlic plant. Cut or break them off as they start to form a full circle.
Doing this will help keep all the plants' energy going into forming cloves, instead of making seeds. You'll get bigger garlic bulbs when you remove the scapes - and they're delicious! If you don't know where to start when it comes to cooking them, here are some great garlic scape recipes to get you started!
8. Harvesting that garlic
Garlic is usually ready to harvest in mid-summer, around the end of July or beginning of August. When you start to see the lower leaves beginning to yellow, you're getting close. A good rule of thumb is to harvest your garlic when the bottom three leaves on most plants have turned brown.
Waiting too long to harvest, will not give you larger garlic. The cloves will start to loosen and separate from the center stalk, and it won't store as well. This growing guide from the University of Maine says that once those bottom three leaves turn brown, you have about two weeks to harvest your garlic.
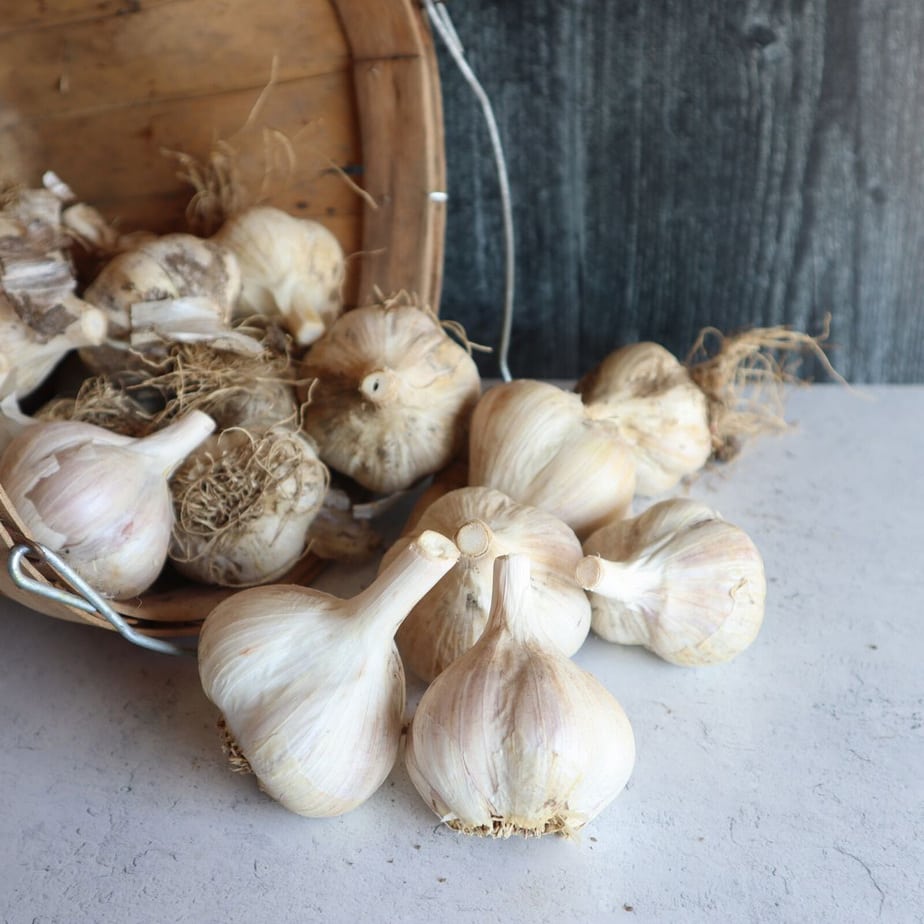
After harvest, cure your garlic for 3-4 weeks by trimming the tops off an inch or two above the bulb, and leaving them in a warm, dry, well-ventilated place to dry.
Store garlic in a cool, dark, and dry place. (Cold and high humidity promote sprouting, so you won't want to store it in the fridge.)
Those are my best tips for planting garlic in spring, and still getting an impressive harvest. Don't be afraid of "doing it wrong", just do it!
Happy growing!

Anna Chesley
Anna Chesley is a freelance writer living a homestead lifestyle, with a special love for family travel, old books, vintage skills, and seaside living. In addition to founding Salt In My Coffee, she runs the website, New England Family Life, as well as The 1800's Housewife, a website devoted to re-creating authentic 1800's recipes.
Comments
No Comments