


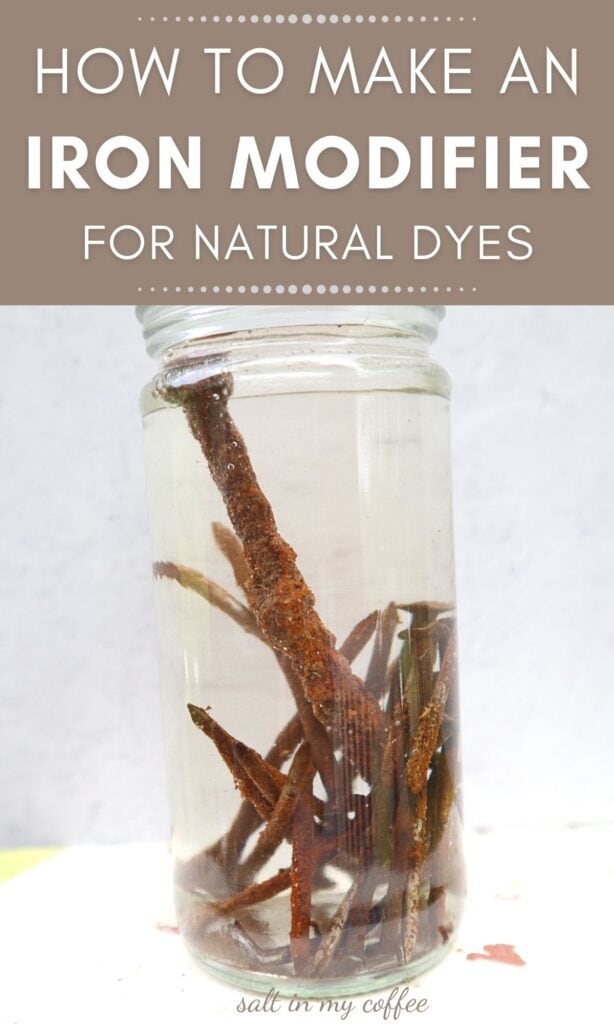
Learn to make your own iron modifier (also known as an iron mordant), which can be used to more permanently set plant dyes, while also altering the final color of your natural dyes.
Iron has a long history as a tool of the natural dyer. Along with Copper and Tin, it's one of the metals that is commonly used when dyeing with plants. The uses of iron are two-fold: helping naturally-derived dyes bind to the fiber being dyed, and also altering the final color that's achieved.
Iron as a mordant
A mordant is a substance used to help bind dyes on fabrics. In the case of iron, it forms what's called a "coordination complex" with the molecules of the dye, which then attaches to the fiber that you're dyeing. Think of it as giving your natural color "teeth" to bite into the fiber and hold on.
Indigo is one natural color that traditionally uses iron as part of the dye process.
For most dyes derived from plants, using iron as a mordant - either in the dye bath or as an after bath, will significantly alter the color derived from the dye plants. For that reason, other options like alum, copper, or milk, are more commonly used when a mordant is needed that won't darken the final color.
Iron can also be tough on fiber. Wool, especially, can be damaged by prolonged immersion in an iron solution. Because of this, other mordants are often preferable, unless you're specifically looking for the color-shifting magic that iron can provide.
Iron as a color modifier
When something is used in dyeing to alter the color derived from plants, it's often called a modifier, a color shifter, or an assist.
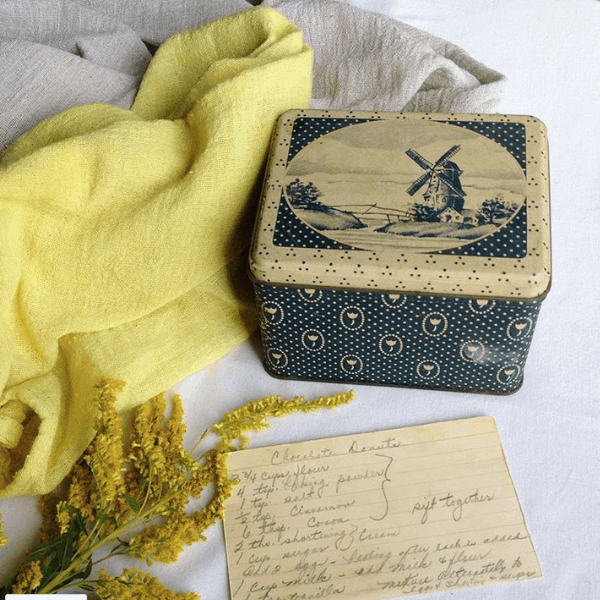
When used with most plant dyes, Iron generally darkens the color derived from the plant. Yellows become green, greens can become brown, browns become blacks, and pinks can become a plum color. This is called "saddening" the color, but it can be used to achieve some absolutely wonderful shades.
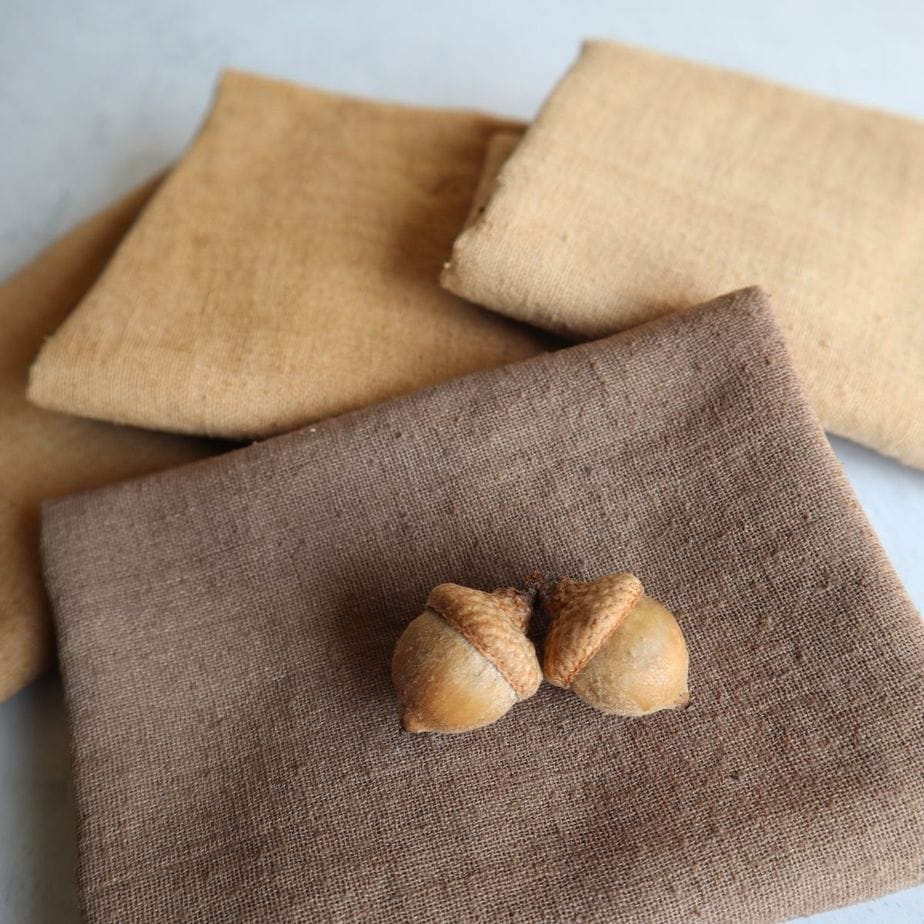
For me, in my own natural dyeing habits, I tend to think of iron not so much as a mordant, but as a modifier. I treasure it for the ability to give me really dark, dusky browns when working with acorn dyes. I love the twilight greens it gives me when using evergreen needles, and the mossy mustard green that I sometimes succeed in achieving from onion skins.
You can harness the power of iron in natural dyeing by simply using a big cast iron pan to dye your fabric in, and this often works when you're going for a darker color. However, for more subtle color shifts, I find that actually dying in cast iron gives me a stronger darkening effect than I'm sometimes looking for, even with just a quick dip.
For situations like this, where I just want to slightly darken a color, or darken it very slowly to until I reach the shade I'm looking for, I find it much easier to work with an iron solution, which I can add in very small increments to my dye bath.
An iron solution is a wonderful thing to have on hand, if you're a natural dyer, and it's easy to make!
How to make your own iron solution
There are a few different methods for making a homemade iron solution for dyeing, but this is the one that I've found works well for me.
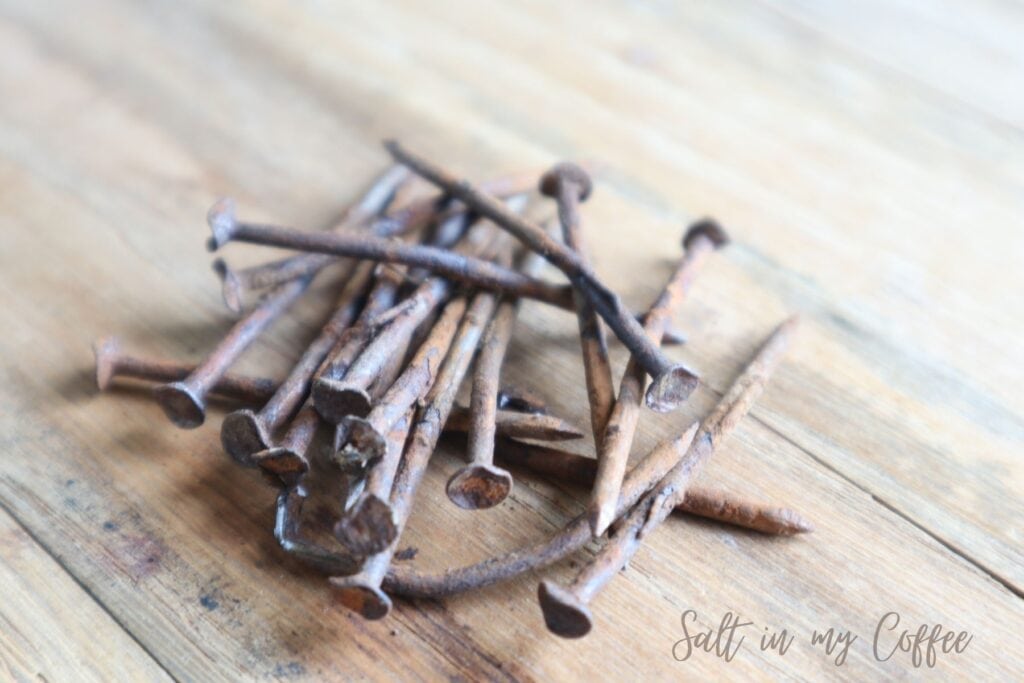
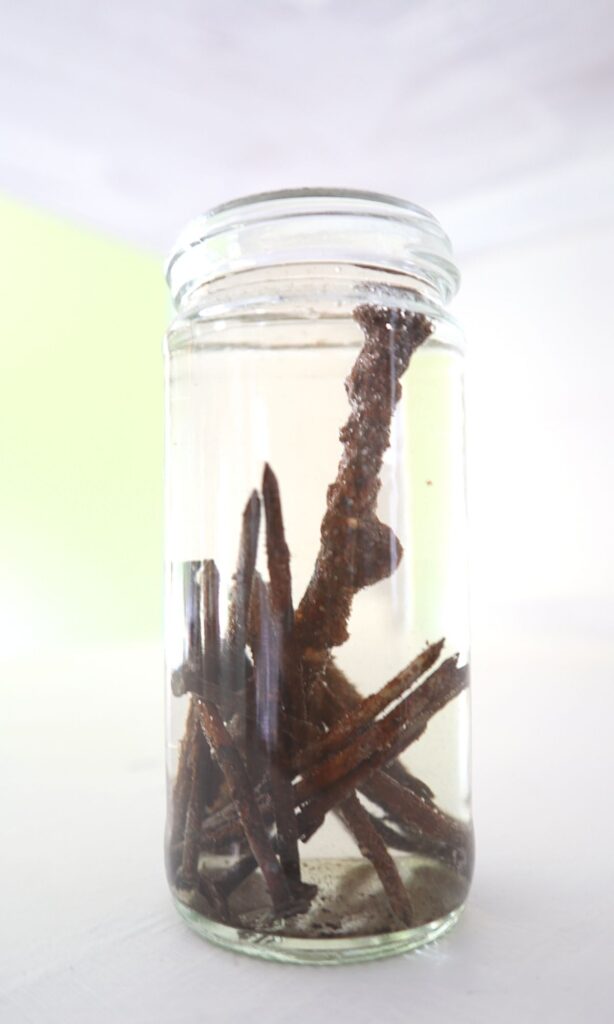
1. Collect some rusty things
Nails work really well, because they neatly fit in a bottle, which can be tightly capped, and tucked away somewhere while the magic happens. That said, you really can use anything rusty - an old hinge, a rusty bracket, whatever you have.
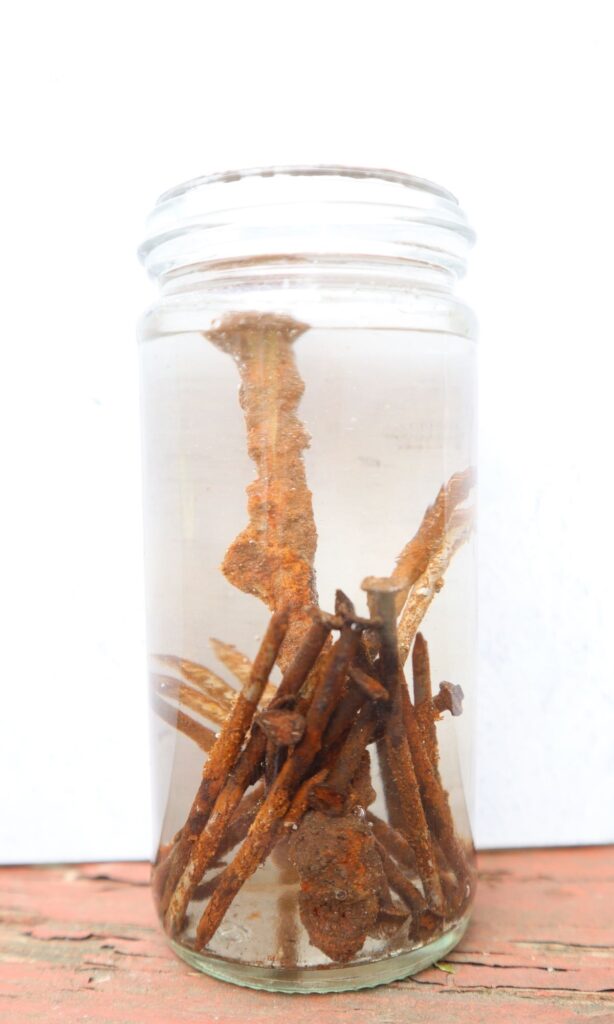
2. Add the rusty nails to a jar
A small handful of nails is enough to make a good solution in a pint jar. The way I use iron solution (sparingly!), a pint is enough to last me for a good long while. I find that using enough rusty things to about ¼ fill the space inside a jar seems to work well.
I piled this little jar a little more full of nails than I usually suggest, because I was thinking more like a photographer than a dyer at the moment, and liked the shape of it. 🙈 If your nails are this crowded, you might want to move up to a larger jar and use them to create a greater volume of solution.
3. Fill the jar ¼ full with white vinegar
Some iron solution recipes call for more vinegar, some call for less. This is percentage that has worked really well for me.
4. Fill the jar the rest of the way with water
It's no huge deal if some of the nails aren't completely submerged - any tips sticking out of the water won't benefit the iron solution, but they won't hurt anything either. Put a cap on the jar if you can, just to help prevent spills.
Now, just wait. In even just a few days, you'll start to see your solution turning orange. (If you really need an iron solution right away, you can use it already, but you'll need more of it than if you let the solution sit for a couple of weeks.)
In about two weeks, you'll have a good strong iron solution. I like to pour the solution through a couple layers of tightly woven cheesecloth, or even a lint-free rag, to remove any floating bits of iron. If you have little pieces of iron that end up in your dye bath, they can create uneven dark spots on your finished fiber, if they happen to end up on the fiber in the dye bath.
Return your finished iron solution to a jar, and keep it tightly capped, in a cool, dark place. As with all natural dye supplies, you'll of course want to keep it out of reach of little hands.
Using your iron modifier
My favorite way to use this iron modifier, is at the end of my dye process. Once I've finished getting a good deep shade of color on my fiber, I remove the fiber from the dye pot.
Then I mix a small about of this solution, about a tablespoonful, into the dye bath, and stir it well. (Even if it seems like the dye bath is exhausted, the iron can still help to get a little last hurrah out of it!)
One the iron solution is well mixed in, I add my fiber back to the pot, and check it frequently (at least every five minutes), until I'm happy with the color. If the iron isn't shifting the color enough, I take the fiber out, mix in another tablespoon of solution, and then return the fiber. Taking out the fiber allows the iron solution to really thoroughly mix with the dye bath, and helps to prevent uneven coloring of the final product.
Working with a diy iron solution is a nearly-free way to get a whole new range of colors from the plants in your backyard. It's a tool I use often, if judiciously, and I hope this quick tutorial has helped you get started. Have any questions about dyeing with an iron solution? Ask away in the comments below. If I don't know the answer, I'll try to point you in the right direction!
Happy dyeing!
If you liked this post, you may also enjoy:
✦ DIY Felted Wool French Press Cozy
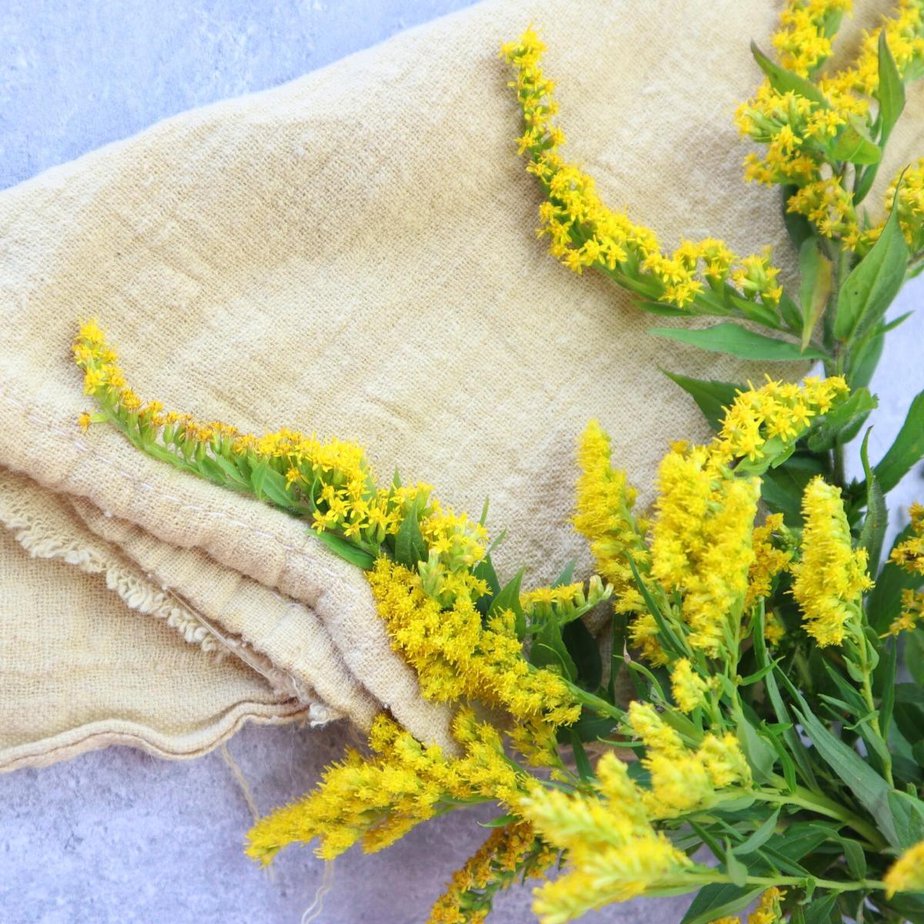
✦ Dyeing With Goldenrod
✦ Dyeing With Devil's Beggartick
✦ Handmade Grapefruit Lip Balm
✦ DIY Wood-Rejuvenating Spoon Butter

Anna Chesley
Anna Chesley is a freelance writer living a homestead lifestyle, with a special love for family travel, old books, vintage skills, and seaside living. In addition to founding Salt In My Coffee, she runs the website, New England Family Life, as well as The 1800's Housewife, a website devoted to re-creating authentic 1800's recipes.

Nancy says
Ideas where to find rusty nails? I don't have room for an iron skillet.