


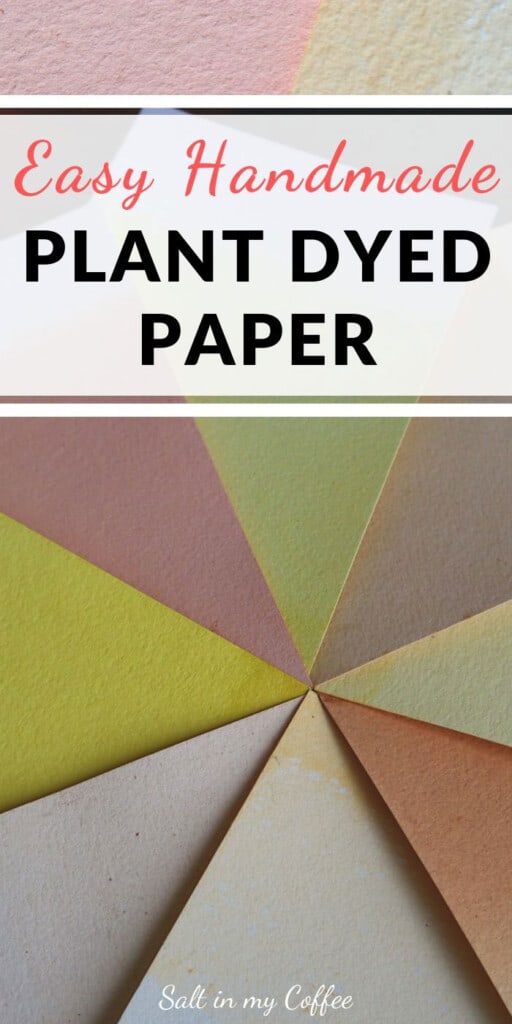
Paper can be easily dyed into endless beautiful shades using nothing more than natural plant dyes! Here are my tips for getting great color with making plant-dyed paper at home.
If you know me in real life, you know there's usually an ugly old dye pot on my kitchen stove. More often than not, I'm dyeing something or another.
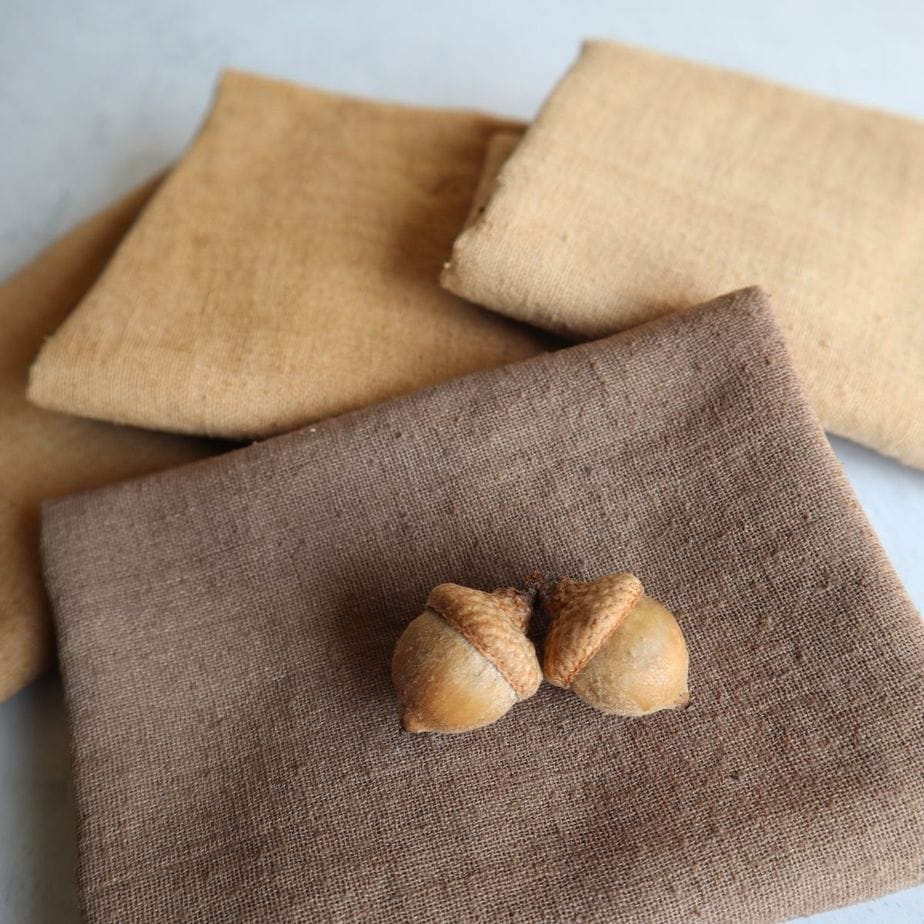
It's a cheap addiction that gives me a lot of joy on a continual basis. By now, all of my cloth napkins and dishcloths, and even lots of my household rags have been dyed some plant-derived shade, and many of my favorite clothes have as well.
My life is slowly being filled with more natural hues, and I love it.
This summer, after running out of fabric to dye, I turned to paper, and that was the beginning of a whole new world of natural dye fun. Paper is SO easy to dye, and the results are really gratifying to work with!
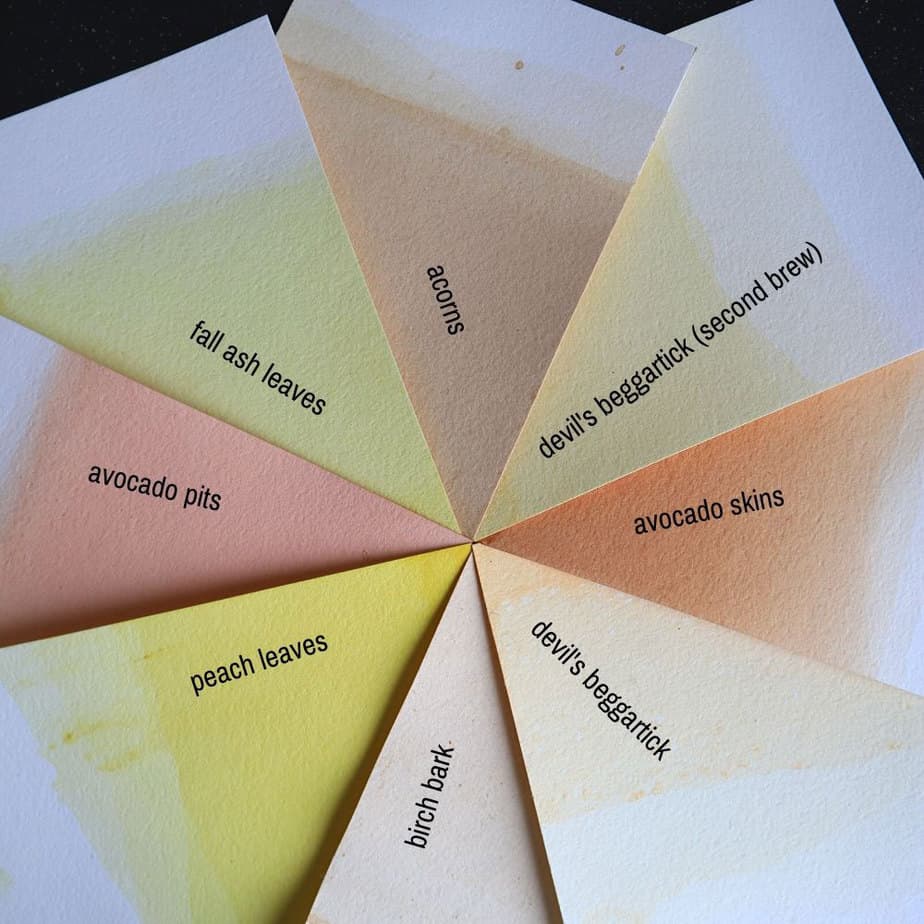
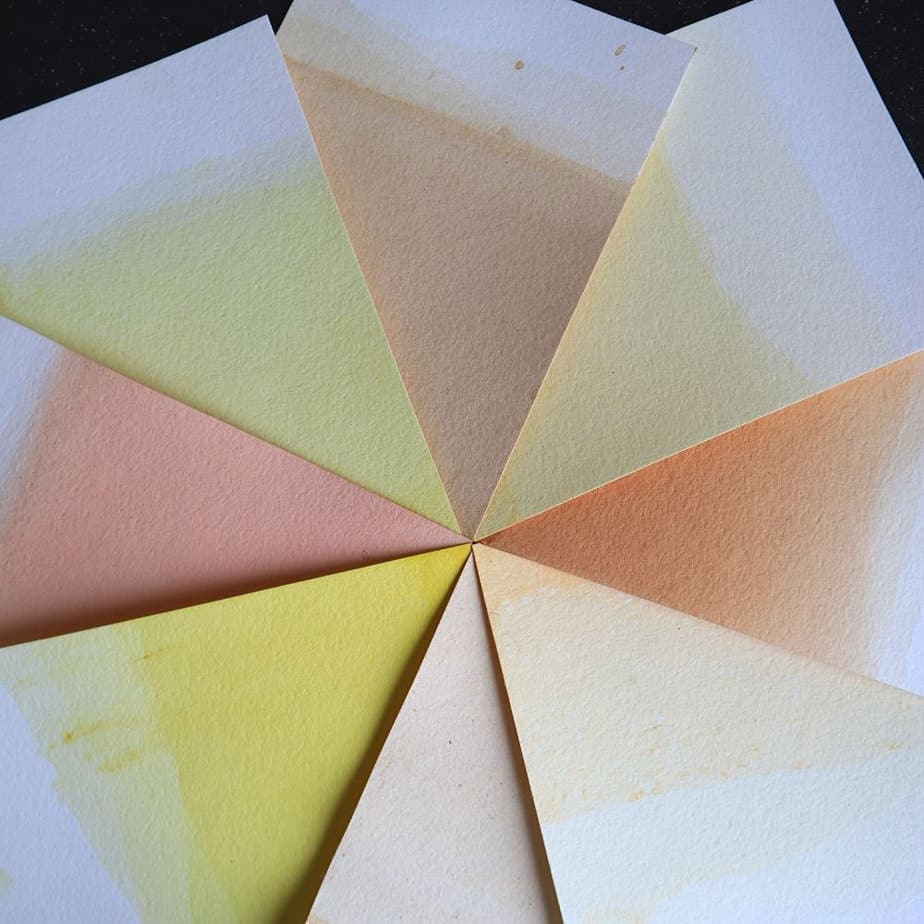
I now make a point of dying at least one piece of paper in every dye bath I create, as a way to easily keep a log of the colors I'm seeing from some of my more experimental plant dye projects.
While dyeing paper is very much like dyeing fabric or fiber, there are a few tips specific to working with paper that I've gathered over the last few months. These methods give me good results, and I hope they might be helpful to you as well, as you dive into dying paper at home!
Tips for making plant dyed paper
Choose paper that will take color well
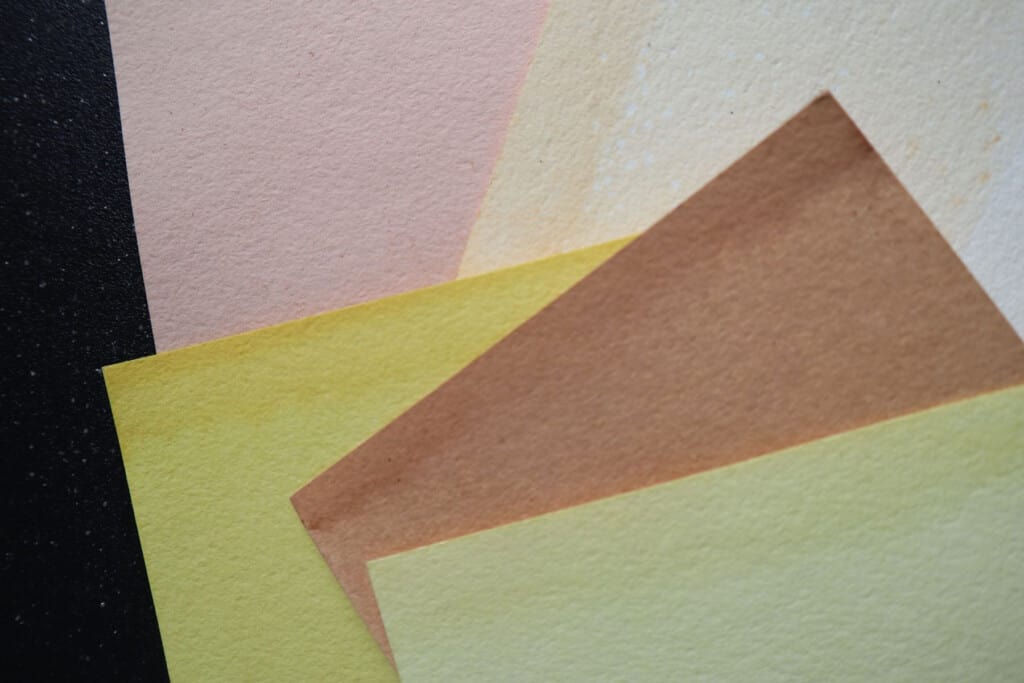
The best papers for hand dyeing tend to be thick papers with firmly pressed fibers, and slightly rough surface. Watercolor paper is always a perfect choice. You want to look for a matte surface, not smooth and glossy, when you're choosing a paper to dye.
My absolute favorite papers to work with are ones made for watercolor, and these papers from Strathmore are my go-to.
Create a concentrated dye bath
My usual method for creating any dye bath is to put my plant materials into the dye pot, then add enough water to cover. Simmer slowly to release the dye, and avoid bringing to a rolling boil - I find that as a rough generalization, excessively heating the dye bath gives a darker color rather than a brighter one.
Once you've extracted the color from the dye stuff, strain off the dye liquid, discard the plant material, and return the strained liquid to the pot.
Because paper can't be left in the dye pot for hours without falling apart, it works best to have a more concentrated dye bath when you're working with paper, than with other fibers. If the dye bath doesn't look good and strong to you, I recommend letting it slowly simmer and evaporate into a smaller amount of more concentrated dye liquid.
Work with a warm dye bath
I've tried dyeing papers in both warm and room-temperature dye baths, and at first I really didn't feel there was much of a difference. For some of the plant dyes I've worked with, there truly doesn't seem to be.
However, the more I dye, the more I feel that most plant dyes benefit from being very warm (nearly simmering) at the time the papers are dipped into the dye bath. (This can feel a little annoying, since paper likes to have color applied more than once, and that can mean re-heating the dye pot - but it's worth it.)
Dip papers multiple times - and let dry in between
Because paper starts to disintegrate if left too long in liquid, you may need to dip the paper multiple times to achieve the vibrant hue you're hoping for.
That's not true of all dyes - some are very strong and can dye a piece of paper in one take (onion and devil's beggartick are like this in my experience). But for most plant dyes, it's safe to plan on dipping your paper from 3-5 times to get a really bright shade.
When dipping paper in the dye bath, I submerge it, keeping it as close to flat as possible. Unless I see the color getting brighter than I want, I leave the paper in just until it starts to get a little "bendy" and flexible - usually from 30 seconds to one minute, depending on the thickness and stiffness of the paper.
After that, I hang it to dry. Hanging does give a slightly concentrated color at the bottom side of the paper - an effect that I enjoy in plant dyed paper.
If you want a perfectly even shade without variation though, you can lay the papers flat to dry on a towel instead. Just be aware that they'll dye whatever they're resting on, and that the lower surface of the paper usually will end up lighter than the top, since the towel will absorb some of the dye moisture from the paper as it dries.
Whichever way you choose, it works best to let the paper fully dry before dipping it into the dye bath again.
Consider treating the paper before you dye it
To be totally honest, this is not a method I usually use, since I generally prefer my results best without it. That said, pre-treating your papers can help create a darker color on your paper with fewer immersions in the dye bath.
Rebecca Desnos is a master when it comes to botanical dyeing, and she likes pre-treating her papers with a diluted soy milk bath before dying them. That link will take you to her full tutorial where she shows how to do it. And seriously, even if you don't end up trying that particular method, follow her website, and check out her magazine - everything she does is beautiful!
Read Next: Dye Plants to Forage in Fall
Have fun and experiment.
That's my single biggest bit of advice when it comes to dyeing papers at home. If you're dying some fiber anyway, use the end of the dye bath to dip a few sheets of paper.
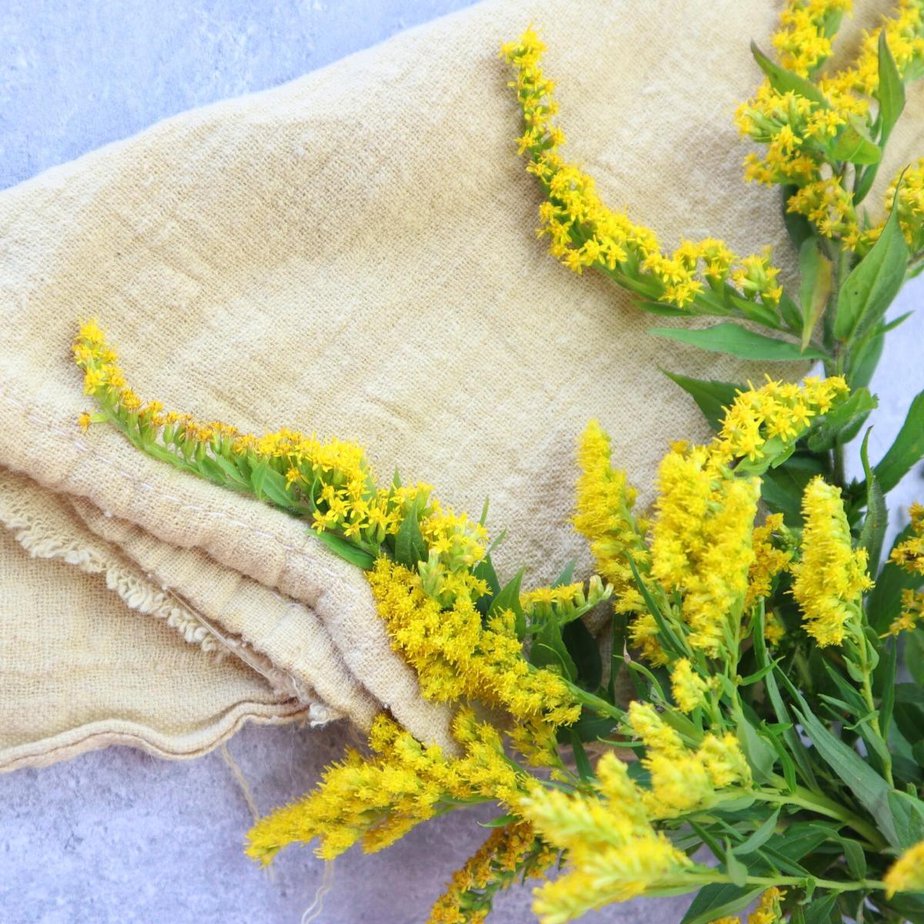
Try layering one dye bath over another - the vivid umber shade of onion dye over the earthy-green of spruce tip, lemon-yellow goldenrod over the pinkish-brown of avocado pit, acorn brown layered with the light nankin of birch bark...the possibilities are so endless.
I hope you have as much fun working with natural dyes on paper as I have this year. Have some natural paper-dyeing tips of your own to share? Please feel free to leave them in the comments!
Happy dyeing!
If you liked this post, you may also enjoy:
✦ DIY Felted Wool French Press Cozy
✦ Dyeing With Goldenrod
✦ Dyeing With Devil's Beggartick
✦ Handmade Grapefruit Lip Balm
✦ DIY Wood-Rejuvenating Spoon Butter

Anna Chesley
Anna Chesley is a freelance writer living a homestead lifestyle, with a special love for family travel, old books, vintage skills, and seaside living. In addition to founding Salt In My Coffee, she runs the website, New England Family Life, as well as The 1800's Housewife, a website devoted to re-creating authentic 1800's recipes.

Comments
No Comments