


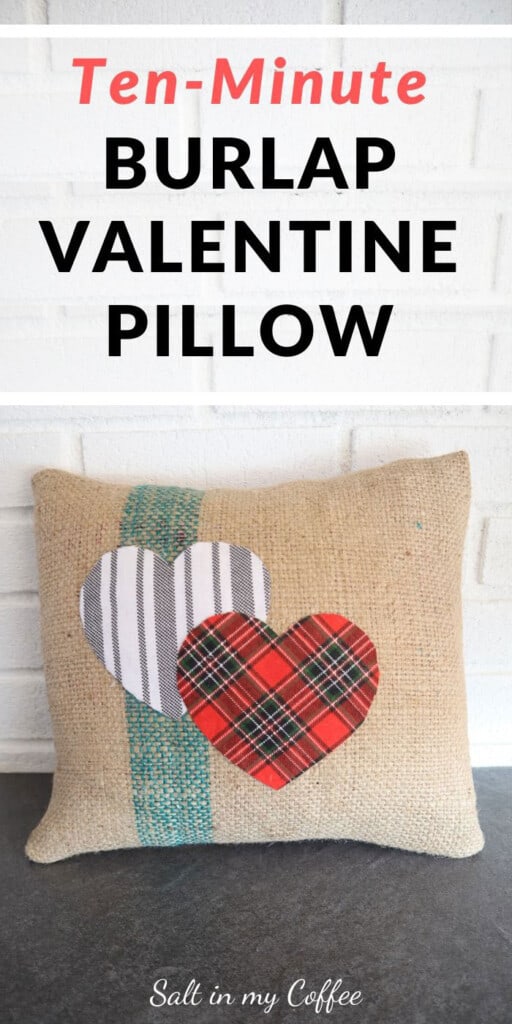
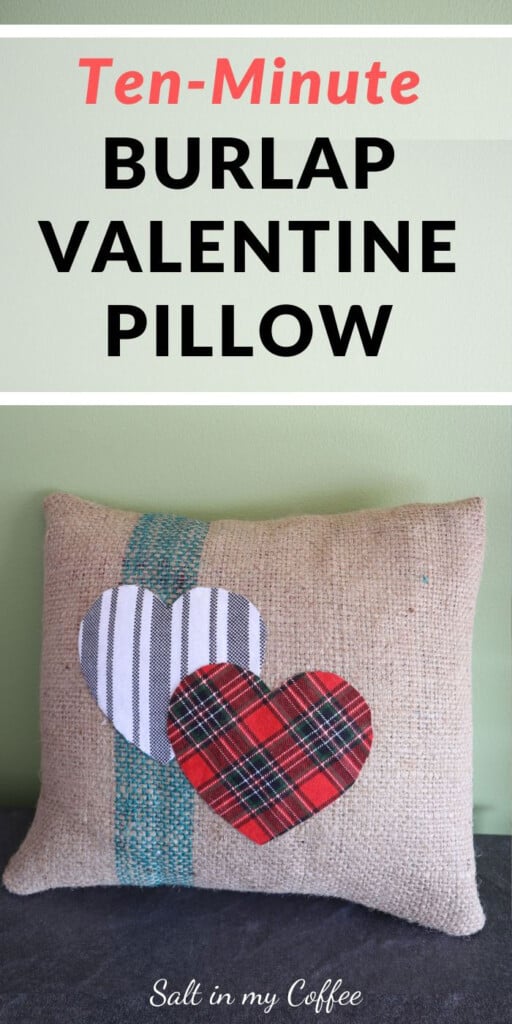
This easy burlap valentine pillow cover comes together easily in just 10 minutes, and it's fun to make!
We've been crafting up a storm here lately. Last week brought the only real cold snap we've seen this winter, and even my rugged New England kids aren't up for playing outside all afternoon when the daily high temperatures are in the single digits.
So we've been using our sewing machines and glue guns, scissors, and thread, and having a jolly time indoors.
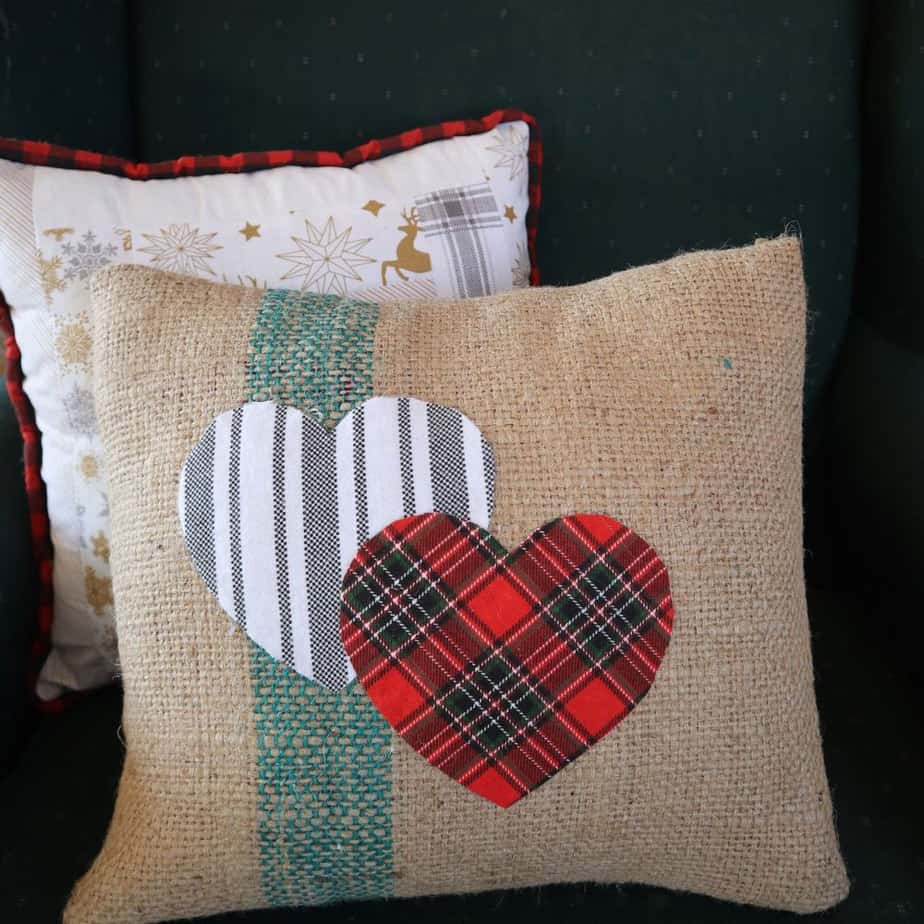
I always enjoy having a few seasonal pillows on the living room couches and chairs, and something about the rustic-yet-bright feeling of burlap has been calling to me lately. So when my little ones asked me what fun Valentine project we'd be doing today, this was what immediately came to mind.
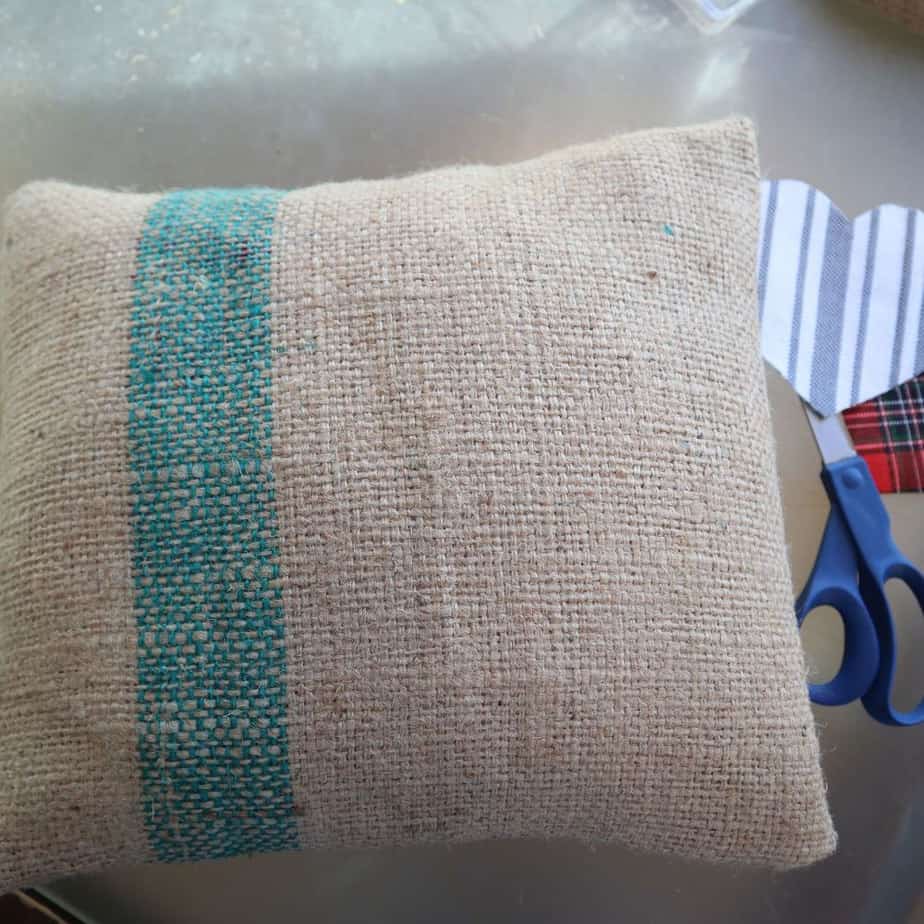
We still have a stash of old organic coffee sacks that I've using for various projects, so I grabbed a relatively plain one and decided to use that for the basis of a pillow cover.
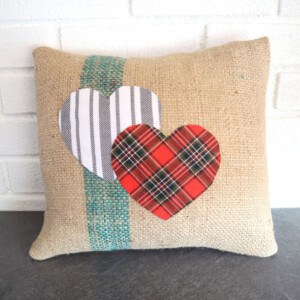
A fun thing about working with coffee sacks is that they so often have interesting weave designs (like the green stripe here). Finding ways to incorporate those into a finished project is always something I really enjoy. In this case, I loved using the stripe to sort of "ground" the hearts.
Using plain burlap works well too, and definitely makes this project easy, but if what you have is an old printed coffee sack, have fun with it!
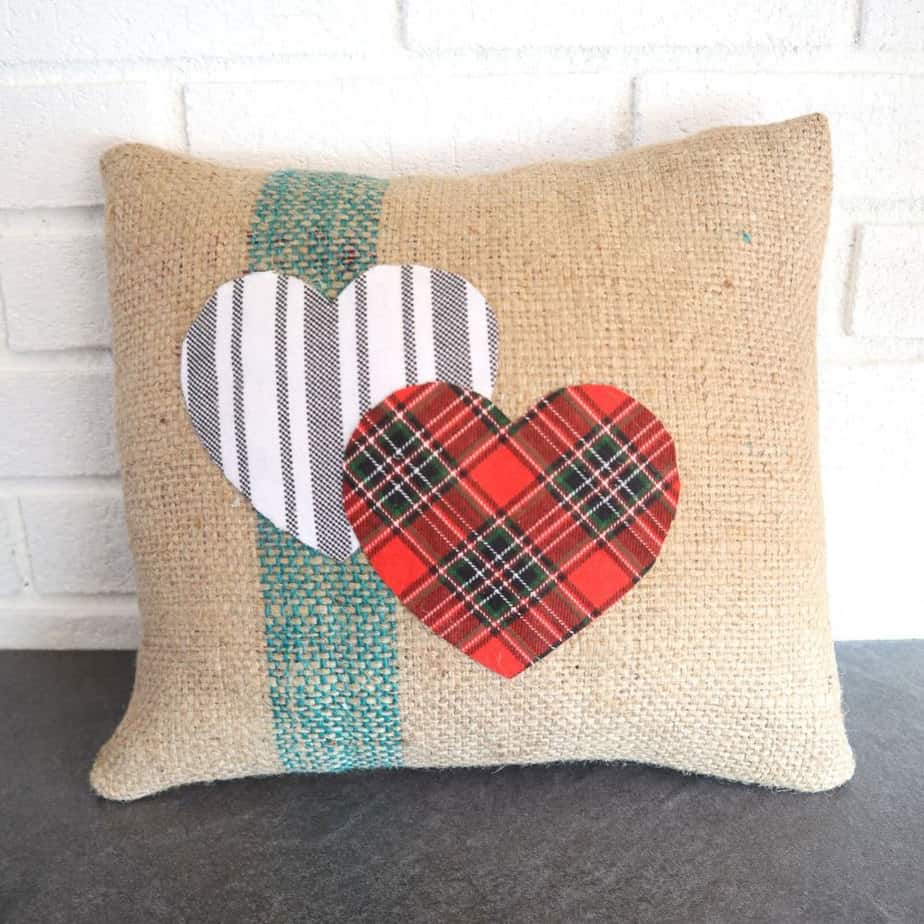
Because these covers come together SO quickly, it's easy to whip up several of them at once. For the hearts, you can either wing it and cut out your own, or do what I did and print this FANTASTIC page of printable heart templates from the Blue Bottle Tree.
The hearts on the pillow in the photos are made using that template in the 5" size.
This burlap Valentine pillow cover is made envelope-style, with an overlapping open flap in the back, so that it's easy to remove and put away for next year.
Read Next: Free Printable Vintage Valentines
If you don't have a pillow or a pillow form that you want to cover, just cut two squares of burlap an inch larger than you want for your finished size, use a zigzag stitch to sew all around the edge with right sides together, leaving a 4" opening along one side. Flip right side out, stuff with fiberfill, wool, or even fabric scraps, and stitch the opening shut. Then decorate as in the instructions below.
Have fun, and Happy Valentines' Day!
10-Minute Burlap Valentine Pillow
Equipment
- Sewing Machine
- Scissors
- Hot Glue Gun
Ingredients
- ½ yard burlap (or old coffee sack!)
- bright fabric scraps
- Heart Stencil, printed and cut out
Instructions
To make the Pillow Cover
- Start by cutting a rectange of burlap. The WIDTH should be 1 inch wider than the pillow cover. The LENGTH should be twice the height of the pillow, plus 4 inches. (So for a 12 inch pillow, the rectangle would be 13"x28".
- At one of the short ends of the rectangle, fold over ½" of the burlap from the front to the back. Pin and stitch with ¼" seam allowance.
- With right side up, bring long edges together in the center of the piece, overlapping them by 3.5". The sewn edge should be under the raw edge. Pin sides of burlap to hold in place.
- Sew both edges with a ⅝" seam allowance, using a medium. zigzag stich.
- Flip pillow cover inside out.
To embellish
- Cut out hearts from brightly colored flannel or felt. I used the 5" size for the pillow in the pictures, but mixing sizes could be cute too.
- Using the hot glue, put a narrow bead of glue around the edge of each heart, and few dots in the middle, and glue in place.
- (This does hold up well to several weeks of use, even with small bouncy children, but for a more durable and permanent finish, the hearts can also be sewn on.)
- Stuff pillow form into the case, and you're done!
If you liked this post, you may also enjoy:
✦ DIY Felted Wool French Press Cozy
✦ Dyeing With Goldenrod
✦ Dyeing With Devil's Beggartick
✦ Handmade Grapefruit Lip Balm
✦ DIY Wood-Rejuvenating Spoon Butter

Anna Chesley
Anna Chesley is a freelance writer living a homestead lifestyle, with a special love for family travel, old books, vintage skills, and seaside living. In addition to founding Salt In My Coffee, she runs the website, New England Family Life, as well as The 1800's Housewife, a website devoted to re-creating authentic 1800's recipes.
Comments
No Comments