


Transplanting raspberries in Summer is never ideal, but if you must transplant bramble bushes in hot weather, these tips can help give you the best possible success.

"Is there ever a right wrong way to do things?" Shovel in hand, that's what I asked myself as I dug a hole in the sod of our old front sheep pasture. At least this was a bit gentler than the first question that had resounded through my head, "What kind of crazy woman transplants raspberries in the middle of summer?"
Because that's what I was doing. And yes - August really is a terrible time to transplant just about anything.
Honestly, is there ANY month worse than August for transplanting raspberries? The right answer might be "Nope", but I suggest that the real answer might be this: "Yes. It's the month that never comes."
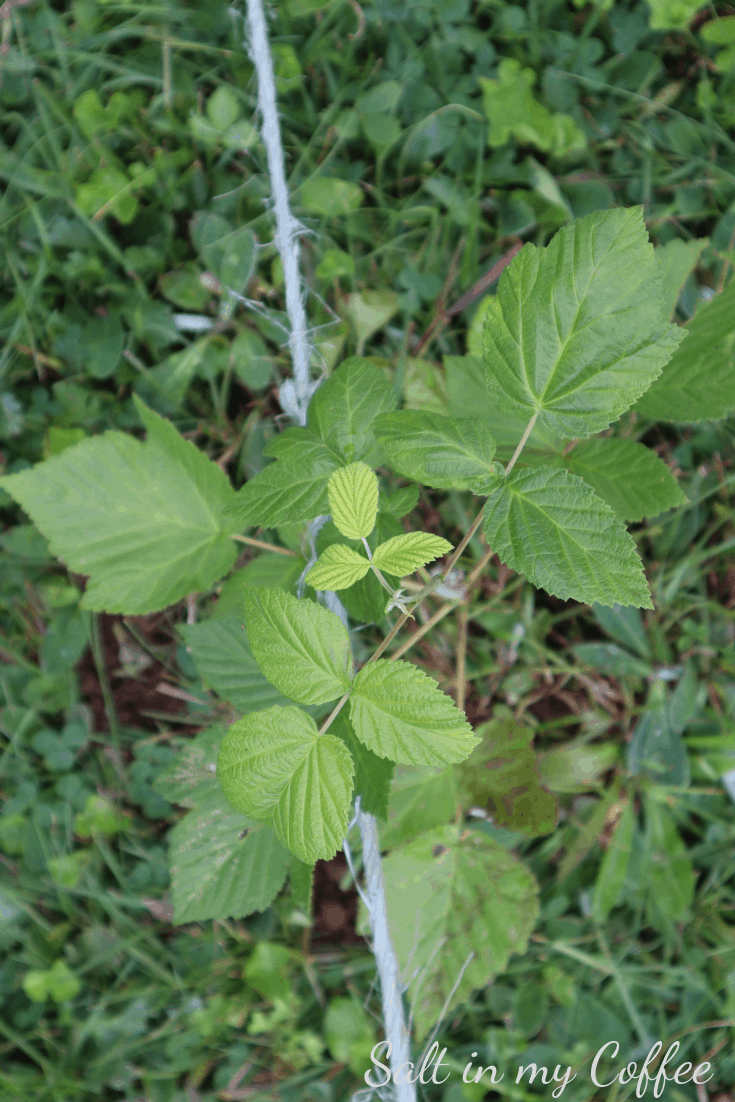
I had well over 100 young Taylor raspberry plants that had sprung up from around the roots of the original ten I'd planted when we first moved in. They're in an area that's really too shady, so none of them were all that happy. In spite of their less than optimal digs, they do still manage to produce some heavenly raspberries every year. In a better location, they would absolutely shine.
Early this summer, I had a vision to fill the area the used to be our front sheep pasture with rows of berry bushes, and have been aching to transplant these young canes into their new homes. I'd been waiting for fall, but I'm learning to be more realistic about time.
Spring and Fall are mightily busy seasons for me here on the homestead. My husband's hours and long commute make it so that I'm the one doing the day-to-day homesteading - the planting, animal husbandry, pruning, and just all of the daily things that pop up when you choose this lifestyle.
I know that with the coming fall and cooler weather (a time that's far more suited to transplanting things here in Zone 4b) I'm going to have my hands full. I'll be stacking 5 cords of firewood for the coming winter. I'll be harvesting, and tending the fall gardens. There will be afternoons of butchering work, putting extra young cockerels in the freezer. And (the part I'm most excited about!) - the kids and I will be finding our groove with our first "real" year of homeschooling.
It's going to be a busy season. Knowing how things go, I'd put down money that if I waited until fall for this project, it would end up on the chopping block, in favor of more necessary tasks. So I decided to go ahead and transplant them now, in the lull of summer when I have time. I'd do my best by them, and if even just half made it and thrived, it would be an excellent start on our permanent raspberry bed.
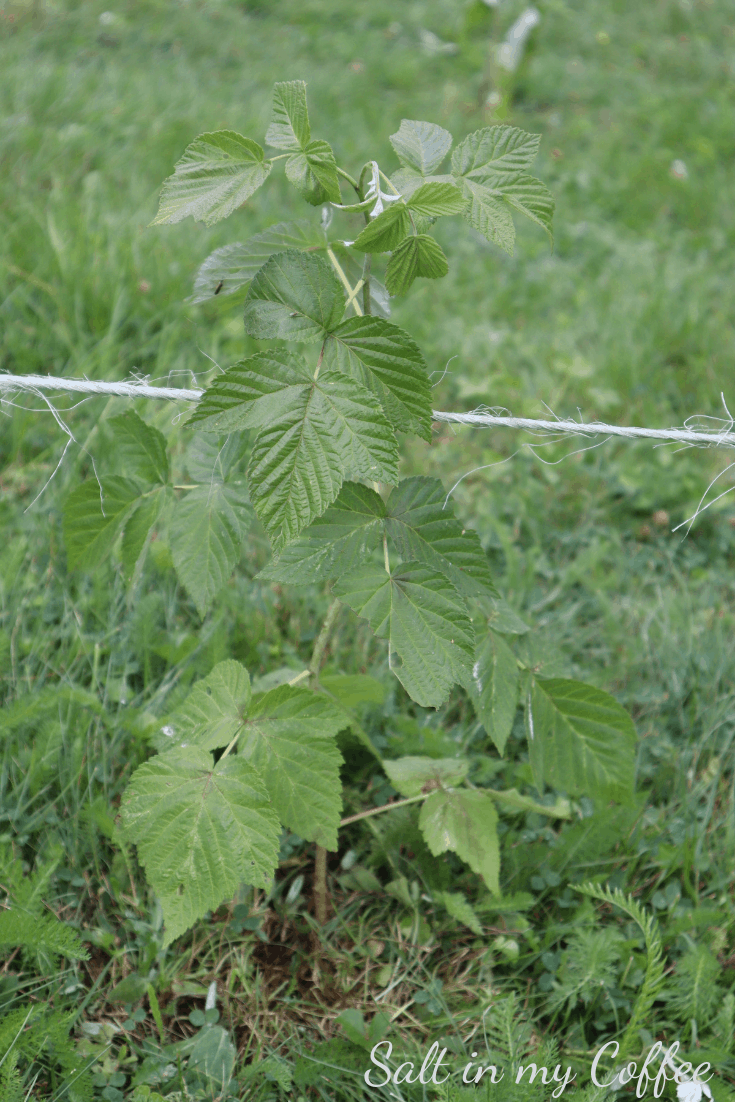
In the end, I transplanted well over 100 young raspberry bushes. I tried several different methods, at all times of day, and you know me - I took notes about it all. On the whole, they're doing surprisingly well. But the ones that have truly thrived, hardly looking like they've been moved at all, have several factors in common.
At least when it comes to planting raspberries in summer, there does appear to be a "right" wrong way to do things. Based on my observations, these tips below are what I strongly recommend, if you ever find yourself needing to transplant cane fruit in hot weather.
How to transplant raspberries in summer (if you must)
Choose a day that's a bit cooler, with rain in the forecast if possible.
If you're stuck planting cane fruit in summer, you may not have much choice of schedule. But if you can, planting at the beginning of a cooler stretch of days will make things easier on the plants - so much the better, if there's rain in the forecast! Not only will rain alleviate some of your watering efforts, the grey skies will be easier on the plants as they recover, than full beating sun.
Plant in the early evening.
Planting just after the hottest part of the day makes it so that the plants get as many cool hours as possible, to start recovering after their move. Hot sun is tough on a new transplant. Even 3 days after transplanting, I could see lingering differences in the vigor of plants that had been moved in the morning, vs. early evening. Go with early evening if you can.
Planting in the evening also makes your initial watering go as far as possible, and helps the soil around those roots stay damp during this critical time, since the hot sun won't be drying out the ground.
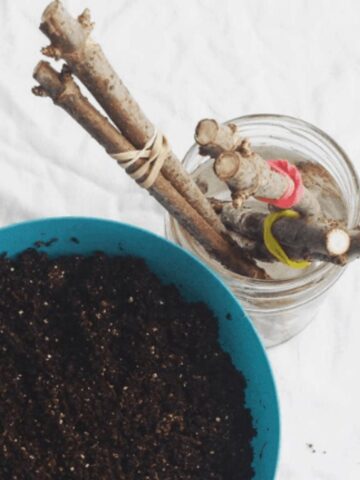
Cover roots of transplants as soon as you dig them up.
It's vital that you not let the roots dry out, once you dig up each plant. Because it's most efficient, I like to work in batches of about 20 - making all of my soil cuts, then digging up all the transplants, then getting them all into the ground one right after the other. That means they're out of the ground for at least several minutes. If you have to transport your transplants from one location to another, it would be even longer.
While you can simply put the transplants in a bucket of water, which will definitely ensure that they don't dry out, I like to preserve any beneficial mycorrhizal fungi present on the roots, and don't want to wash them away. So my preferred method is simply to flop a damp piece of canvas or burlap over the roots of my transplant pile. This is a great job for little helpers - "tucking" the transplants into "bed" with the damp burlap.
Don't dig a hole. Use this technique instead.
I experimented with several different ways of planting. I tried digging up plants with a bit of sod attached, and plopping them smoothly into the new hole like a plug. I also tried leaving as much dirt on the root ball as possible, but removing any grass, then placing the root ball in the new hole and filling with soft, high-quality compost. Neither method worked nearly as well as the "lazy" method I tried, just for the sake of experimentation.
With a spade, I dig into the ground and loosen up a semi-circle of sod and dirt. With the blade of the spade, I strike a slit into the middle of the semi-circle. THEN - when digging the plants, I don't try to preserve a lot of dirt on the root "ball", nor do I put them in water (see above.) These are just regular dirty-but-mostly-naked roots at this point.
I lift the two triangular flaps of dirt and sod, tuck the roots of the transplant into the resulting hole, so that the previous soil line is set just below the new one, then replace both flaps down around the raspberry cane at the same time - like closing two swinging doors simultaneously.
(Watch this video if you'd like to see me demonstrate the technique I'm describing.)
It doesn't sound ideal, but the results for me were absolutely undeniable. This method was by far the easiest on the transplants, and led to those plants rebounding with really astonishing speed. My theory is that disturbing the top level sod as little as possible, allows for maximum water retention in the soil surrounding the roots. My fascination with beneficial fungi also leads me to wonder if the leaving the destination "eco-system" largely intact has benefits to the plant, aiding it to make most use of both water and nutrients in the new location. Don't quote me on any of this, it's all pure speculation. But what I AM very much certain about is the fact that every transplant I moved with this method fared better that just about every other transplant moved with any other method.
Prune any damaged areas
One the plants are in the soil, it's good practice to quickly go through with a sharp pair of pruners and remove any damaged areas from the canes. It's definitely easy to break or damage a few of those thin young canes when they're being moved.
Simply make a clean cut above the first branch or growth node you see, that's below the damaged area.
Water deeply and often.
For the first several days, be vigilant that the ground doesn't dry out. Transplanting in August definitely requires more watering than would be necessary in April or October. You don't want to the roots to sit in a puddle, and they shouldn't stay soaked. A nice, moderate damp is what you're going for.
If in doubt, poking a finger into the soil at the edge of one of the soil cuts can help you decide - your finger should come out dirty, not dry or dusty. If goopy mud is what you find though, try going a bit longer between waterings. In hot, sunny weather, you may need to water a few times daily for the first several days.
So far, these transplanted raspberries are looking remarkably well. I couldn't be more pleased. I'll have to come back next year and share pictures of how the new patch fares through its first winter.
The older I get, the more I recognize that sometimes the right time to do a thing is simply now. Even if it's wrong by almost every standard. Even if it doesn't make sense. Whether starting a business, or having kids, or planting raspberries. Can I get a witness?
Is fall or spring a much better time to transplant bramble fruit? You betcha. Please hear me on this - if you can, do that instead. It's easier on the plants, and easier for you because it requires less vigilant watering. That said, if you find yourself needing to transplant raspberries in the middle of August, I really do hope these tips help you have the best possible success.
If you liked this post, you may enjoy:
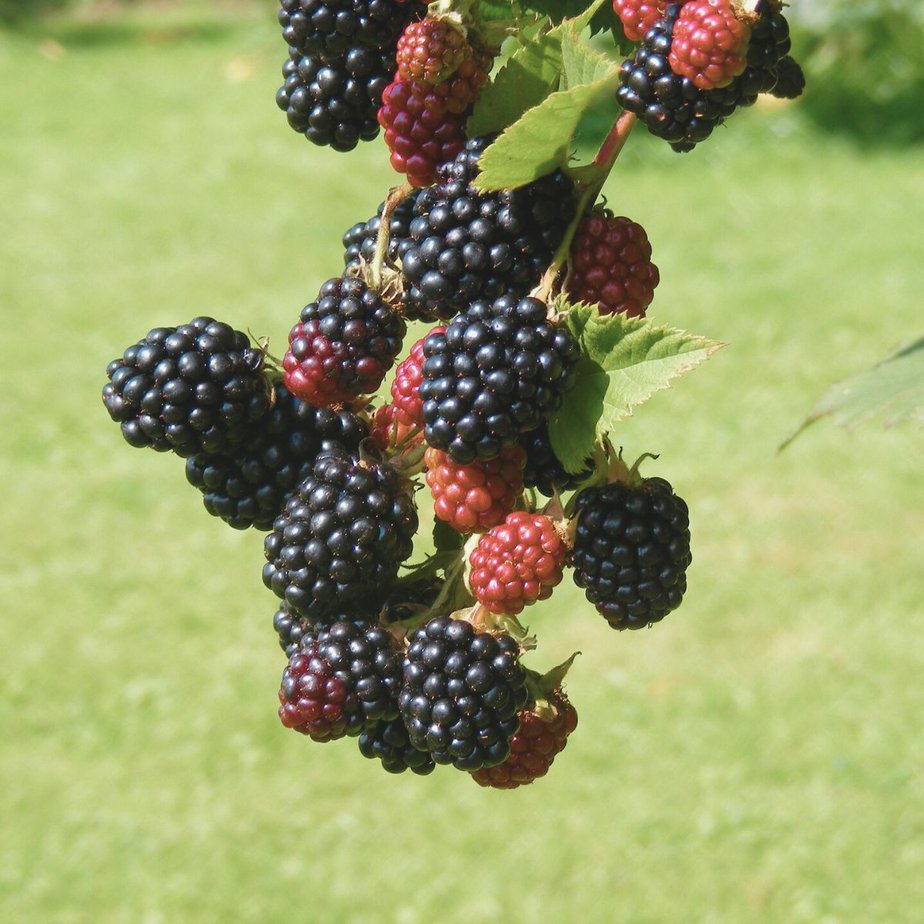
✦ How to Prune Blackberries
✦ How to Make Your Own Bone Meal
✦ Best EARLY Apple Varieties
✦ Growing Asparagus from Seed
✦ 52 Ways to Make Money on a Small Homestead

Anna Chesley
Anna Chesley is a freelance writer living a homestead lifestyle, with a special love for family travel, old books, vintage skills, and seaside living. In addition to founding Salt In My Coffee, she runs the website, New England Family Life, as well as The 1800's Housewife, a website devoted to re-creating authentic 1800's recipes.


Brenda says
I would like to watch the video but it is not linked???
Cindy says
Thank you! I’m about to embark on a garage addition and need to move my raspberries at the end of the month (July). I am hoping to get at least a few saved. Mine are full grown 😬. I’m hoping I can save a few!
Christi says
Well! How did it work out?
Susan fritch says
What a great transplant method. Thanks so much. How do you keep the grass from over taking the plants? Thanks again