

It's easy to make a creative tote bag using vintage images. Learn how to find beautiful antique pictures online, and use them to create a unique bag!
I am a shameless tote bag junkie. I have been, ever since the tiny tote bag my Aunt and Uncle gave me when I was six years old. It had adorable little dinosaurs on it. Like all kids, carefully curating a collection of treasures to carry around in my favorite bag became a joy that occupied me for countless hours.
Now that I have my own six year old, I'm well on my way to ensuring that both she and her little brother also grow up to be tote bag junkies. It's fun having special bags for your knitting, your treasures, your library books.
I started this project because I needed a new bag to corral my borrowed books between library trips, and had the idea that putting some neat vintage images on it might special.
Once I started looking through old public domain advertising photos, I was smitten, and couldn't choose only one. So I grabbed my kids and had them pick a favorite picture to put on a tote bag for their library books too. There was no way I could make just one of these fun bags!
Making a one-of-a-kind library bag, using vintage images is really so darn easy. You can put a customized image on almost any tote bag that you already own, or grab a new one online, or from any craft store. I love the unbleached cotton bags I bought for this project, and while the exact ones are no longer available, these heavy canvas bags look nearly identical.
Here's how to make a customized bag of your own.
1. Download Your Public Domain Vintage Image
Finding public domain vintage botanical images
Many museums and universities are digitizing their collections and making historic, public domain images available to the public using Flickr. Here are some of my favorite collections:
Since I'd previously gone searching for old public domain images, when I was making vintage botanical prints on canvas for decor in my bathroom, the Biodiversity Heritage Library's collection was at the top of my mind.
It's a great place to looking if you love vintage botanical drawings or avian paintings. They have a whole album called "Birds of Britain", with 100 vintage bird illustrations. For my daughter, who literally takes her copy of Peterson's Guide to the Birds to bed with her - this was a treasure trove!
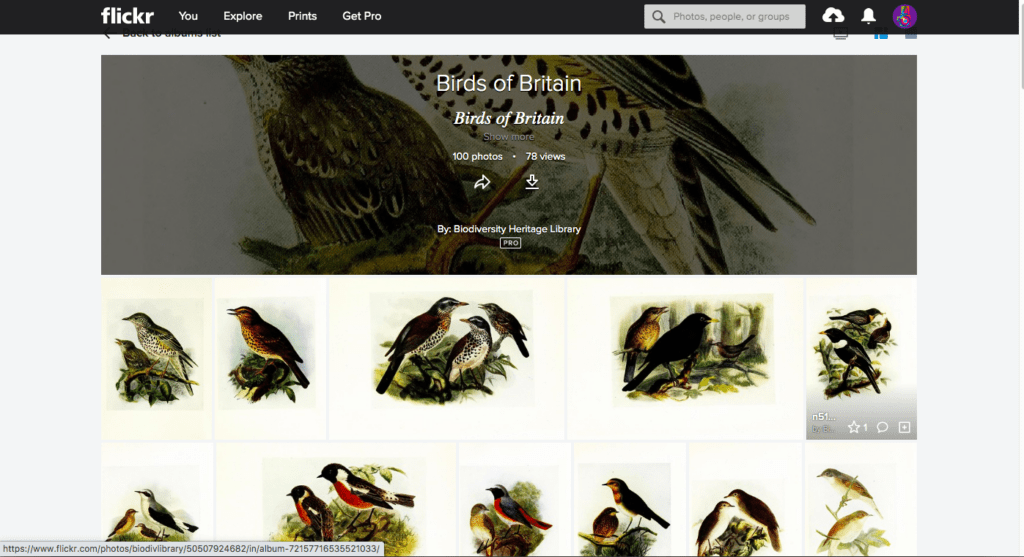
How gorgeous are all these vintage illustrations? I just fell in love with them as soon as I stumbled onto the album! ALL of these beautiful illustrations are in the public domain, which means it's totally ok to download and use them. The images are available in various resolutions, including very hi-res files, so you can print them at quite a large size if you need to.
To use an image from Flickr, first, double check that your image is ok to use by looking for the words "public domain" - you'll see it in blue text at the lower right corner of the screen.
Then, click the downward-pointing arrow to download your image.
Most professionally scanned images in these collections can also be downloaded in "extra-large" resolution, and you can always choose "original" if you want the largest file size possible.
Finding public domain vintage advertising images
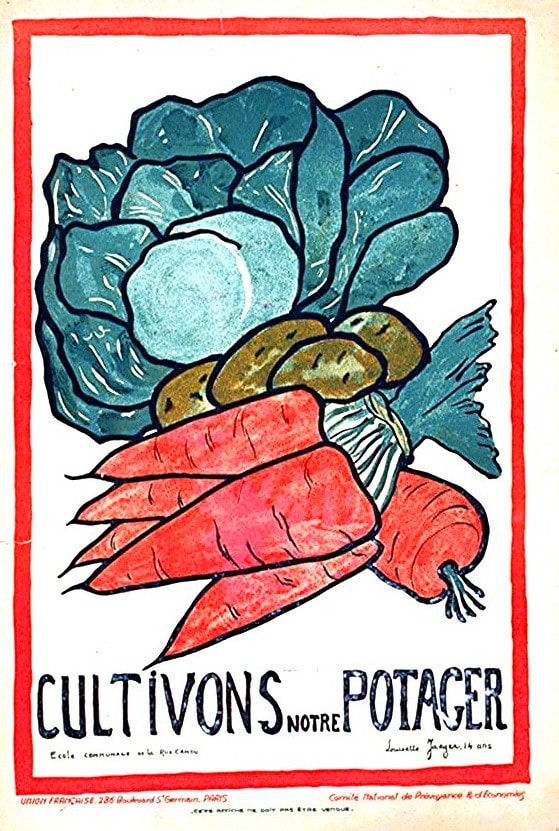
For my own library bag, I kept gravitating to the idea of using an old advertising poster, but those images can be a little hard to find, compared with botanical drawings.
If you do a search, finding vintage advertising pictures is easy - finding ones that are sure to be in the public domain (and thus ok to download and use) is trickier.
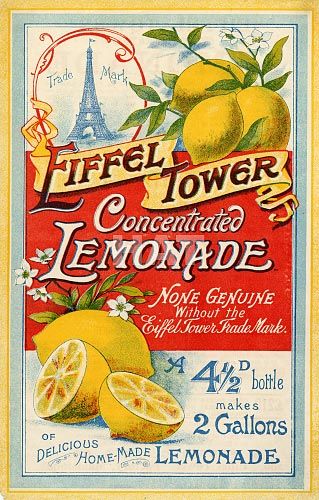


The nicest place I've found to look for old advertising pictures, is a beautifully-curated site of old images that are all in the public domain. It's called Vintage Printable, and is a great place to find vintage print advertising. Each of the photos above came from this site.
Another place to look for old advert images is the Wikimedia Commons site. There are vastly more images on Wikimedia Commons, but it does take a little sleuthing about. I find that the easiest way to use the site is to do a search of any terms that might apply to the type of picture you're looking for, and then sift through the images that way.
To download a photo in Wikimedia, just look right under the image, and you'll see a button called "Open in Media Viewer." Click that, and then just look for the downward-pointing download arrow to the right of the image. You can choose your resolution, and download the picture. Once you have your image, you're ready to print it.
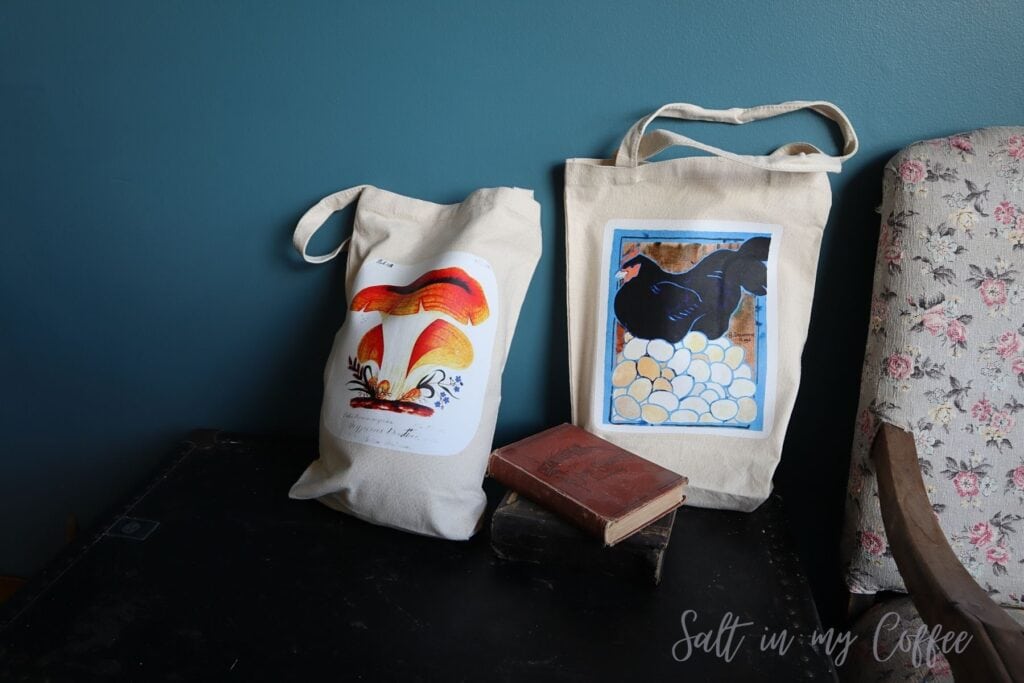
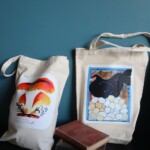
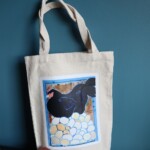
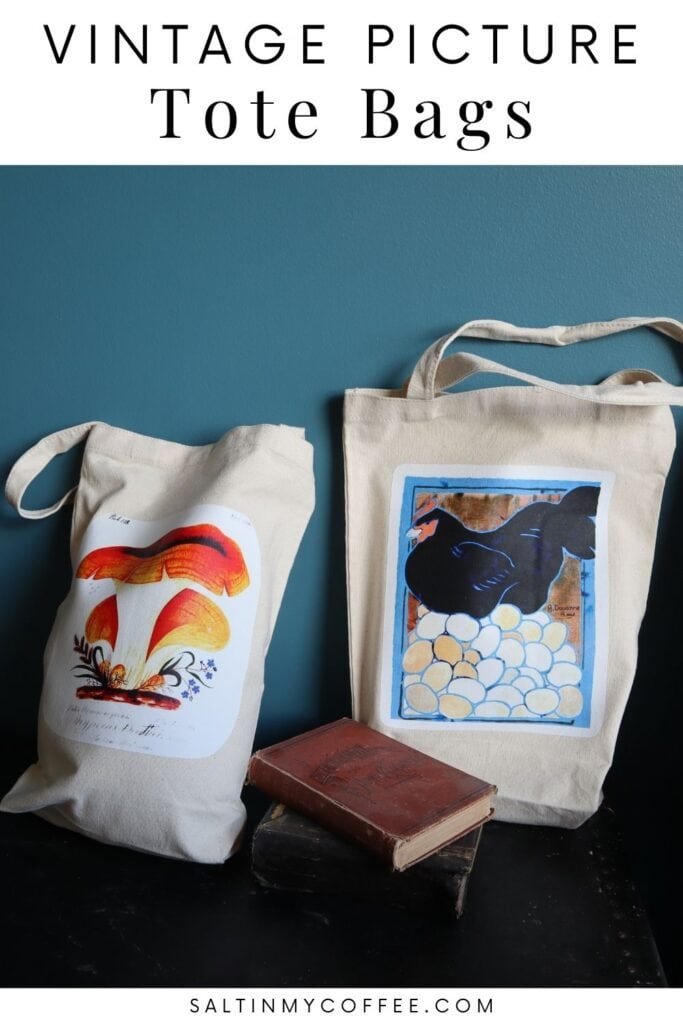
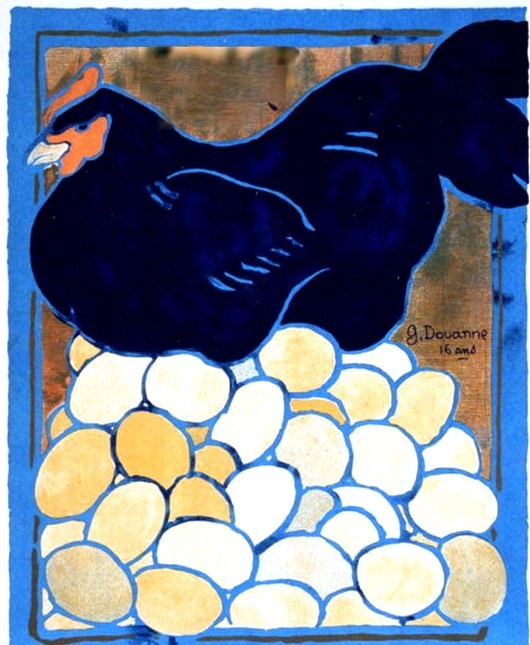
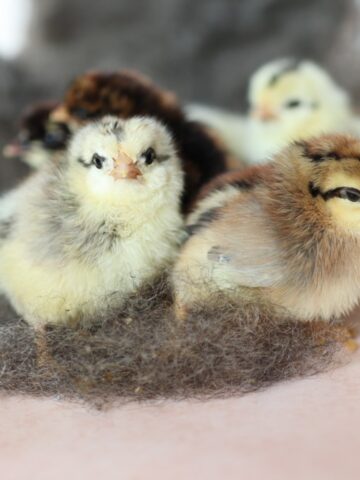
In the end, my daughter chose a old french wartime poster image, featuring a chicken sitting on a pile of eggs. This series of posters was designed by school children, encouraging the public to grow and raise food at home, to aid the war effort.
For me - I found myself pulled back into the botanical collections. Something about a series of vivid mushroom paintings with Latin identification script underneath just caught my fancy. The kids and I now refer to my library book receptacle as "the mushroom bag."
2. Print your image onto transfer paper
Now that you have your image all chosen and downloaded, you're ready to put it on that bag!
To put the images onto the canvas, I use an iron-on printable transfer paper. The one that I love and use is Avery Transfer Paper for DARK Fabrics. When using dark fabric transfer paper, keep in mind that you don't have flip the images the way most "light fabric" transfer papers do. This really saves a step!
I also feel the final image looks brighter, and has a nicer finish when using dark transfer papers, as opposed to those for light fabric. So even when printing on an unbleached white bag, I'd still opt for the dark transfer papers.
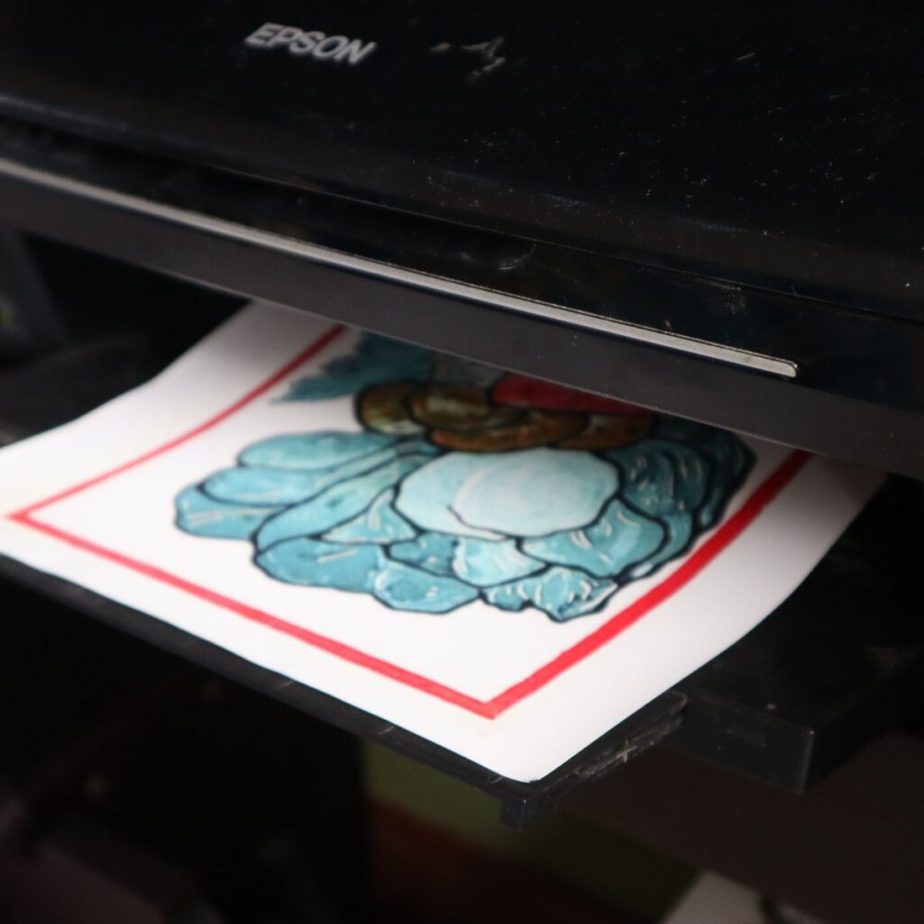
Following the instructions that come with your transfer paper, print your image on the transfer paper, in the correct size for your bag. I like using the free online image editor Canva to save images at my desired final size.
Once your image is printed, allow the ink to fully dry while you set up your ironing station.
Iron the printed image onto your bag
To iron your image onto the tote bag, you'll want to start by trimming around the edges of the printed image so that it will fit just how you want it to.
Make a place to do your ironing that's a little firmer than most ironing boards. A wooden table with a towel over it is perfect.
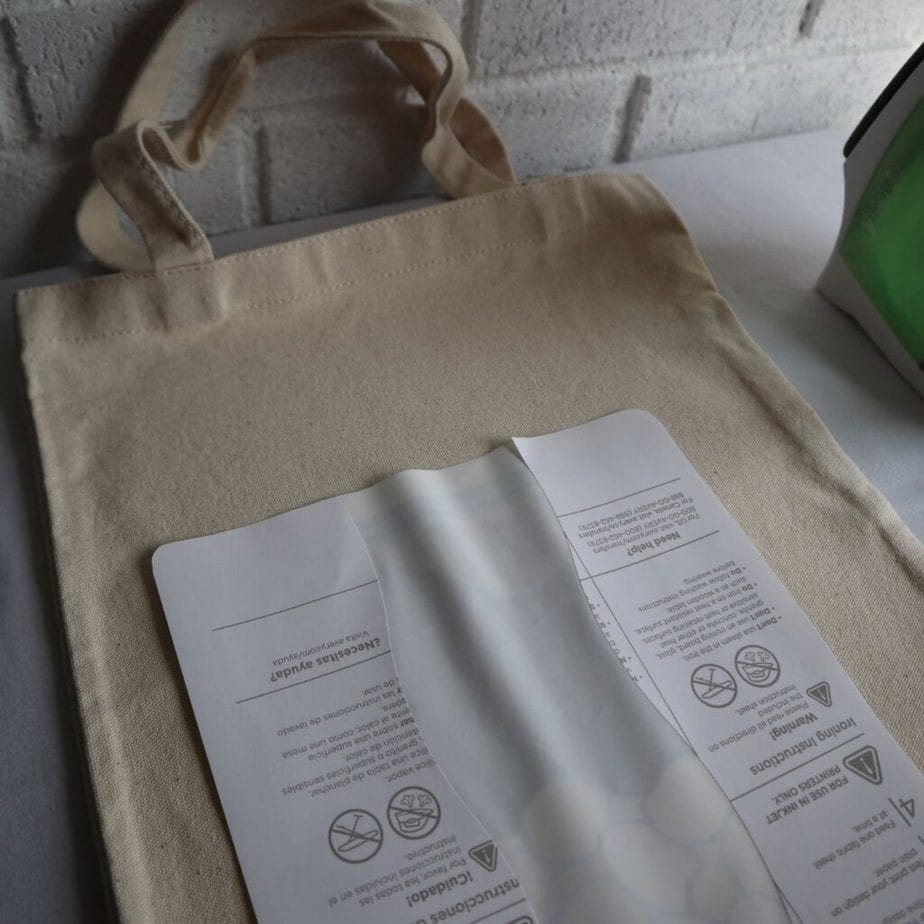
Make sure there is no water in your iron, and that the "steam" setting is OFF.
Set your iron to 375 degrees. If your iron is like mine and doesn't specify temperature, you're looking for the "rayon" setting. (No rayon setting, aim for halfway between the wool and cotton settings, a little closer to cotton than wool.)
Place your bag on the towel-covered table. Give it a quick iron to make sure it's nice and flat.
Now, carefully peel the backing off your printed and trimmed transfer. Place it right side up, in place on your bag.
Cover the transfer with a piece of the thin protective paper that comes with your package of transfer paper. Iron the transfer onto the bag, spending about 15 seconds in each spot. Lightly move the iron from one area of the transfer to another. Be careful not to stretch or pull the transfer as you're moving the iron. While the transfer is hot, it's very easy to wrinkle or tear it.
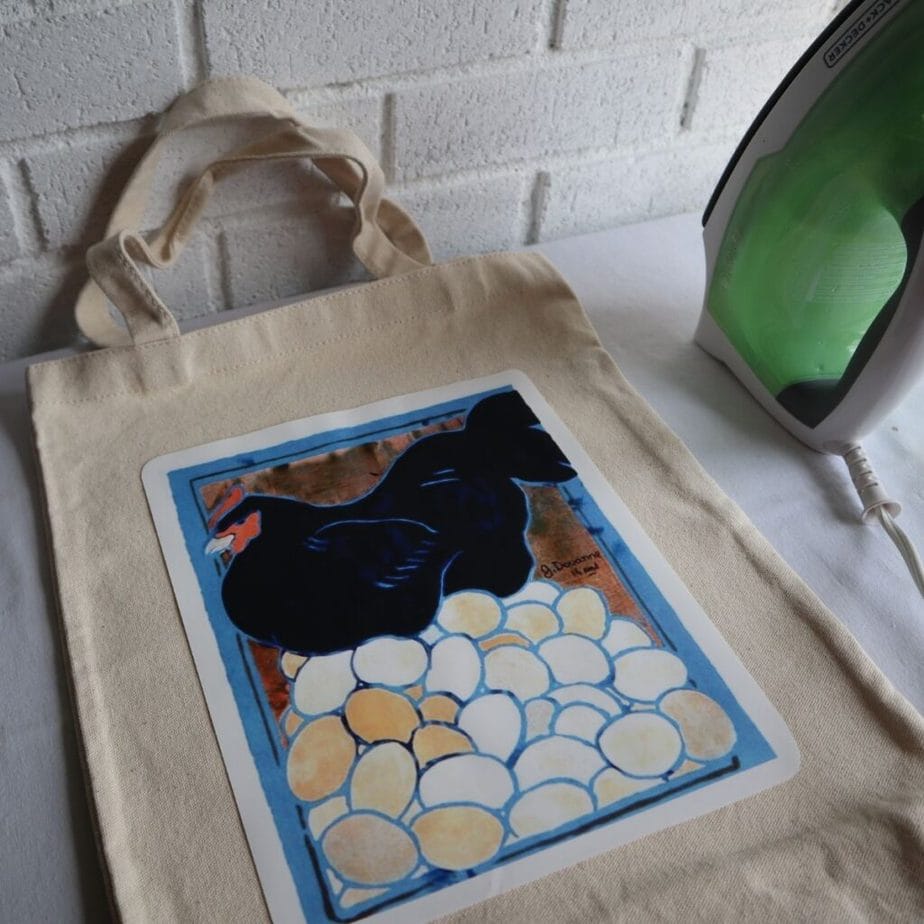
When you're done ironing, allow your bag to cool for a few minutes before removing the protective paper. If you find that your transfer hasn't fully adhered in any area, you can repeat the ironing process as necessary.
Once your bag is fully cool, it's sturdy and ready to fill with library books!
If you liked this post, you may also enjoy:
✦ DIY Felted Wool French Press Cozy
✦ Dyeing With Goldenrod
✦ Dyeing With Devil's Beggartick
✦ Handmade Grapefruit Lip Balm
✦ DIY Wood-Rejuvenating Spoon Butter

Anna Chesley
Anna Chesley is a freelance writer living a homestead lifestyle, with a special love for family travel, old books, vintage skills, and seaside living. In addition to founding Salt In My Coffee, she runs the website, New England Family Life, as well as The 1800's Housewife, a website devoted to re-creating authentic 1800's recipes.

Comments
No Comments