

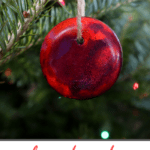
These colorful crayon ornaments are fast and easy to make, and use only glitter, broken old crayon pieces, and a silicone mold.

Any household with small kids is bound to generate a fair volume of broken crayons over a year.
In our house, we adore coloring time and have actually been known to weep many a sad tear over a favorite crayon's demise. Never mind that there are three other blue-violet crayons floating around here somewhere - that one was special.
So - special broken crayons go where all special "retired" crayons go. The pieces get tucked into a jar in the cabinet to await Christmas time - and a glorious transformation into something really special. Crayon ornaments.
How to make easy crayon ornaments from broken crayons
Materials you'll need:
- Silicone mold (this can be cheap - I'll talk about this more in a bit!)
- Broken old crayons
- Glitter
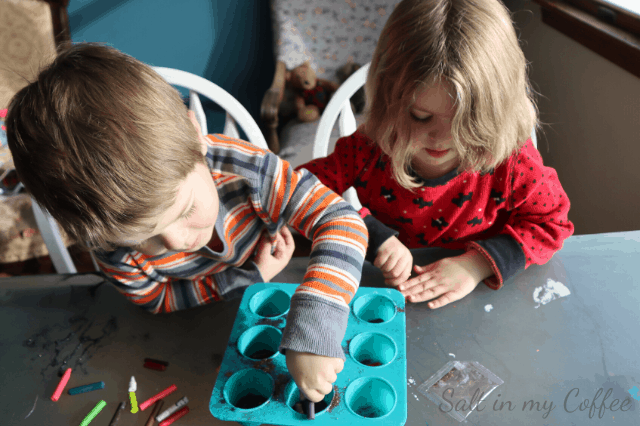
These little shiny and colorful ornaments are so crazy easy to make, it's hard to believe the process give us so much joy, but it really does! We start by getting out the jar of "special" crayon pieces. Then we dump out all the other crayons bins, and have fun putting back only the whole crayons.
We end up with a lovely pile of broken old crayon bits that have been banging around in the bottom of the bin for months. I pinky swear, the crayon pieces we use to make these ornaments are every bit as hideous as yours are. They still turn into magic.
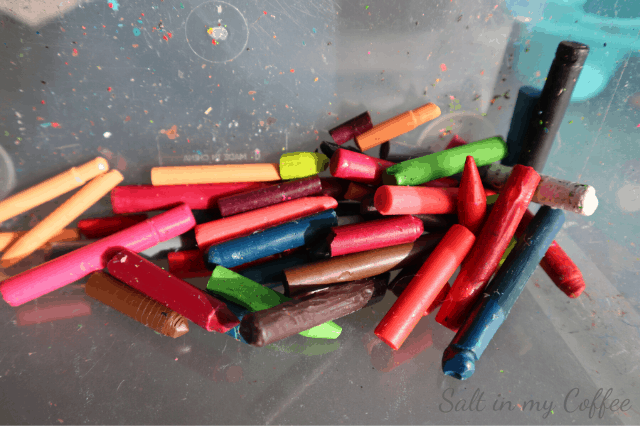
Every bit of crayon wrapper gets taken off the crayon pieces, and then the real fun begins!!
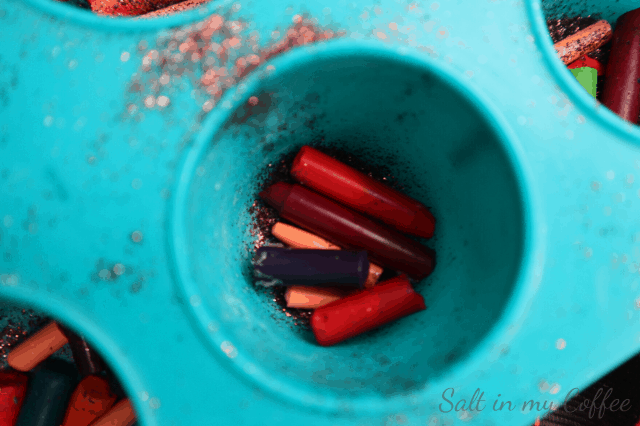
To make these crayon ornaments I use a silicone mold that I use only for craft purposes. This is the updated version of the one I use, but I've noticed that the dollar store even carries heat-proof silicone molds now, and in Christmas shapes! You definitely don't need to spring for a pricey brand-name mold just to make these.
Each cavity of the mold gets a little sprinkle (or a dump!) of glitter, then the equivalent of 2-3 whole crayons' worth of pieces. Then another sprinkle of glitter for fun and good measure.
When you're putting everything in the mold, it's easy to wonder how this will ever turn beautiful, but it does.
Set the tray on a baking sheet to make putting into and out of the oven easier. Then put the whole tray in the oven at the lowest setting - on most ovens this is about 200 degrees. Leave it there until everything is fully melty - about half an hour.
Once everything is fully melted, you can either turn off the oven and leave it there until until it's fully cool the next day, or carefully remove the tray and put it somewhere cool to harden more speedily. I find it takes about an hour at room temperature, or half an hour sitting on the cold outside steps, for these to fully harden.
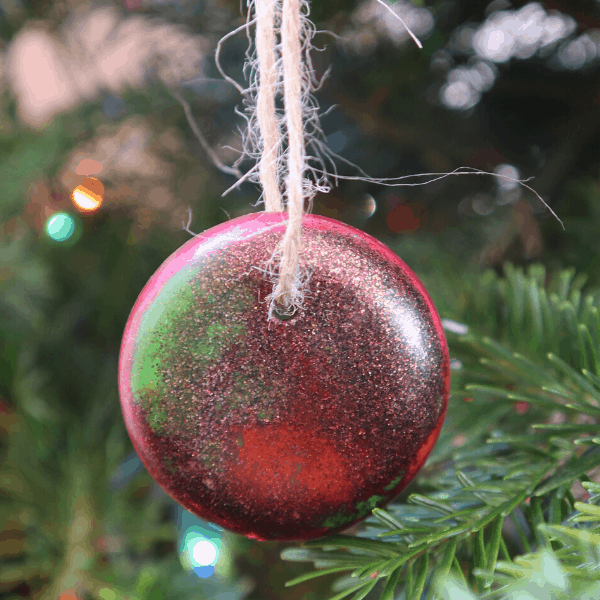
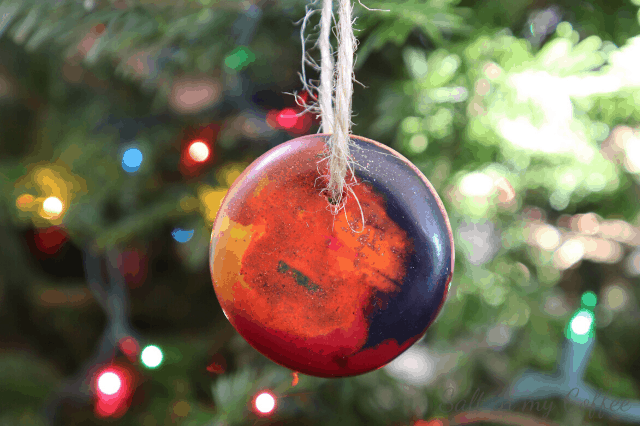
Once the crayon ornaments are fully hardened, you can remove them from the mold. The kids and I like to pass around the mold, each taking a turn removing one, so we can all marvel together at how different and beautiful they all are!
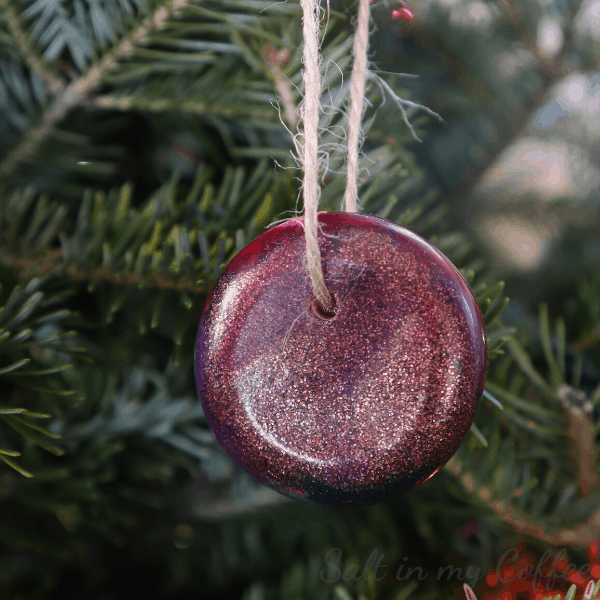
To hang these, you'll need to make a little hole, about ½" from the top edge of the ornament. This is a grown up job. I've experimented with a few ways of doing this (including melting the hanging tie right into the ornament, leaving a hole by putting a straw piece in the mold...) but honestly the best way I've found to do this is simply to use the point of a little metal skewer, or even a sturdy toothpick, to "drill" a hole through the wax once they're totally finished.
It sounds so much harder (and more dangerous) than it actually is, but it's really just crayon wax, and gives way to your efforts very easily. I find I actually enjoy this job. While I'm at it, I also like scratching the year on the back of one, to add to my collection of "keepsake" ornaments. Because my babies won't be crayon age forever...sniff, sniff, sniff.
Read Next: Little Birch Bird Ornaments
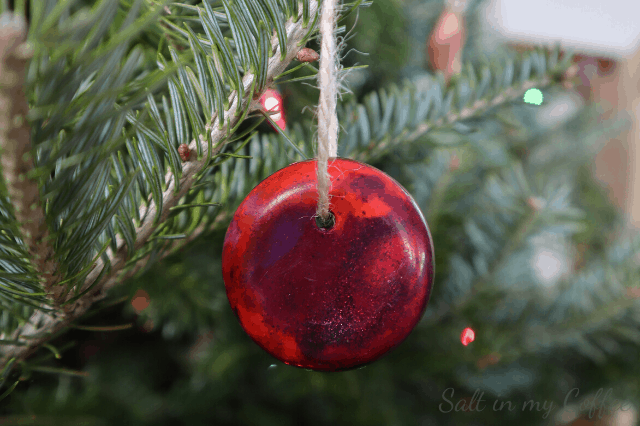
One the ornaments have holes, thread them with twine, and get those babies on the tree! These also make great little grandparent gifts that can easily be sent through the mail!
Hope you have as much fun making these as we do!
Merry Christmas!
If you liked this post, you may also enjoy:
✦ DIY Felted Wool French Press Cozy
✦ Dyeing With Goldenrod
✦ Dyeing With Devil's Beggartick
✦ Handmade Grapefruit Lip Balm
✦ DIY Wood-Rejuvenating Spoon Butter

Anna Chesley
Anna Chesley is a freelance writer living a homestead lifestyle, with a special love for family travel, old books, vintage skills, and seaside living. In addition to founding Salt In My Coffee, she runs the website, New England Family Life, as well as The 1800's Housewife, a website devoted to re-creating authentic 1800's recipes.
Cam says
These are beautiful! Just last month I cleaned out my kids' craft cupboard and threw out tons of broken crayons. Next time I'll save them for this, how fun!
Anna says
Thanks so much for the kind comments Cam! Oh my heavens, broken crayons do seem to proliferate like magic don't they?
Karen Merhalski says
I LOVE this idea!