

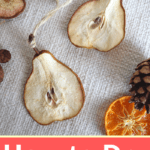
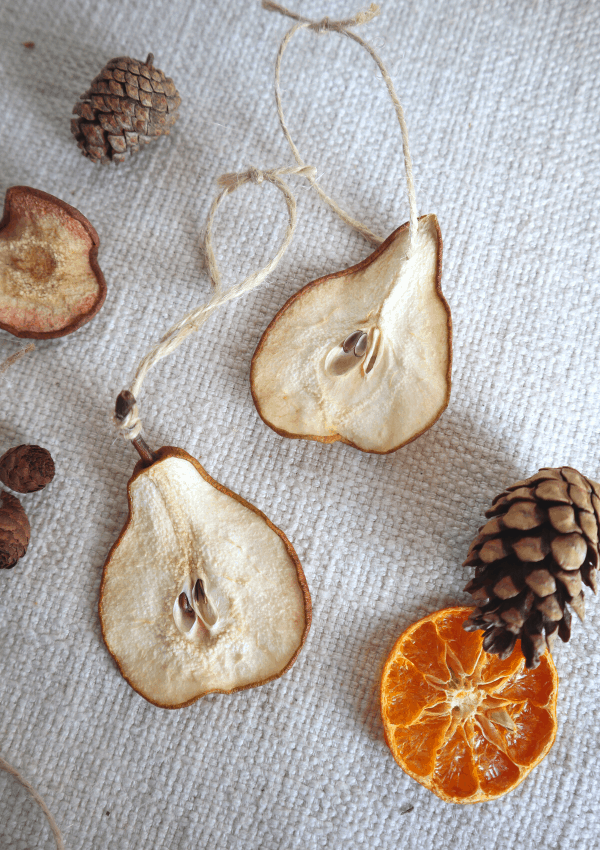
Want to know all the tricks for how to dry perfect pear slices for holiday ornaments and Christmas decorations? This post has you covered!

I've always been drawn to the simplest and most natural styles, when it comes to decorating for the holidays. To me, dried fruit decorations just feel historic and wholesome, and they get big bonus points for making my house smell wonderful!
We're all used to seeing dried orange slices used for holiday decorations (here's my full tutorial on how to make them!)
And I've noticed that Pinterest is just chock full of dried citrus holiday decor inspiration this year (which I LOVE!). But you know what I think is missing? All the other dried fruit.
Dried fruit decorations go far beyond just oranges! I'll never forget the first time I saw dried apple slices on a wreath, at a Christmas craft fair. I was a young teenager, and the idea of dried fruit on a wreath was a revelation.
Since then, I've been a bit obsessed with drying fruit of all kinds to use in my holiday decorating. Pears, especially, have a special place in my heart at Christmas time - probably because of the whole "partridge in a pear tree" verse of that old carol.
How to make perfect dried pear slices for decorations
Drying perfect pear slices for decorations is incredibly easy, but there are some important tips that can help get perfect, shapely dried pear slices, that retain good color.
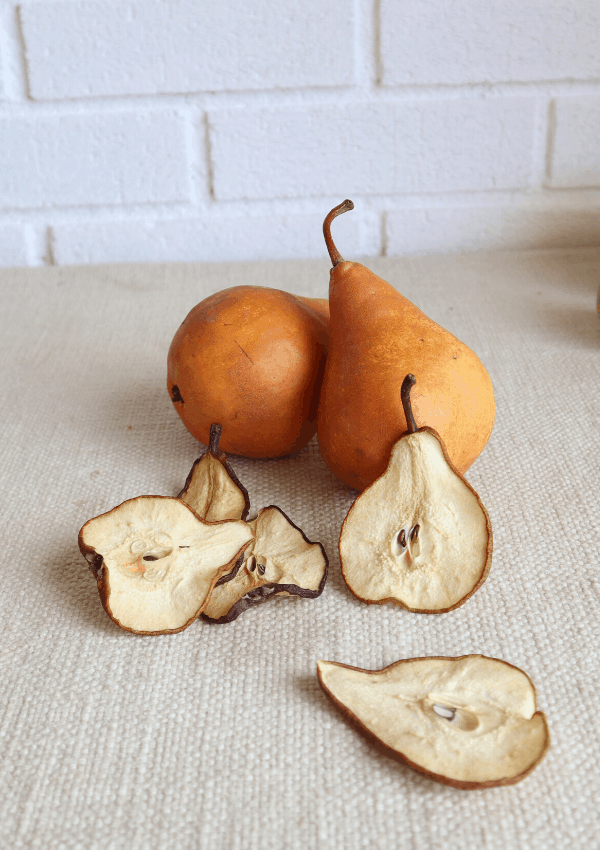
Choose pears carefully
Firm, slightly unripe pears, with good color always work best. Pears of all varieties work well, and I think it's nice to mingle pears of different colors in decorating.
Once pears have become soft and really ripe, they're more prone to turning slightly brown in the drying process. Soft pears are also more likely to slightly bruise on one side while being sliced, and that area may darken unevenly when dried. Very firm, slightly unripe pears are not prone to bruising or discoloration, and they keep their color well for a very long time once dried.
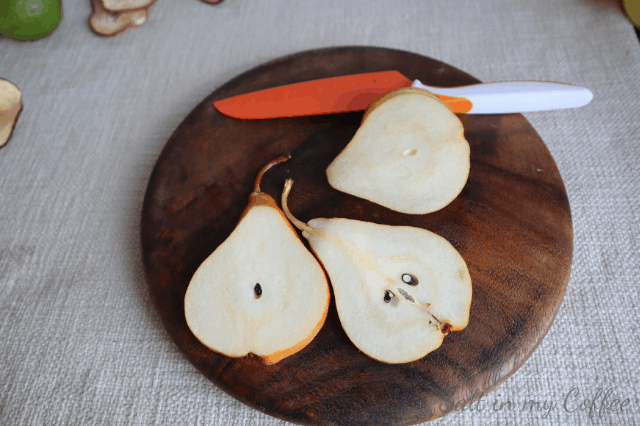
Slice pears evenly, with a sharp knife
I've found that slicing pears about 3/16" thick makes for beautiful and nicely-shaped dried pear slices. Much thinner, and the slices are likely to crinkle around the edges, and a bit of that "pear shape" is lost. Much thicker, and the slices take longer to dry and are more prone to darkening or discoloration.
Sharp knives are always a boon when it comes to slicing fruit, but this is an instance where I really find having a very sharp knife to be invaluable. It makes achieving even slices, without bruising the pears, much easier!
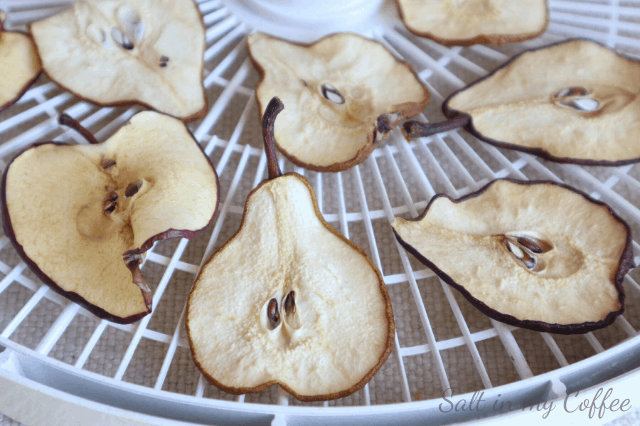
Dry pears in a dehydrator or oven
Either way works just fine. Arrange pears evenly on dehydrator trays (or cooling racks, if using the oven.) If using a dehydrator, I find that 140 degrees works well. Dry pears for about 13 hours, or until pears are very dry and leathery to the touch. This can take more or less time, depending on the variety of pear, thickness of the slices, and ripeness of the fruit. I start checking pear slices after 8 hours, and check them about every half hour as they get close to being done.
If using an oven, set it to the lowest heat setting possible. In many ovens this will be 200 degrees or warmer, so drying will take less time than in a dehydrator. It's a good idea to start checking pear slices in the oven after about 3 hours, and then peek in on them at least every half hour or so until they're done.
Skip the shellac
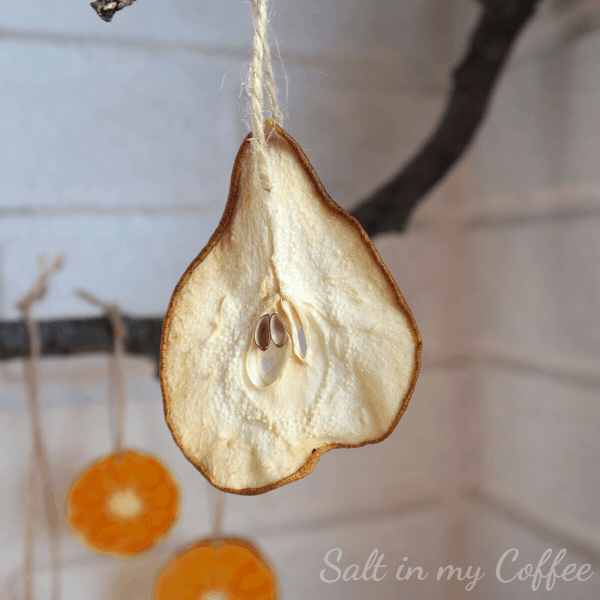
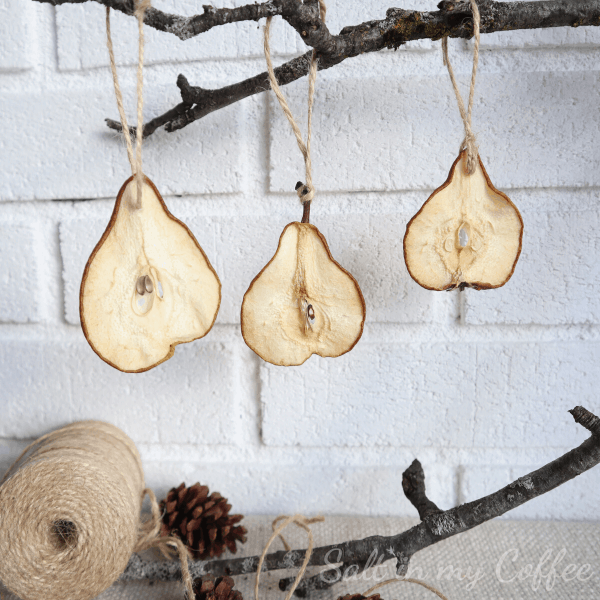
Once pears are dried and cool, they're ready to poke a little hole in the top and hang as ornaments, use in a dried fruit garland, or for decoration on a wreath (like this easy dried fruit and herb wreath.)
There are some tutorials out there that recommend using shellac on dried pears to help maintain color, but I don't suggest this. Dried pears stay beautiful for a long time, without any artificial coatings - especially when you've chosen your fruit carefully (firm and slightly unripe). In fact, one of the pear slices in the photo above was dried a year ago and packed away in my Christmas decorations. The others were just dried in my dehydrator this week. Can you tell the difference? No shellac needed.
Read Next: 10-Minute Foraged Winter Wreath
That's all there is to drying pears and using them in holiday decorating. Another joy of drying pears for decorations is that any extras make tasty treats for the kids. I'm pretty sure mine could eat their weight in dried pears, and would do it if I let them!
Happy decorating!
If you liked this post, you may also enjoy:
✦ DIY Felted Wool French Press Cozy
✦ Dyeing With Goldenrod
✦ Dyeing With Devil's Beggartick
✦ Handmade Grapefruit Lip Balm
✦ DIY Wood-Rejuvenating Spoon Butter

Anna Chesley
Anna Chesley is a freelance writer living a homestead lifestyle, with a special love for family travel, old books, vintage skills, and seaside living. In addition to founding Salt In My Coffee, she runs the website, New England Family Life, as well as The 1800's Housewife, a website devoted to re-creating authentic 1800's recipes.


Comments
No Comments