

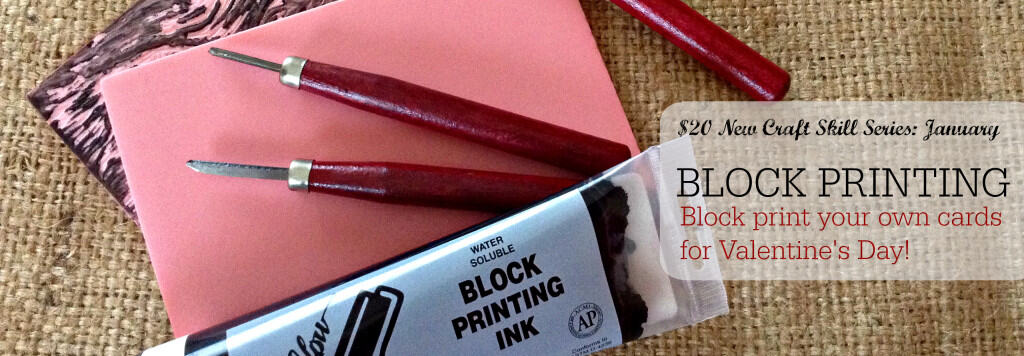
Learn to block print from start to finish - without spending a fortune on supplies. This post shows how to affordably get started block printing!
I still can't fathom that Christmas and New Year's are actually over and gone, much less that Valentine's Day is barely a month away. December always seems to give way to the deep chill of January with such abruptness. One of my fondest childhood memories from this dark, cold stretch between holidays, is of looking forward to Valentine's Day by making valentines with my Grandmother. (Now there's a woman who knows how to celebrate the holidays!) We'd cut flower pictures out of seed catalogs, and ramshackle together the most wonderful paper-craft concoctions with her stash of construction paper, real grown-up scissors, crumbly-sticky homemade paste, and just pure enthusiasm. I have been a staunch valentine-maker ever since. Some years I'm more creative than others, but usually I try to come up with something I've never exactly done before. Well, here's a method of valentine making that's totally off the beaten track for me. Block printing, here we come.
First things first - supplies and tools. I've promised that we're going to keep each month's crafting skill and project under $20, and by Jove, we can certainly do it. Personally, if I hadn't already had a set of carving knives floating around, I would have simply purchased an inexpensive kit in this case. For $15.64 you can pick up this one, which contains everything you need to get started, and still have money left in your $20 budget to get some nice blank greeting cards on which to block print your newly-carved design.
However, if you'd like to pick and choose your supplies a bit more, we can still keep it under $20. Aside from the paper to print on, you'll need five things:
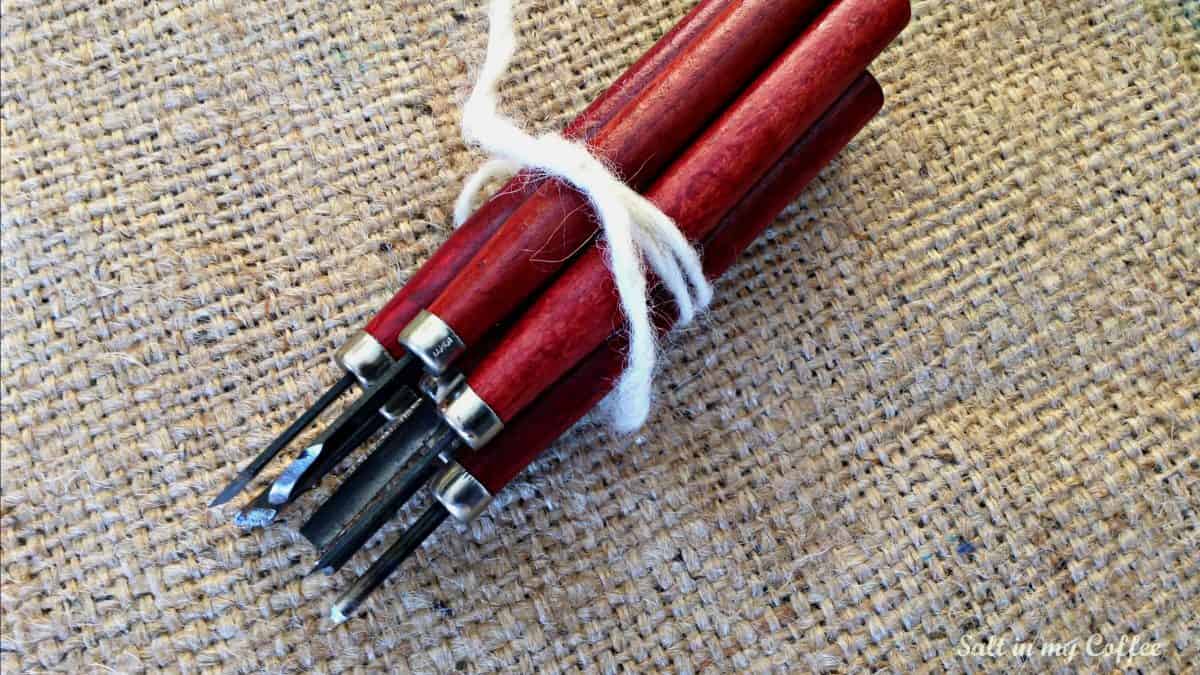
A carving tool. I know it sounds out of character for this Amazon devotee, but Ebay is my purchasing venue of choice for very inexpensive carving tools. I own a few of these unbelievably cheap ones (under $5 including shipping), and honestly - they are absolutely fine and usable for the kind of carving we're going to be doing. The ones you see in my photos are an older Japanese set that I found on Etsy for not much more - and truth be told, I don't think they're any better to work with, just prettier! So if you keep your eyes open, you can find quite a few options for very little money.A carving block. At $4.97, this is my block of choice. Over time they might not hold as crisp an edge as a linoleum block, but they're just so easy and fun to carve - perfect for those of us just getting started in the craft. And the 4x6" size of the block works beautifully on most standard sizes of greeting cards.
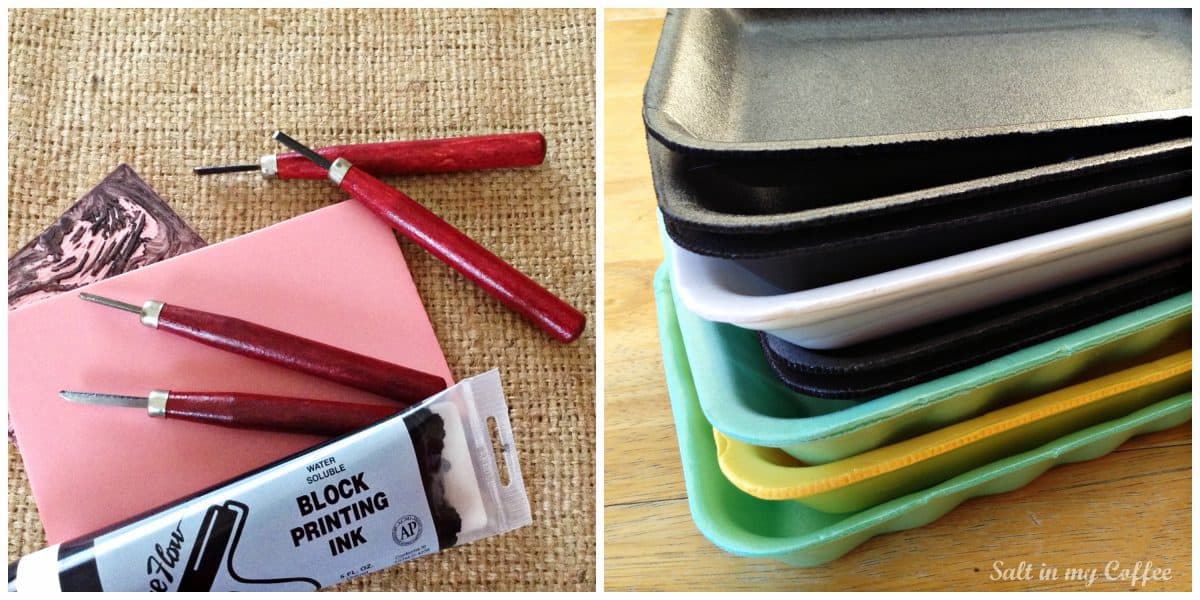
Ink. You can easily find this for about $3.50 at pretty much any crafting or art supply store. If you want to order online though, this one costs $7.72 and will keep you supplied for a good while.)
A brayer. This gizmo is the roller that will evenly spread the ink on your carved block. This is the one I bought, for $5.99. Or, for a little less, this one also looks pretty good at $5.29.
An inking tray. Don't spend a dime on this. Save some of those styrofoam trays that produce and meat come in from the grocery store, and you'll be good to go. In fact, they're nearly identical to the tray that comes in the block-printing kit!
And then of course, you'll need something to print on. Since we're making valentines, cards and envelopes seem appropriate. You could be super crafty and make your own from cardstock, which (if you're anything like me) you may have plenty of lying around. But an easier way is to pick up a pack of 25 blank greeting cards at Michaels, for just $2.50. Or, if you're an Amazon addict like I am, these or these are some good options - though they're not quite as cheap as the Michaels option, and may bump you a little over that $20 number.
Materials in hand, we're finally ready to play.

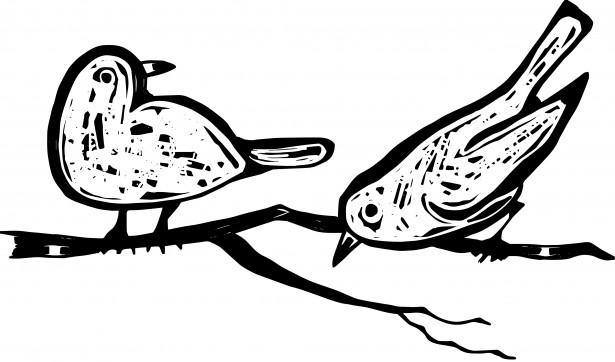
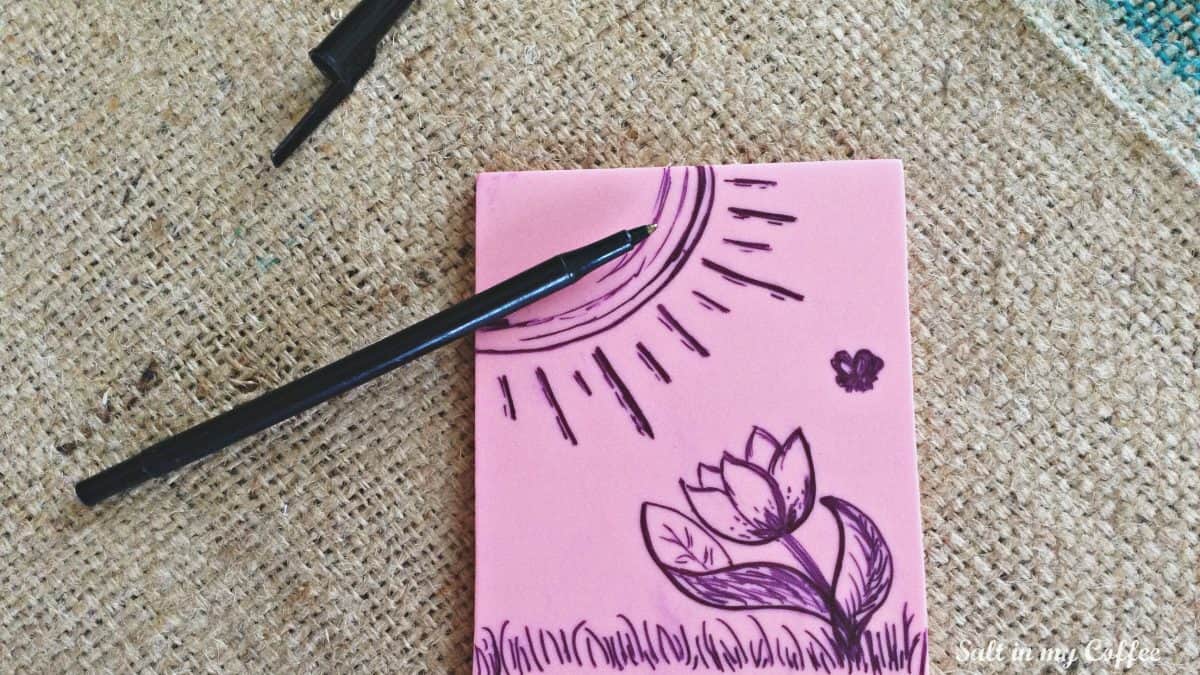
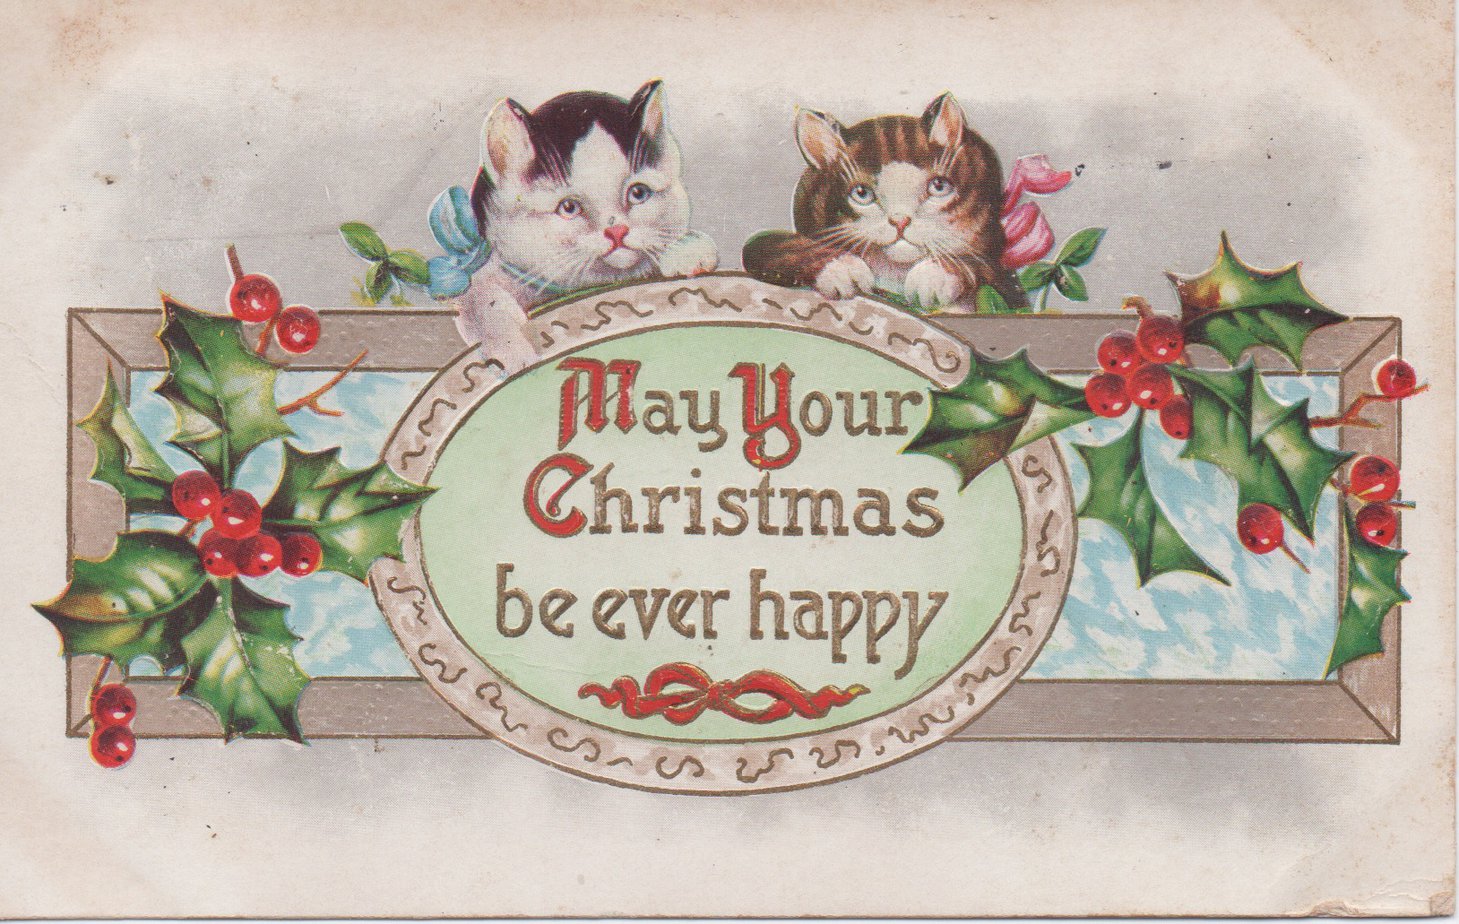
You probably have in mind a basic idea of the image you want to carve. But it may feel a little daunting, sitting there with that beautiful, un-marred pink block in front of you. Here's what I did. I started at the computer. If you do a google image search for the term "woodcut" or "block print", as well as the object or image you have in mind, you should come up with more inspiring images than you can shake a stick at. Study the ones that stand out to you. Well, within reason. This one stood out to me. (Used courtesy of Special Collections, University of Houston Libraries.) But as my husband would say, "Walk before ya run, baby". I turned my attention toward simpler images - like this. Time to get out a pen - the cheapest ballpoint you can find will be perfect - and get ready to sketch. As you plan out your sketch, don't forget that it needs to be a mirror image of what you want your final, printed design to be. This means what you draw on the left side of your block will be on the right in your final print, and vice versa. You might want to work up a few drafts on paper before you start drawing on your block. For me - always one to run where angels fear to tread - I just went straight for the block. That cheap ballpoint should work really well as you start to sketch out your design. Keep in mind that the black lines will be what stay. You'll be carving around those, so everything else - all the blank area - is what will get carved out.
Then take out your new carving tools, choose the smallest gouge tool (one of the "u" shaped ones) that you have, and just start. The middle of the largest blank area in your design is a good place to get your bearings. Just small, light, easy cuts at first. I was nervous about messing up when I was making my first cuts, but very quickly found that the knife and block felt pretty natural in my hands. A rhythm and technique started to develop, and very quickly I found myself feeling more comfortable with the process. Take it slow, and just go for it. Remind yourself that nearly any mistake is very salvagable. Nearly.

Speaking of mistakes. Let me offer a word about...well, words. Any wording in your design presents a special challenge. While almost any other design element is going to look ok if you forget that your design needs to be a mirror image - letters are not very forgiving in this aspect. Lettering errors are one of those not-so-salvageable mistakes, and I learned this the hard way.

I thought I was being smart by entering my chosen text "You are my Sunshine", into a free website that offers to automatically generate a mirror image, or even an upside-down image, of your text. MmHmm. I happily copied out the generated image onto my block and started carving...and only much later realized that some letters were flipped, and others weren't - they were forward facing, but in reverse order! Gah! After having carved my way through A New Hope, Empire, and half of Return of the Jedi...to say I was crushed is an understatement. I tried two other free online text mirroring services, and found neither of those to be error-free either. I ended up going lo-fi, if one can call anything involving an Apple product lo-fi. I wrote out the lettering exactly as I wanted it to appear, held it up to the bathroom mirror, and snapped a quick pic of it with the iPad. When in doubt, I definitely suggest going low tech and simply utilizing a mirror, for your mirror-imaging needs.Tragedy aside...eventually you'll feel that your block is adequately carved. Go ahead and get your ink, tray, and brayer out, and grab yourself a stack of scrap paper. Squeeze out a small dollop of ink - a little bigger than the size of a quarter should be good, and use the brayer to evenly roll it around on the tray, until the whole brayer is coated in a nice, thin, even layer. Then lightly roll the brayer across the carved surface of your block. I found that going both directions - up and down, and side to side, gave me a nice even layer of ink on the block.
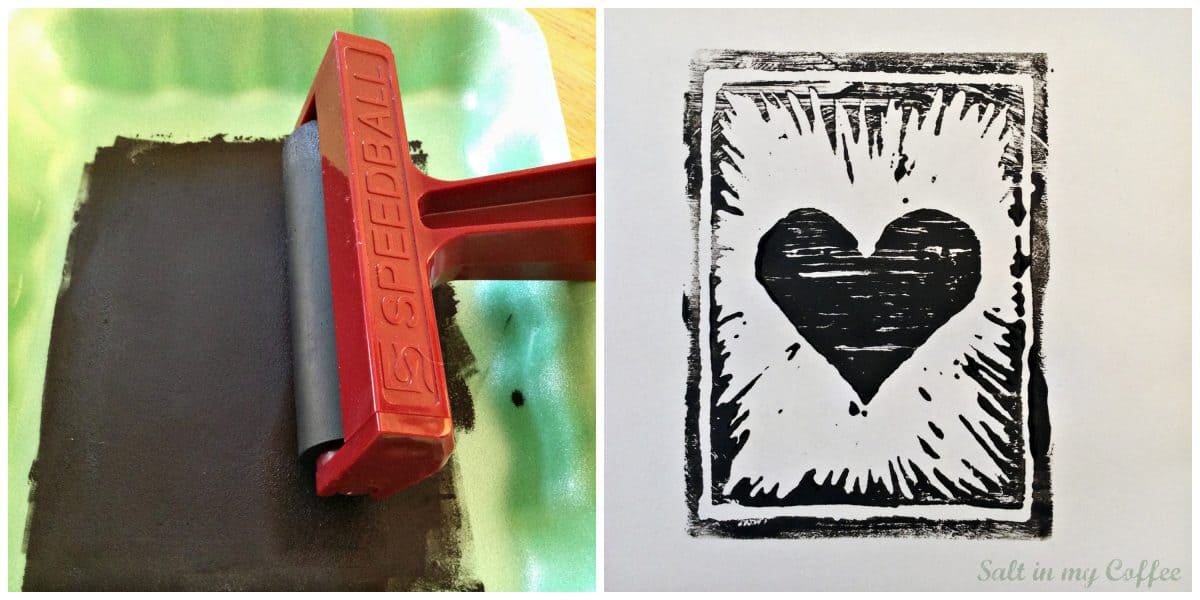
Now for the moment of truth. Press the block lightly down on your test paper, and lift it straight back up. Right away, you'll probably see some tweaks or changes that you want to make to your design. You'll probably have some black streaks in areas that you wanted blank, and will need to go back and carve those a bit deeper so they won't pick up the ink. it's ok to go ahead and wash off the block, dry it, and do some more carving to make those changes. Then go ahead and stamp again, and keep repeating the process until you're happy with the result. Once you're happy, your stamp is done! Now it's time to get out the cards, and make those valentines.
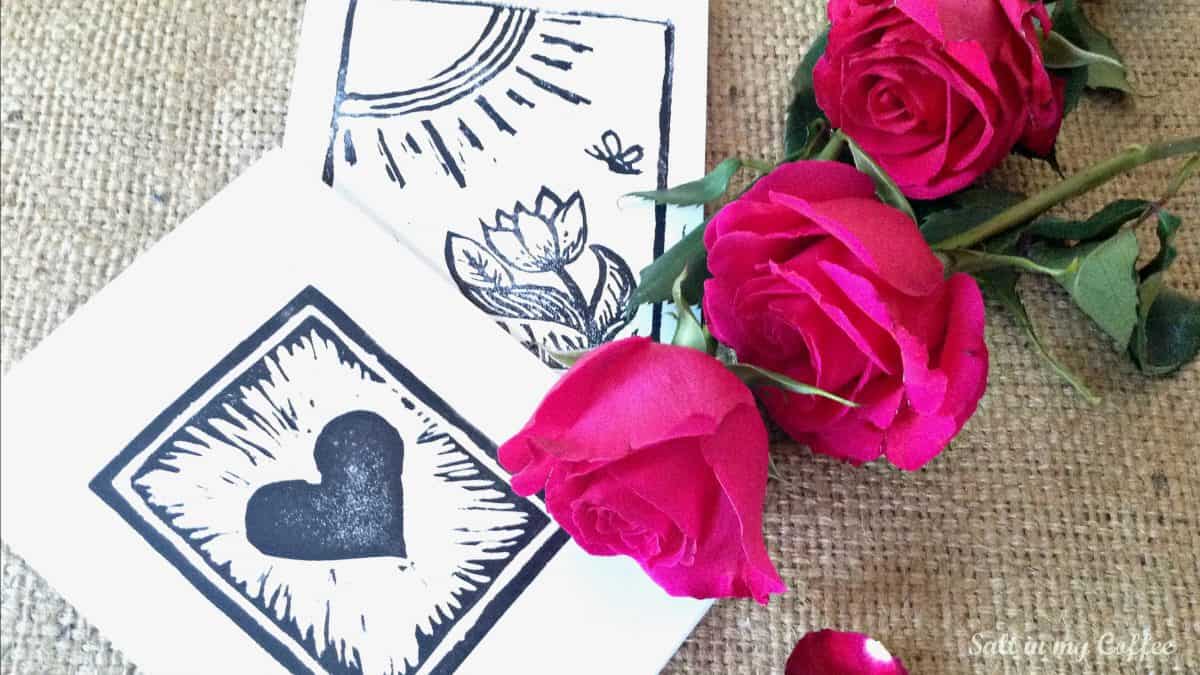
Do be warned that this entire process is downright addictive. By the time I'd made 27 cards I realized I'd well surpassed my list of valentine recipients. I'm afraid my only recourse here may be to open an Etsy store and see if I can sell some of these, because clearly - stopping the stamping ceased to be an option about 27 cards ago.I do hope you'll give this a try! And then come back and show off some photos of what you've created, ok? I'm dying to see some other creative block printed valentines, greeting cards, wall-hangings...or whatever wonderful things you come up with!

Anna Chesley
Anna Chesley is a freelance writer living a homestead lifestyle, with a special love for family travel, old books, vintage skills, and seaside living. In addition to founding Salt In My Coffee, she runs the website, New England Family Life, as well as The 1800's Housewife, a website devoted to re-creating authentic 1800's recipes.

Comments
No Comments